

Video Testimonials are one of the fastest ways to turn audience trust into measurable action, but only if you plan them like a campaign, not a one-off clip. The goal is simple: capture a real person describing a real outcome in their own words, with enough context that a buyer can picture themselves getting the same result. To do that, you need the right customer, a tight prompt, clean consent, and a distribution plan that matches your funnel. In this guide, you will get definitions, scripts, pricing logic, and tracking steps you can use today.
What Video Testimonials are – and what they are not
A video testimonial is a first-person endorsement from a customer or user that describes a problem, the experience with your product, and the result. Unlike a polished brand ad, the credibility comes from specificity: names, timelines, constraints, and tradeoffs. In influencer marketing terms, testimonials sit between UGC and creator ads: they can be organic, but they are often repurposed as paid creative. Before you record anything, decide which format you need: a quick selfie clip for social proof on a landing page, a longer case-study style video for YouTube, or multiple short cuts for ads. Practical takeaway: write down one sentence that defines success (for example, “increase trial-to-paid conversion by 15% on the pricing page”) and let that drive every creative choice.
It also helps to separate testimonials from reviews and from influencer endorsements. A review can be anonymous and text-based, while a testimonial is permissioned and typically includes identity cues (face, name, role, company). An influencer endorsement can be paid and audience-driven, while a testimonial is outcome-driven and usually anchored in actual product use. If you are mixing the two, you must be transparent about compensation and relationships. For disclosure basics, align your process with the FTC endorsement guidelines and keep records of what you asked, what you paid, and what was approved.
Key terms you need before you brief anyone
Most testimonial projects fail because teams talk past each other on metrics and rights. Start by defining the terms below in your brief so creators, customers, and legal are aligned. CPM is cost per thousand impressions, a paid media metric used to compare distribution efficiency. CPV is cost per view, usually defined by a platform threshold (for example, a view after a certain number of seconds). CPA is cost per acquisition, the cost to generate a conversion such as a purchase, lead, or trial start. Engagement rate is typically engagements divided by impressions or followers – you must specify which one you use. Reach is the number of unique people who saw the content, while impressions count total views including repeats. Whitelisting is when you run ads through a creator’s handle or allowlist access, which can improve performance but requires permissions and clear boundaries.
Usage rights define where and how long you can use the video (organic social, paid ads, website, email, retail screens), and whether you can edit it into new cuts. Exclusivity restricts the talent from appearing in competitor content for a period of time, which increases price and limits your pool. A simple decision rule: if you plan to run the clip as paid creative for more than 30 days, treat usage rights as a core line item, not a free add-on. Also, if you want whitelisting, specify the platform, duration, and whether you need dark posts or Spark Ads style amplification. Practical takeaway: add a one-page “rights grid” to every testimonial request so approvals do not stall after filming.
How to source Video Testimonials that sound believable
The best testimonial subject is not always your biggest fan; it is the person whose story matches your buyer’s objections. Start by pulling a list of customers with clear outcomes: support tickets resolved, onboarding completed, repeat purchases, or high product usage. Then, segment by persona and use case so you can cover multiple angles across your funnel. For example, one video can address setup time, another can address ROI, and a third can address switching costs. If you run influencer campaigns, you can also recruit from creators who already used your product, but be careful: audiences can sense when a “customer” is actually reading ad copy. Practical takeaway: prioritize customers who can cite one concrete metric (time saved, revenue gained, error rate reduced) and one emotional benefit (less stress, more confidence).
Outreach matters. Keep the ask simple, explain what is involved, and offer a fair incentive. For B2C, incentives often look like gift cards, free product, or cash. For B2B, consider a donation to a charity, a conference pass, or a customer spotlight that benefits their brand, but do not overpromise distribution. You should also pre-qualify with a short form: what problem they had, what they tried before, what changed, and whether they are comfortable being named. If you want a deeper library of examples and campaign planning ideas, browse the InfluencerDB Blog guides on creator campaigns and adapt the same selection discipline to your testimonial pipeline.
Briefing and scripting: prompts that get real answers
A testimonial script should be a set of prompts, not a word-for-word monologue. Over-scripting produces flat delivery and legal risk if claims are exaggerated. Instead, use a structure that pulls out specifics while keeping the speaker in control. A reliable framework is: Context – Problem – Attempted solutions – Why this product – What happened – Proof – Who it is for. Keep prompts short and let silence do some work; people often add the most useful detail after a pause. Practical takeaway: limit yourself to 6 to 8 prompts, and mark the one “must-have” line you need for your landing page.
Here is a prompt set you can paste into your brief: (1) “What were you trying to achieve before you found us?” (2) “What was frustrating or expensive about the old way?” (3) “Why did you choose us instead of alternatives?” (4) “Walk me through your first week using it.” (5) “What result did you notice, and when?” (6) “What would you tell a friend who is on the fence?” If claims touch health, finance, or regulated areas, add: “Only share what you personally experienced.” For platform-specific ad policies, check the Google Ads misrepresentation policy so you avoid edits that imply guarantees.
Production that looks honest on a budget
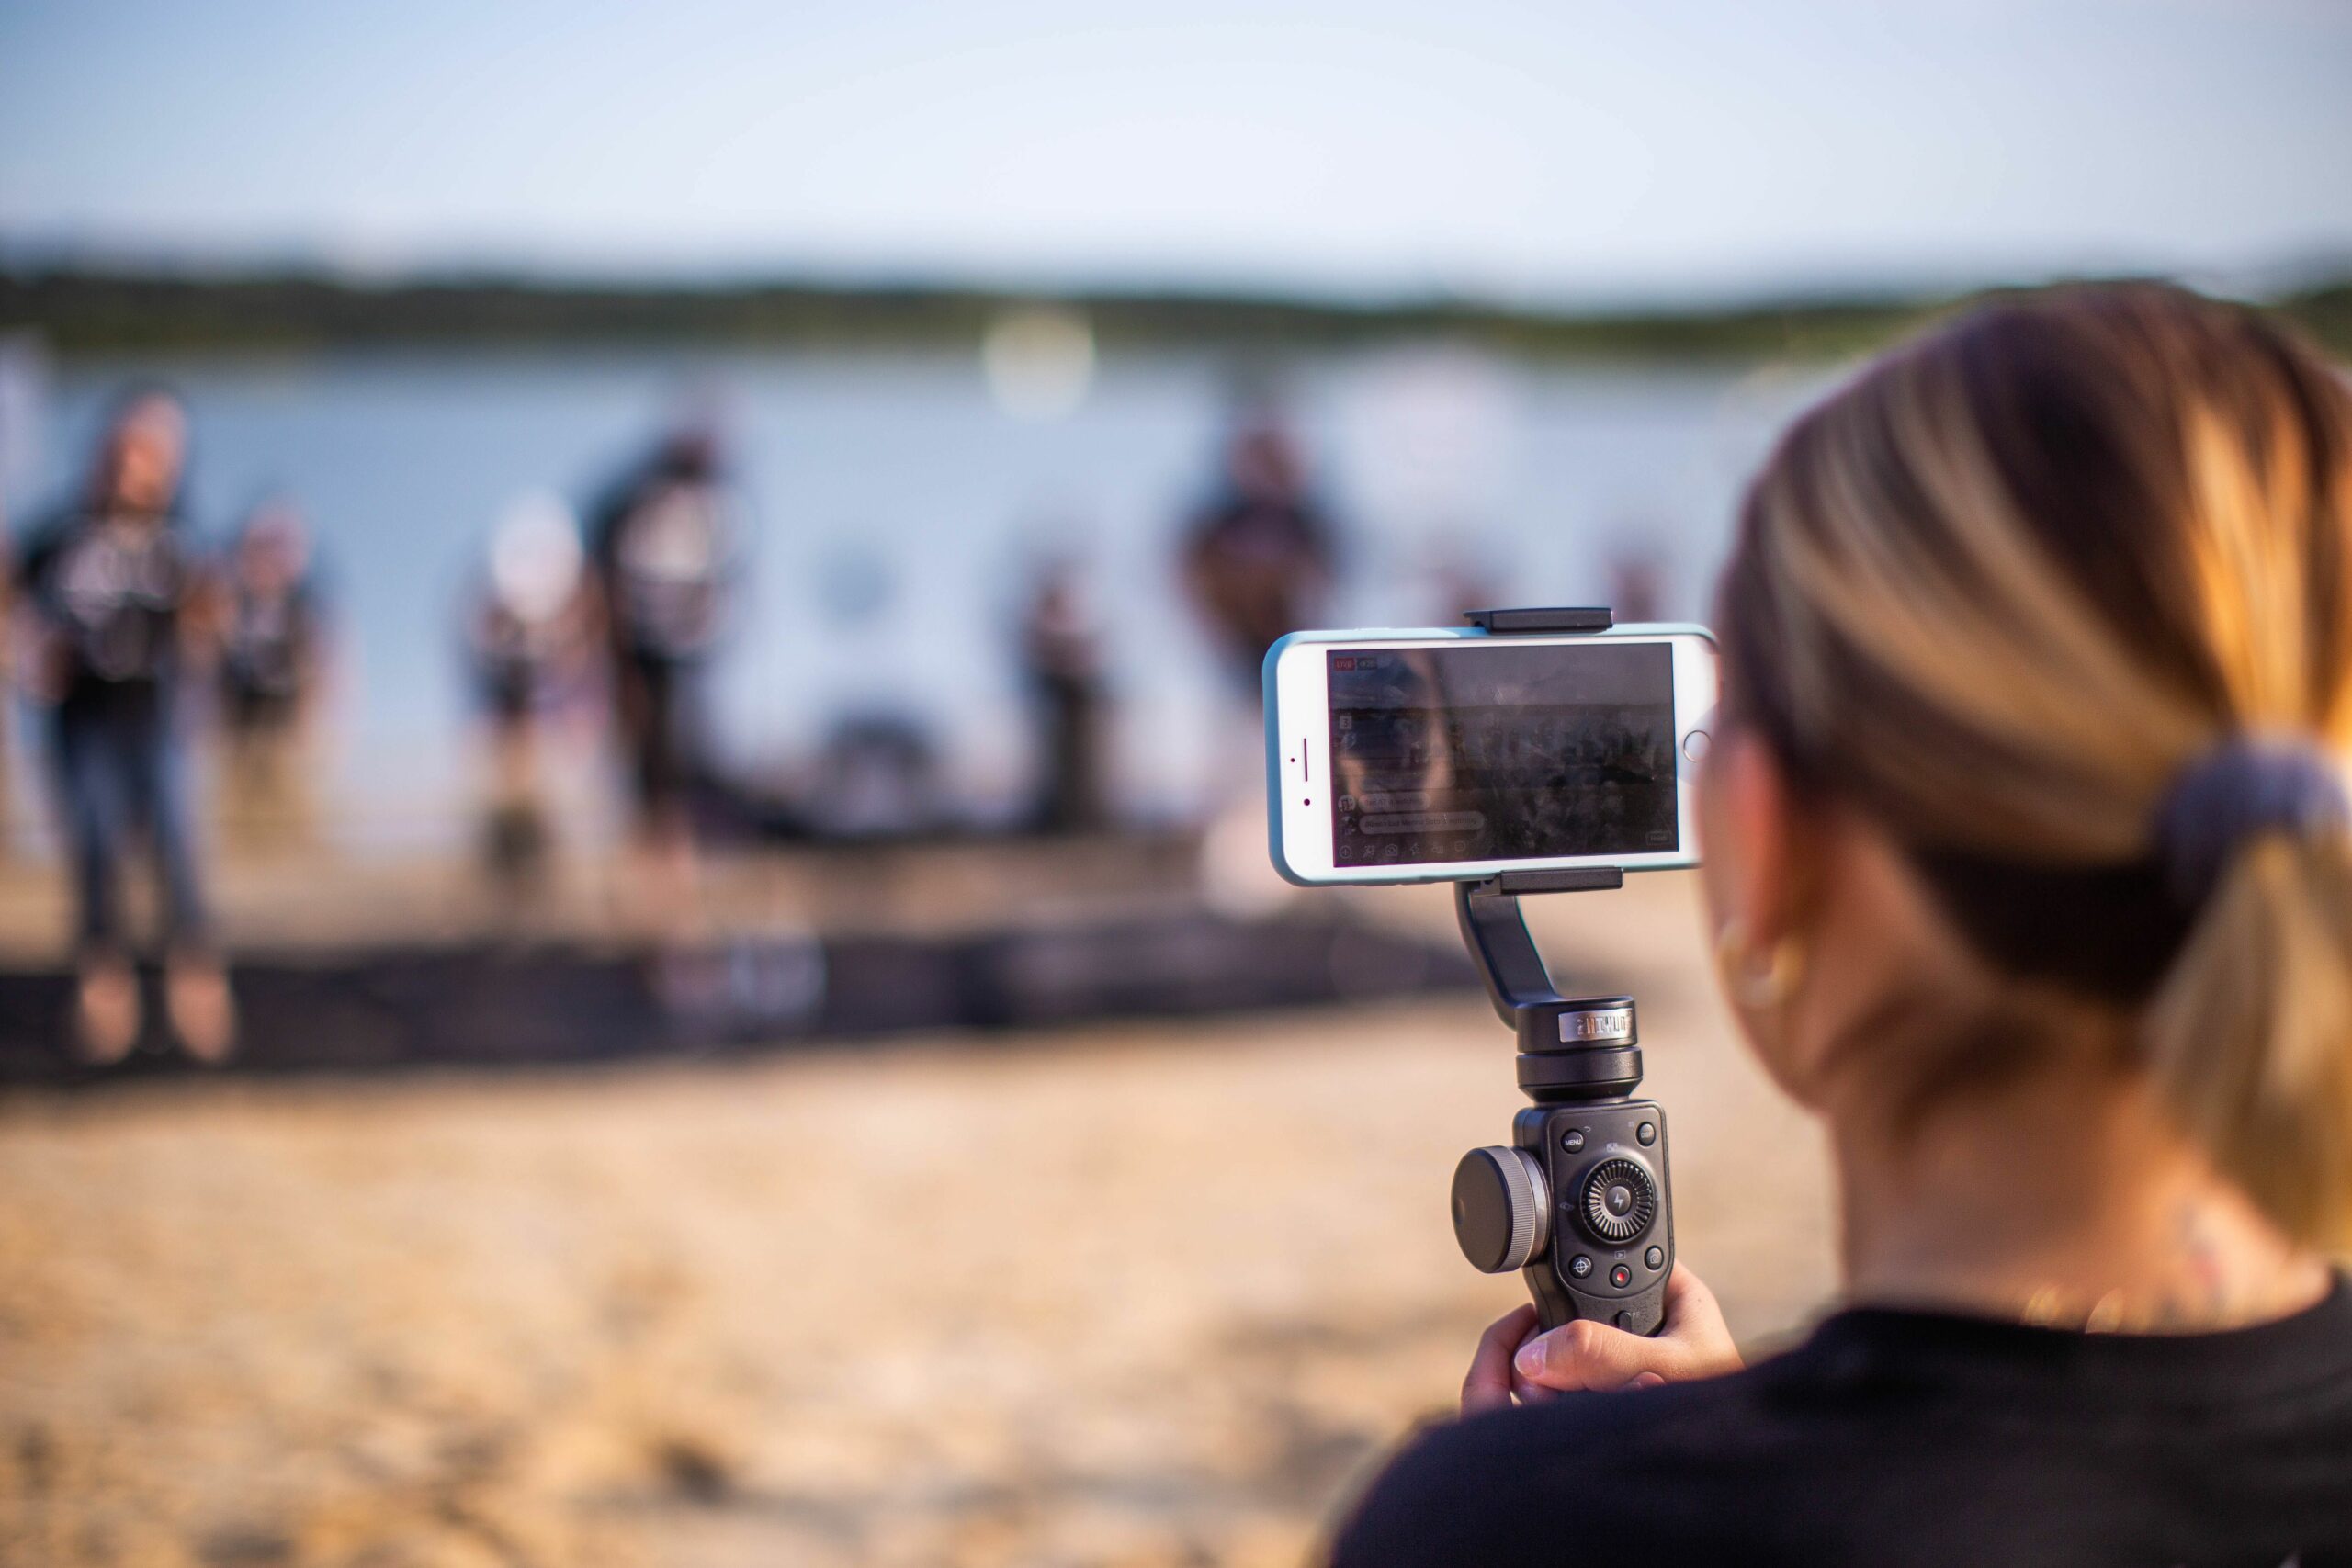
You do not need a studio, but you do need consistency. Ask for natural light facing the subject, a quiet room, and a stable camera position at eye level. Audio is the real quality signal, so recommend wired earbuds or a small lav mic if possible. Keep the background simple and relevant: a desk, a kitchen, a gym, a workspace. Then, capture b-roll that supports the story: the product in use, the before-and-after workflow, or screenshots if the product is digital. Practical takeaway: require one wide shot and one close shot so you can cut jump edits cleanly without feeling “overproduced.”
Plan for edits that match distribution. For ads and social, you will want 15 to 30 second cuts with a strong hook in the first two seconds. For landing pages, a 45 to 90 second version often performs well because it provides enough detail to reduce skepticism. Add burned-in captions for accessibility and silent autoplay. Finally, keep a “claims log” during editing: every numeric claim should be tied to the speaker’s experience and approved. This is also where you decide if you need on-screen qualifiers like “results may vary.”
Pricing, incentives, and rights: a simple way to budget
Testimonial pricing varies because the deliverable is not just filming time; it includes identity value, usage rights, and risk. A customer who is not a public figure may accept a smaller incentive, but if you want perpetual paid usage, the value rises. For creators, pricing often resembles UGC rates plus licensing. Use this budgeting approach: pay for production (time and effort) plus pay for rights (where, how long, and whether paid media is included). Practical takeaway: separate “creation fee” from “usage fee” so you can negotiate without confusing the subject.
| Deliverable | Typical incentive range | What to clarify | Best for |
|---|---|---|---|
| Selfie testimonial (30 to 60 sec) | $50 to $300 | Name and likeness, editing permission, 30 to 90 day usage | Landing pages, retargeting ads |
| UGC style testimonial bundle (3 hooks, 3 cuts) | $300 to $1,500 | Paid usage scope, whitelisting access, revision rounds | Paid social testing |
| Case study interview (3 to 6 min) | $500 to $3,000 | Fact checking, brand approvals, distribution plan | YouTube, sales enablement |
| On-site filmed testimonial (half day) | $2,000 to $10,000+ | Location release, crew costs, travel, full usage rights | Brand campaigns, PR |
Now add rights and restrictions. If you need exclusivity, define the competitor set and the duration, then expect to pay a premium. If you want whitelisting, set a time window and a spend cap so the subject knows the scale. A clean rule: the broader the usage (paid, multi-platform, long duration), the more you should treat the subject like talent with licensing terms, not just a happy customer. Keep your contract plain-English and include revocation terms, especially for sensitive industries.
How to measure performance: CPM, CPV, CPA, and lift
Measurement is where testimonials become a growth asset instead of a feel-good project. Start by choosing the primary KPI based on placement. For top-of-funnel ads, CPV and thumb-stop rate matter because you are buying attention. For landing pages, conversion rate and scroll depth show whether the video reduces friction. For email, click-through rate and reply rate can reveal trust gains. Practical takeaway: pick one primary KPI and two secondary KPIs per placement, then document them in the brief.
Use simple formulas so stakeholders can compare options. CPM = (Spend / Impressions) x 1000. CPV = Spend / Views (define what counts as a view). CPA = Spend / Conversions. If you run a paid test, compare a testimonial ad to a non-testimonial control with similar targeting and budget. Example: you spend $2,000 and get 200,000 impressions, so CPM = ($2,000 / 200,000) x 1000 = $10. If that spend drives 80 purchases, CPA = $2,000 / 80 = $25. If your baseline CPA is $32, the testimonial creative is outperforming by $7 per purchase, which can justify higher licensing fees.
| Placement | Primary KPI | Secondary KPIs | Decision rule |
|---|---|---|---|
| Paid social prospecting | CPA | CPM, 3-second view rate | Scale if CPA is 15% below baseline for 3 days |
| Retargeting ads | ROAS or CPA | Hook rate, hold rate | Keep if hold rate beats control by 10% |
| Landing page | Conversion rate | Time on page, bounce rate | Ship if conversion lifts 5%+ in A/B test |
| Sales enablement | Close rate | Sales cycle length | Adopt if cycle shortens by 7 days median |
Negotiation checklist: usage rights, whitelisting, and exclusivity
Negotiation goes smoothly when you treat it like a menu. Offer three packages that differ mainly by rights and duration, not by the basic filming effort. Package A: organic use only for 90 days. Package B: organic plus paid ads for 90 days. Package C: paid ads plus website and email for 6 to 12 months. Then, add optional upgrades: whitelisting, raw footage, extra hooks, and exclusivity. Practical takeaway: always put the end date in writing, even if you expect to renew, because “forever” creates fear and slows signatures.
When you ask for whitelisting, explain what it means in plain language: you will run ads from their handle, you will not post without approval, and you will stop on the agreed date. For exclusivity, be specific about competitors and geography. If you cannot define the competitor set, do not ask for exclusivity; it is unfair and will inflate costs. Finally, confirm whether the subject can request edits if something personal appears, and set a response SLA so you do not miss launch windows.
Common mistakes that make testimonials feel fake
First, teams over-edit. Heavy beauty filters, aggressive jump cuts, and stock music can make a real story feel staged. Second, they chase vague praise like “amazing” instead of concrete outcomes, so the viewer learns nothing. Third, they skip consent details and end up unable to use the best clip in paid ads. Fourth, they pick the wrong speaker: someone who loves the brand but does not match the target buyer’s situation. Fifth, they publish one long video everywhere, which wastes the strongest moments that should have been cut into multiple hooks. Practical takeaway: if the clip does not answer “what changed and why,” it is not ready to ship.
Best practices: a repeatable system for a testimonial library
Build a pipeline, not a scramble. Aim for a monthly cadence where you record 2 to 4 new testimonials and refresh your top-performing cuts. Keep a shared database with fields for persona, use case, claim type, tone, and rights expiration date. Then, tag each clip by funnel stage: awareness (problem framing), consideration (comparison and objections), and conversion (results and reassurance). Practical takeaway: treat testimonial clips like performance creative, with versioning and learnings, not like brand assets that never change.
Finally, distribute with intent. Put short clips near pricing and checkout pages where anxiety is highest. Use longer versions in nurture emails and sales sequences where context matters. For paid social, test three variables at a time: hook, proof line, and CTA. Keep the rest stable so you can learn quickly. If you want to go deeper on campaign planning and creator workflows, use the as a reference point and adapt the same experimentation mindset to your testimonial program.