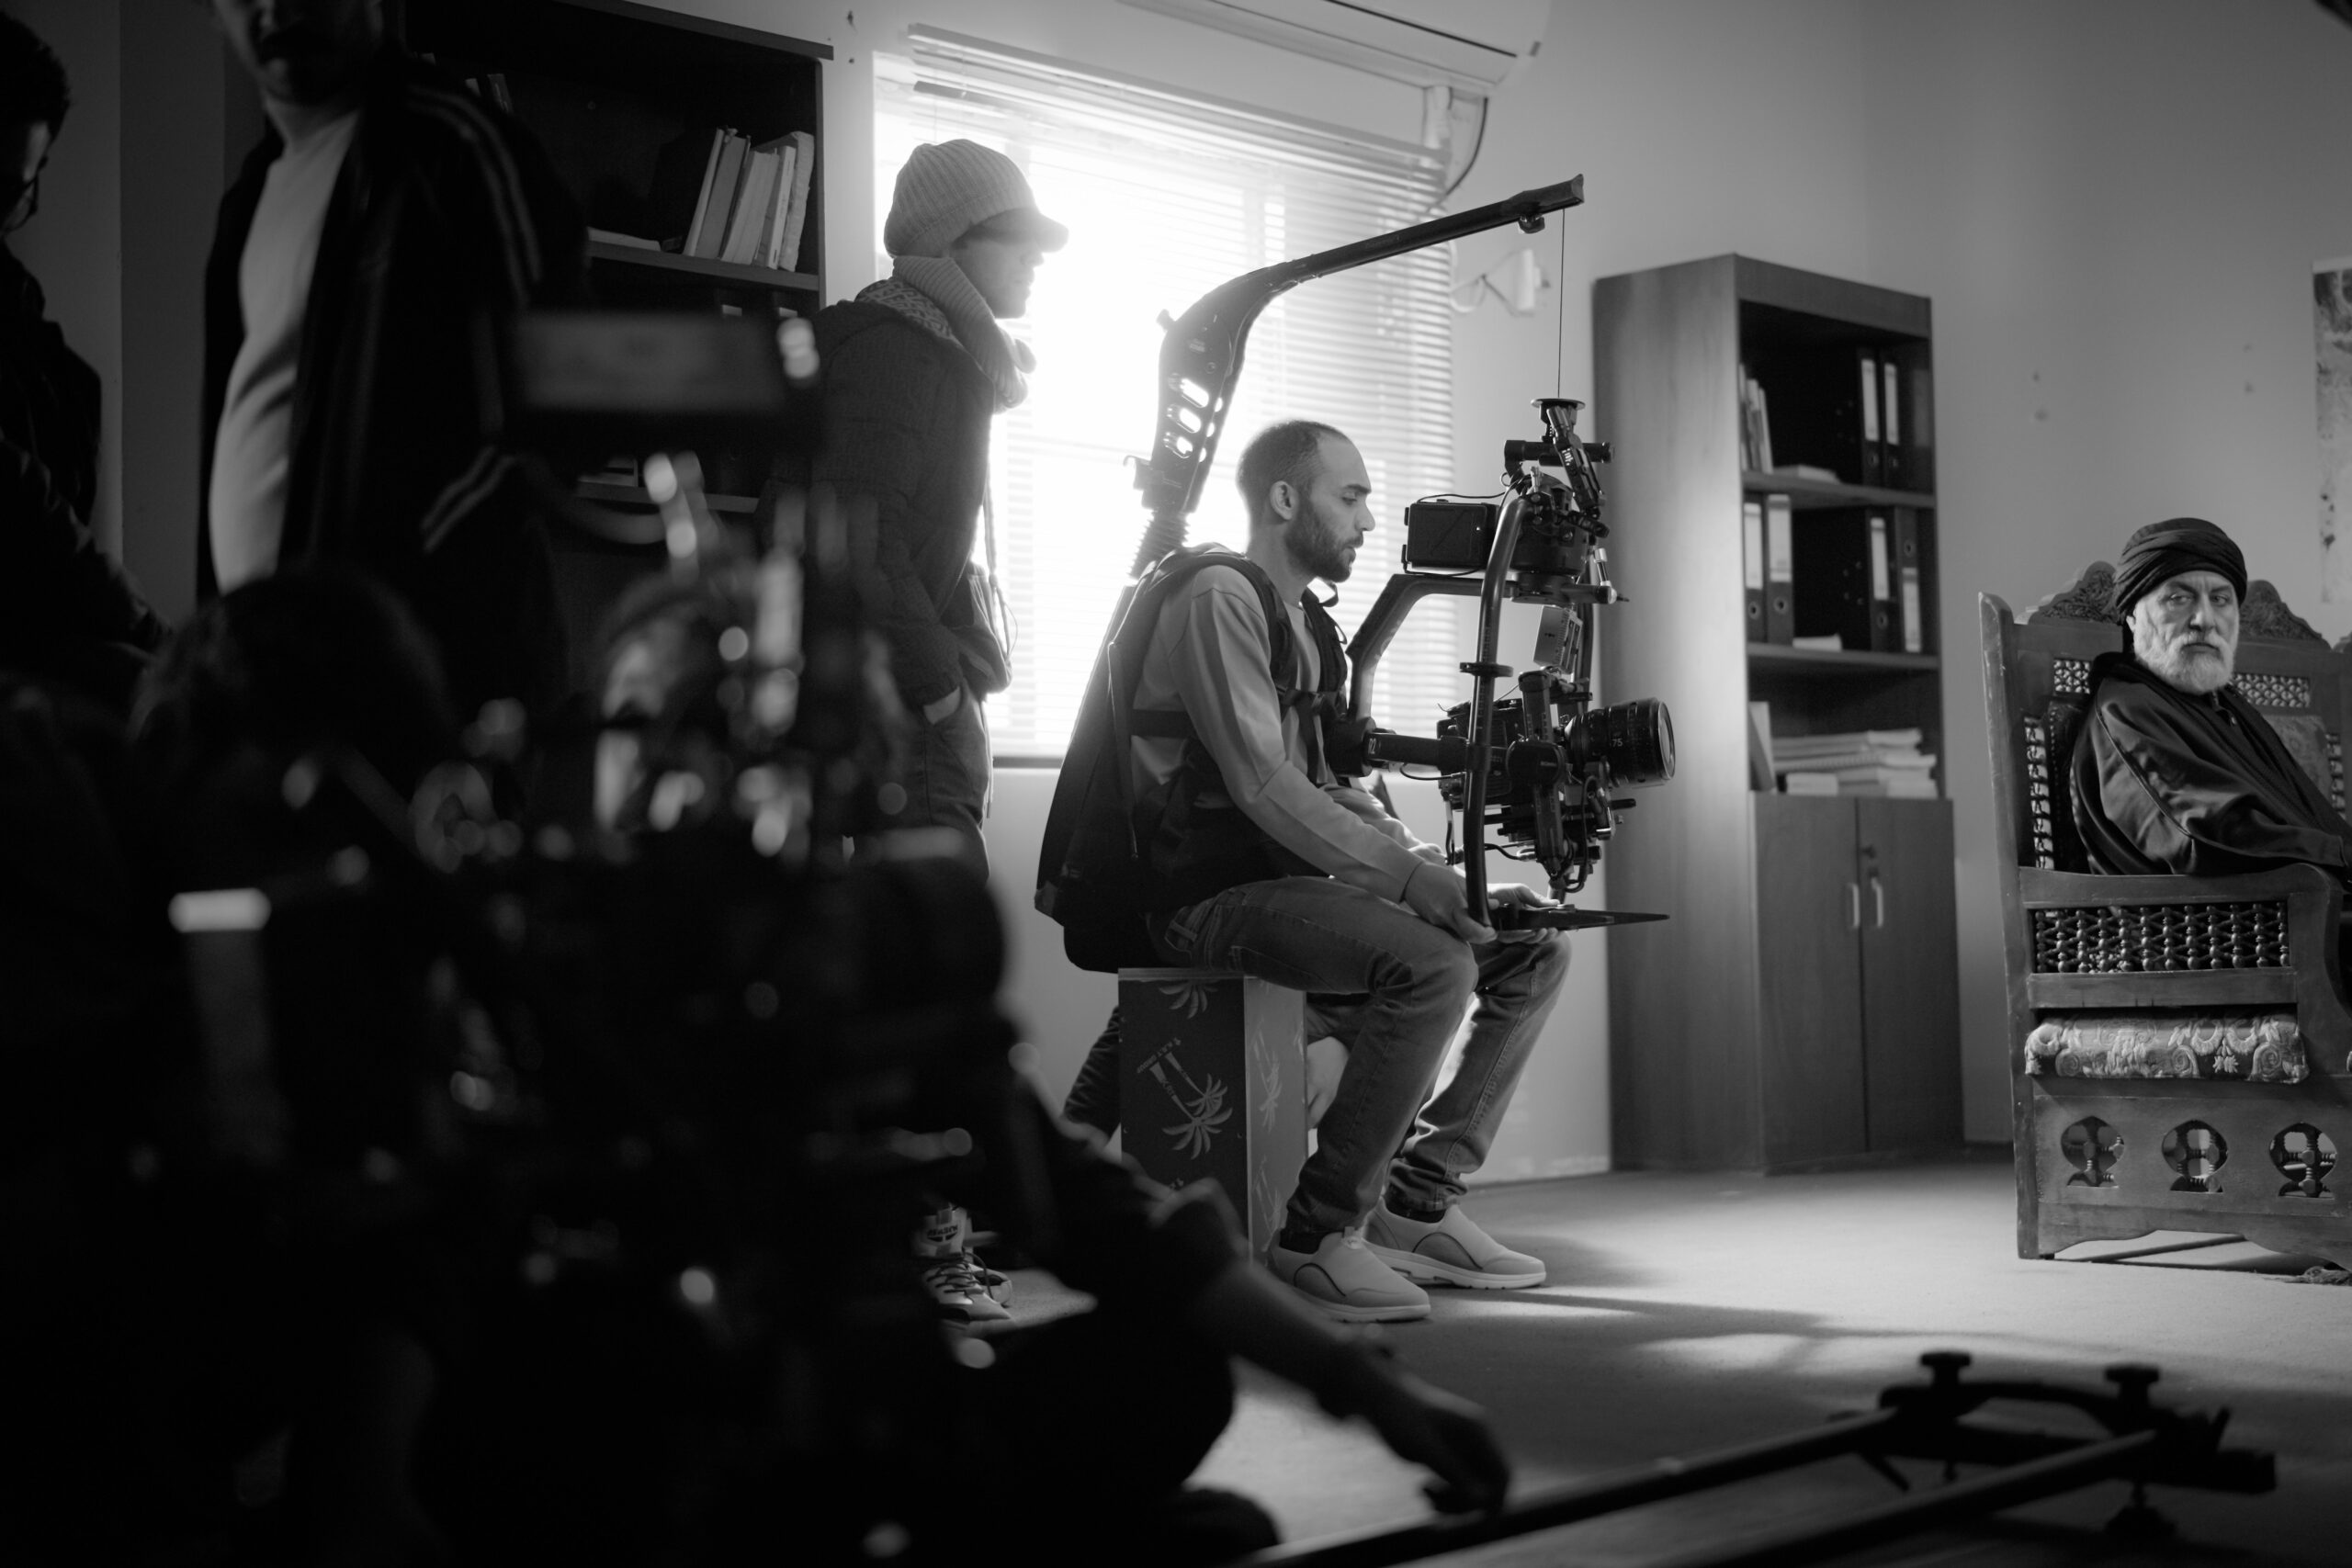

Promotional video work succeeds when you treat it like a measurable product, not a vague creative request. In practice, that means defining the goal, the audience, the offer, and the tracking before you ever talk about deliverables. Once those pieces are clear, you can price fairly, negotiate clean terms, and judge performance without guesswork. This guide walks through the exact terms, frameworks, and tables you can use to plan, buy, and evaluate promotional video content for influencer and brand campaigns.
What a promotional video is – and what it is not
A promotional video is a piece of video content designed to drive a specific marketing action, such as awareness, consideration, installs, sign-ups, or purchases. It can live on an influencer feed, a brand account, a landing page, or in paid ads, but it always has an intended outcome and a clear call to action. By contrast, a general “brand video” may exist to tell a story without a measurable conversion path. That difference matters because it changes how you brief creators, what you pay for, and which metrics you prioritize. If you cannot answer “what should the viewer do next?” you are not ready to commission the asset. Takeaway: write the desired viewer action in one sentence and make every creative choice support it.
Key terms you need before you price or measure

Before you negotiate, align on definitions so both sides price the same thing. CPM means cost per thousand impressions, calculated as (cost / impressions) x 1000. CPV is cost per view, typically (cost / views), but you must define what counts as a view on the platform you are using. CPA is cost per acquisition, calculated as cost / number of conversions, and it requires reliable tracking. Engagement rate is usually engagements / impressions or engagements / followers, so agree on the denominator to avoid disputes. Reach is the number of unique accounts that saw the content, while impressions are total views including repeats.
Two terms often missed in influencer deals are whitelisting and usage rights. Whitelisting is when a brand runs paid ads through a creator’s handle, usually requiring creator approval and access via platform tools. Usage rights define where and how long the brand can reuse the video beyond the original post, such as on a website, email, or paid ads. Exclusivity means the creator agrees not to promote competing brands for a set period, which should increase the fee because it limits future earnings. Takeaway: put these terms in writing and price them separately so the base content fee stays comparable across deals.
Build a brief that creators can execute on the first draft
A strong brief reduces revisions, protects brand safety, and improves performance because the creator knows what matters most. Start with the campaign objective and the single primary KPI. Next, define the audience in plain language, including what they already believe and what you need them to believe after watching. Then provide the offer details: price, promo code, landing page, shipping limits, and any exclusions. After that, list non-negotiables such as required claims, pronunciation, and do-not-say topics. Finally, give creative freedom within guardrails by describing the tone and the “why” behind the product.
To make this repeatable, create a brief template you can reuse. If you need examples and planning resources, the InfluencerDB blog on influencer marketing strategy is a useful place to pull checklists and campaign structures you can adapt. Takeaway: include a “success looks like” section with 3 bullet points so the creator can self-check before filming.
| Brief section | What to include | Decision rule | Example |
|---|---|---|---|
| Objective | One goal and one KPI | If you list 2 KPIs, pick a primary | Drive 1,000 email sign-ups |
| Audience | Who, pain point, context | Describe in one sentence | Busy parents who want quick dinners |
| Message | 3 key points max | If it needs 5 points, split into 2 videos | Fast, affordable, kid-approved |
| CTA | Exact action and link | Only one CTA per video | Use code QUICK10 at checkout |
| Mandatories | Disclosures, claims, brand safety | If it is regulated, add legal review | #ad, avoid medical claims |
Pricing a promotional video: a simple model that holds up in negotiation
Pricing is easiest when you separate what you are buying into components: creation, distribution, and rights. Creation covers scripting, filming, editing, and revisions. Distribution covers posting to the creator’s audience, which depends on expected reach and the creator’s ability to drive action. Rights cover reuse, whitelisting, and exclusivity. When you bundle everything into one number, you lose leverage because you cannot trade terms. Instead, ask for a base rate for one video post, then add line items for usage rights and paid amplification.
Use CPM and CPV as sanity checks, not as the only pricing method. For example, if a creator typically delivers 80,000 impressions on short-form video and quotes $2,400, the implied CPM is ($2,400 / 80,000) x 1000 = $30. That might be reasonable for a niche audience with strong purchase intent, but it is expensive for broad awareness. Similarly, if you expect 60,000 views and pay $1,800, CPV is $0.03. Takeaway: compute implied CPM and CPV for every quote, then compare across creators in the same niche and format.
| Cost component | What it covers | Common pricing approach | Negotiation lever |
|---|---|---|---|
| Creation fee | Production and editing | Flat fee per video | Reduce revisions, simplify deliverables |
| Posting fee | Access to audience and distribution | Based on typical reach and niche | Shift to story + link sticker, or multi-post bundle |
| Usage rights | Brand reuse on owned channels | Time-based license (30, 90, 180 days) | Limit channels or shorten term |
| Whitelisting | Running ads through creator handle | Monthly fee + setup | Cap spend, cap duration, approve creative |
| Exclusivity | No competitor promos | Premium percentage uplift | Narrow competitor list, shorten window |
Performance measurement: choose KPIs that match the funnel
Measurement starts with matching the KPI to the job the video is doing. For awareness, prioritize reach, impressions, video completion rate, and cost per thousand impressions. For consideration, look at click-through rate, saves, shares, and qualified traffic to the landing page. For conversion, track CPA, revenue, and assisted conversions, but only if your tracking is credible. A common mistake is judging an awareness video by last-click sales, which punishes creators whose content introduces the product but does not close the deal.
Set up tracking before launch. Use UTM parameters on links, unique promo codes, and a consistent naming convention for assets. If you plan to run paid, decide whether you will use whitelisting or dark posts from the brand account. For platform-specific definitions of views and reporting, reference the official documentation for the channel you are buying. For example, YouTube’s help center explains how views are counted and reported in analytics: YouTube Analytics overview. Takeaway: write down the metric definitions in the contract or SOW so reporting disputes do not derail the relationship.
Here are simple formulas you can reuse in reporting:
- CPM = (Total cost / Impressions) x 1000
- CPV = Total cost / Views
- CPA = Total cost / Conversions
- Engagement rate by impressions = Engagements / Impressions
- ROAS = Revenue attributed / Total cost
Example calculation: You pay $3,000 for one creator video plus $2,000 in whitelisted spend, so total cost is $5,000. The campaign generates 250,000 impressions and 120 purchases. CPM is ($5,000 / 250,000) x 1000 = $20. CPA is $5,000 / 120 = $41.67. If average order value is $70, attributed revenue is $8,400 and ROAS is 1.68. Takeaway: report both efficiency (CPM, CPA) and scale (impressions, purchases) so stakeholders see the full picture.
Usage rights, whitelisting, and exclusivity: how to avoid expensive surprises
Rights are where deals quietly get expensive, so treat them as a separate negotiation. Usage rights should specify the channels (owned social, website, email, in-store), the duration, and whether paid media is included. If paid usage is included, clarify whether it is whitelisting through the creator handle or paid placement from the brand account using the creator’s footage. Whitelisting often performs well because social proof carries into ads, but it also increases risk for creators if the brand runs aggressive messaging. Therefore, include approval steps and a spend cap.
Exclusivity should be narrow and specific. Instead of “no skincare,” list direct competitors or a tight category like “vitamin C serums.” Also specify the window, such as 30 days before and 60 days after posting, rather than a vague quarter. Takeaway: if you cannot explain why you need exclusivity, you probably do not need it, and you can redirect budget to more creators or more testing.
Disclosure is not optional. In the US, the FTC expects clear and conspicuous disclosure when there is a material connection between a brand and a creator. The most reliable reference is the FTC’s own guidance: FTC endorsements and influencer guidance. Takeaway: put disclosure requirements in the brief and require the creator to keep the disclosure visible without needing to click “more.”
Common mistakes that tank results (and how to fix them)
Mistake 1: Overloading the script. When you cram in five features, the viewer remembers none. Fix it by choosing one primary benefit and two supporting points, then cutting everything else. Mistake 2: Vague CTAs. “Check it out” is weak. Replace it with a concrete action like “Use code SAVE15 today” and show the steps on screen. Mistake 3: No measurement plan. If you add UTMs after posting, you lose data. Build tracking links and codes in advance and test them.
Mistake 4: Buying audience size instead of fit. A large creator with low relevance can cost more and convert less. Ask for recent audience insights and past performance on similar products. Mistake 5: Unclear rights. Brands assume they can run the video as an ad, creators assume they cannot. Fix it by listing rights and whitelisting terms as line items with durations. Takeaway: run a pre-flight checklist 48 hours before posting that confirms CTA, links, disclosure, and rights.
Best practices: a repeatable workflow for creators and brands
Start with a creative testing mindset. Instead of one “perfect” video, plan three variations that test different hooks, formats, or angles. For example, test a problem-first hook versus a results-first hook, or a tutorial versus a reaction format. Next, standardize your review process: one round for factual accuracy and compliance, one round for brand safety, and one final approval. Keep feedback specific by time-stamping notes and tying each change to the brief’s success criteria.
For brands, build a lightweight scorecard after each campaign. Track implied CPM, CPV, CPA, completion rate, and qualitative notes like “strong comments about price” or “confusion about setup.” Over time, those notes become your creative strategy. For creators, protect your time by limiting revisions, specifying what assets you will deliver, and charging for additional cuts. If you want more tactical planning ideas, browse the and adapt the checklists to your niche. Takeaway: treat every campaign as data you can reuse, not a one-off project.
A practical launch checklist you can copy
Use this checklist to reduce last-minute chaos and keep the promotional video aligned with performance goals. It works for both influencer-led posts and brand-owned placements. If you cannot check an item, pause the launch and fix it first. Takeaway: printing this list and using it in approvals will save you more money than negotiating a slightly lower fee.
- Goal and KPI: One primary KPI chosen and documented.
- Offer: Promo code, landing page, and terms verified.
- Tracking: UTMs tested, code tracked, attribution window set.
- Deliverables: Format, length, aspect ratio, captions, and posting date confirmed.
- Rights: Usage rights, whitelisting, and exclusivity written with duration and channels.
- Compliance: Disclosure language included and placement confirmed.
- Creative: Hook in first 2 seconds, CTA visible and spoken, product shown clearly.
- Reporting: Reporting date set and metrics definitions agreed.
When you apply these steps, a promotional video becomes easier to buy, easier to produce, and easier to judge. More importantly, it becomes comparable across creators and campaigns, which is what lets you scale what works and cut what does not.