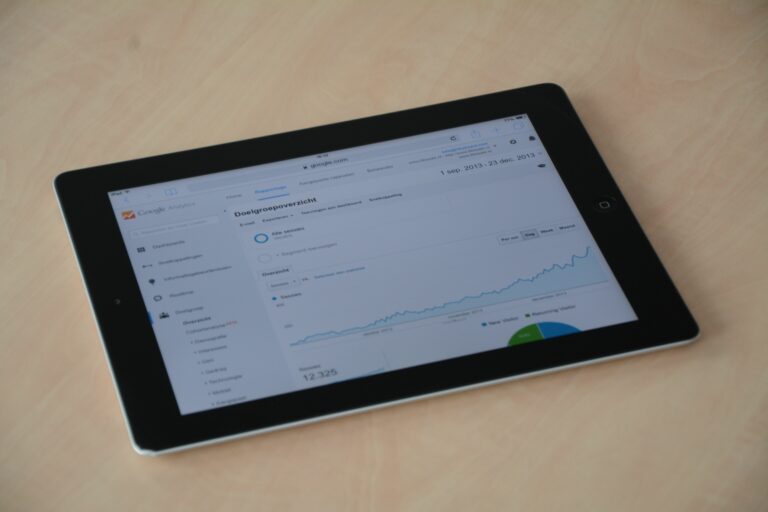
Ecommerce analytics is the fastest way to stop guessing and start improving revenue with evidence. If you sell products online, you already have data in your store, ad accounts, and email platform, but it only becomes useful when you turn it into decisions: what to fix, what to scale, and what to cut. This guide breaks down the core metrics, the terms marketers argue about, and a simple workflow you can repeat every week. Along the way, you will see formulas, example calculations, and two tables you can copy into your own reporting. The goal is not to build a perfect dashboard – it is to build a reliable habit of measurement that leads to better creative, better targeting, and better merchandising.
Ecommerce analytics basics: what to measure and why
Start by separating “activity” from “outcomes.” Activity metrics include impressions, reach, clicks, and video views; outcomes include purchases, revenue, and profit. Both matter, but they answer different questions: activity tells you whether people saw and engaged with your message, while outcomes tell you whether the business grew. Next, decide what level you are measuring: channel (TikTok, email, Google), campaign (Spring Sale), or asset (one creator video). Finally, define one primary goal per report, because a single dashboard cannot serve every meeting. A practical rule: if you cannot name the decision a metric will influence, remove it from your weekly view.
Concrete takeaway – write down three decisions you want analytics to support this month: (1) which products to feature, (2) which acquisition channels to scale, and (3) what conversion rate problem to fix first. Then map each decision to one metric and one diagnostic metric. For example, “scale channel” maps to contribution margin per order as the main metric and blended CAC as the diagnostic.
Key terms you must define early (with formulas)

Teams waste time when basic terms mean different things to different people. Define these in your first analytics doc, then keep the definitions consistent across reports. Reach is the number of unique people who saw content, while impressions count total views including repeats. Engagement rate is typically engagements divided by impressions (or reach), but you must state which one you use. CPM is cost per thousand impressions, CPV is cost per view (often for video), and CPA is cost per acquisition, usually a purchase. In influencer and paid social work, whitelisting means running ads through a creator’s handle, while usage rights describe how and where you can reuse creator content. Exclusivity is a contract term that limits a creator from working with competitors for a period of time, which often increases price because it reduces their earning options.
- CPM = (Ad spend / Impressions) x 1000
- CPV = Ad spend / Video views
- CPA = Ad spend / Conversions
- Engagement rate = Engagements / Impressions (or / Reach)
- Conversion rate = Orders / Sessions
- AOV = Revenue / Orders
- Revenue per session = Revenue / Sessions
Example calculation: you spend $2,400 on a campaign that generated 600,000 impressions, 18,000 clicks, and 120 purchases. CPM = ($2,400 / 600,000) x 1000 = $4.00. CPA = $2,400 / 120 = $20. If revenue was $9,600, then ROAS = $9,600 / $2,400 = 4.0. Those numbers look strong, but you still need margin to judge profitability, so add contribution margin per order to avoid scaling a “high ROAS, low profit” channel.
The core KPI stack: from traffic to profit
Most ecommerce reporting works best as a stack, where each layer explains the next. At the top is demand generation: impressions, reach, and clicks. Next is onsite behavior: sessions, add to carts, checkout starts, and bounce rate. Then comes conversion: orders, conversion rate, and AOV. Finally, you need profit metrics: gross margin, contribution margin, and customer lifetime value (LTV). This stack helps you diagnose problems quickly, because you can see whether the issue is awareness, intent, or purchase friction.
Concrete takeaway – build a weekly report with exactly one KPI per layer: (1) sessions, (2) add to cart rate, (3) conversion rate, (4) AOV, and (5) contribution margin. If one layer drops, you know where to investigate. For instance, if sessions are flat but conversion rate falls, you likely have a landing page, offer, or checkout issue rather than a traffic issue.
| KPI layer | Primary metric | What it answers | First diagnostic to check |
|---|---|---|---|
| Demand | Sessions | Are we bringing enough qualified traffic? | CTR by channel and creative |
| Intent | Add to cart rate | Do visitors want the product? | Product page load time and price sensitivity |
| Conversion | Checkout completion rate | Is checkout friction killing orders? | Payment errors, shipping costs, coupon behavior |
| Monetization | AOV | How much does each order generate? | Bundle uptake and upsell acceptance |
| Profit | Contribution margin | Are we growing profitably? | Refund rate and shipping cost per order |
Attribution and tracking: get the plumbing right
Analytics collapses when tracking is messy, so fix the basics before you debate advanced attribution models. Use consistent UTM parameters for every campaign link, including influencer links, email buttons, and paid social ads. Make sure your analytics platform and ad platforms agree on key events like purchase and add to cart, even if the counts differ slightly due to attribution windows. Also, document your attribution settings: last click vs data-driven, 7-day click vs 1-day view, and whether you include post-purchase upsells in revenue. When stakeholders know the rules, they stop arguing about whose dashboard is “right” and start asking what to do next.
For standards and definitions, rely on primary documentation. Google’s overview of attribution in Analytics is a solid reference for explaining models and windows to non-analysts: Google Analytics attribution overview. Keep that link in your internal wiki so new team members learn the same language. Concrete takeaway – create a one-page tracking spec that lists your UTM naming conventions, your purchase event definition, and your default attribution window for reporting.
Influencer and creator campaigns add two tracking wrinkles: (1) content lives on a platform you do not control, and (2) buyers often convert later on another device. Use a mix of trackable links, unique codes, and post-purchase surveys. If you run whitelisted ads, treat them like paid social for tracking, but tag them so you can separate “creator as media” from “creator as content.” For more practical measurement ideas you can adapt, browse the reporting templates and analytics posts on the InfluencerDB Blog and build a version that matches your funnel.
A simple weekly ecommerce analytics workflow (60 minutes)
You do not need a data team to run a disciplined analytics cadence. What you need is a repeatable checklist that forces you to look at the same levers every week, then take one action. Start with a “health check” view: revenue, orders, conversion rate, AOV, and refund rate week over week. Next, scan acquisition: sessions by channel, blended CAC, and contribution margin by channel. Then review product performance: top products by revenue, but also by margin and refund rate. Finally, pick one investigation and one test to run next week, so the report leads to movement.
- Step 1 – Snapshot: revenue, orders, conversion rate, AOV, refunds (WoW and YoY if possible).
- Step 2 – Acquisition: sessions and spend by channel, CPA, and new customer share.
- Step 3 – Funnel: add to cart rate, checkout start rate, checkout completion rate.
- Step 4 – Merch: top 10 SKUs by revenue, margin, stockouts, and returns.
- Step 5 – Action: one fix (site or offer) and one experiment (creative, landing page, bundle).
Concrete takeaway – write your “one fix” as a sentence with an owner and deadline, like: “Update product page hero image for SKU A and add size guide – owner: Sam – by Thursday.” Analytics without ownership is just commentary.
If you work with creators, you need to connect platform metrics to store metrics without pretending attribution is perfect. Start with reach, impressions, and video views to judge distribution. Then look at engagement rate and saves to judge resonance. After that, track link clicks, landing page sessions, and assisted conversions to judge intent. Finally, measure purchases, revenue, and new customer rate to judge business impact. The key is to compare creators using the same definitions and time windows, because creator content often has a long tail.
Concrete takeaway – evaluate creators with a two-score approach: (1) content score (hook rate, watch time, engagement rate) and (2) commerce score (sessions, conversion rate, revenue per session). A creator can be great at content but weak at commerce, which still makes them valuable for top-of-funnel creative testing and whitelisting.
| Metric | Where it lives | What good looks like | How to use it |
|---|---|---|---|
| Reach | Platform insights | Rising over time for similar content | Pick creators who can consistently distribute |
| Engagement rate | Platform insights | Stable or improving, not spiky | Spot authentic resonance vs one-off virality |
| CTR to site | UTMs, link tools | Improves with clearer CTAs | Audit hooks, captions, and offer clarity |
| Conversion rate | Store analytics | Close to site average or higher | Judge traffic quality from each creator |
| Revenue per session | Store analytics | Higher for best-fit audiences | Decide who to whitelist and retarget |
| New customer rate | Store or CRM | Higher for prospecting campaigns | Separate acquisition from retention impact |
How to audit performance with a worked example
Use a single campaign example to show your team how to think. Suppose you ran a two-week creator push plus whitelisted ads. You paid $3,000 for creator deliverables, then spent $7,000 on whitelisted ads, for $10,000 total. UTMs show 25,000 sessions, 750 orders, and $52,500 revenue. Your blended CPA is $10,000 / 750 = $13.33. Revenue per session is $52,500 / 25,000 = $2.10. If your contribution margin is 45%, then contribution profit is $52,500 x 0.45 = $23,625, and net contribution after marketing is $23,625 – $10,000 = $13,625.
Now diagnose: was it the creators or the ads? Split the report into three buckets: organic creator posts, whitelisted ads, and retargeting. If organic posts drove only 2,000 sessions but high conversion, you may have a distribution problem, not a product problem. On the other hand, if whitelisted ads drove most sessions but low conversion, your targeting or landing page may be off. Concrete takeaway – always calculate at least one profit-based metric (contribution after marketing) before you declare a campaign a winner.
If you need a neutral framework for campaign measurement, the Interactive Advertising Bureau publishes widely used standards and guidance: IAB measurement standards. Keep external standards in your process so reporting stays consistent when team members change.
Common mistakes (and how to avoid them)
The most common mistake is chasing ROAS without checking margin. A high ROAS campaign can still lose money if shipping, discounts, and returns eat the profit. Another frequent error is mixing attribution windows in the same report, which creates phantom swings week to week. People also overreact to small sample sizes, especially with creators, where one post can skew a week of data. Finally, teams often forget to tag campaigns consistently, so “direct” traffic becomes a junk drawer for untracked links.
- Mistake: reporting only revenue. Fix: add contribution margin and refund rate.
- Mistake: changing definitions mid-quarter. Fix: lock metric definitions in a shared doc.
- Mistake: comparing creators by likes only. Fix: compare by revenue per session and new customer rate.
- Mistake: ignoring creative fatigue. Fix: track CTR and CPA by creative age.
Concrete takeaway – add a “data quality” line to your weekly report: missing UTMs, tracking outages, or event changes. It saves hours of debate later.
Best practices: build a measurement system that scales
Good analytics is mostly good hygiene. First, standardize naming: campaign names, UTMs, and creator IDs should match across platforms. Second, keep a single source of truth for revenue and orders, typically your ecommerce platform or data warehouse, then reconcile other dashboards to it. Third, segment your reporting: new vs returning customers, mobile vs desktop, and top products vs the rest. Fourth, treat analytics as an experimentation engine: every week, ship one test with a clear hypothesis and a success metric.
Concrete takeaway – use a simple experiment template: “If we change X for audience Y, then metric Z will improve because of reason R.” For example, “If we add a bundle option on the product page for first-time visitors, then AOV will increase because the bundle reduces decision friction.” Then measure it with a pre-defined time window and sample size target.
Finally, keep compliance and platform rules in mind when you work with creators and ads. If you are running creator content as ads, ensure you have usage rights in writing and that disclosures are handled correctly. The FTC’s endorsement guidance is the baseline reference for disclosure expectations: FTC endorsements guidance. That link is also useful when you write briefs and contracts, because it clarifies what “clear and conspicuous” means in practice.
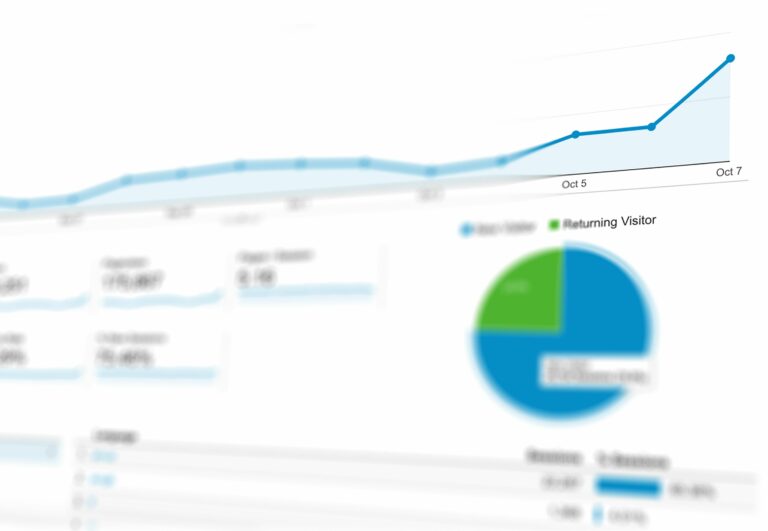
Quick-start dashboard: what to build in your first week
If you are starting from scratch, do not build a massive dashboard. Build a one-page view that answers three questions: how did we do, why did it happen, and what will we do next. Include a revenue and profit summary, a channel table, and a funnel view. Then add a notes section for context like stockouts, promo changes, or site issues. Once that works for a month, expand carefully, because more charts often reduce clarity.
- Must-have widgets: revenue, orders, conversion rate, AOV, contribution margin.
- Channel view: spend, sessions, CPA, revenue, contribution after marketing.
- Funnel view: add to cart rate, checkout start rate, checkout completion rate.
- Notes: promos, inventory, creative launches, tracking changes.
Concrete takeaway – schedule a 20-minute weekly review with one decision-maker present. The dashboard is only valuable if someone can approve the next action.