
Explainer video creation is one of the fastest ways to turn a complicated product into a clear story that people actually watch, understand, and share. In influencer marketing, it works because it reduces friction: viewers learn what the product does, why it matters, and what to do next in under two minutes. However, most teams waste budget by skipping the brief, underestimating editing time, or measuring the wrong thing. This guide breaks the process into decisions you can defend with data, so your next video is easier to produce and easier to optimize.
What explainer video creation means in influencer marketing
An explainer video is a short, structured piece of content designed to teach a concept or product quickly, usually with a problem – solution arc and a clear call to action. In influencer campaigns, the explainer format often sits between a pure testimonial and a tutorial: it explains the “why” and the “how” without feeling like a manual. To keep teams aligned, define the goal before you write anything: awareness (reach and recall), consideration (clicks and saves), or conversion (sign ups and purchases). Once the goal is set, you can choose the right format, length, and measurement approach.
Here are key terms you should lock down early, because they affect pricing, tracking, and creative decisions:
- Reach: unique people who saw the content at least once.
- Impressions: total views, including repeat views by the same person.
- Engagement rate: engagements divided by impressions or reach (define which one in your report).
- CPM: cost per 1,000 impressions. Formula: CPM = (Cost / Impressions) x 1000.
- CPV: cost per view, often used for video. Formula: CPV = Cost / Views.
- CPA: cost per acquisition (purchase, signup, lead). Formula: CPA = Cost / Conversions.
- Whitelisting: running paid ads through the creator’s handle (often called branded content ads on platforms).
- Usage rights: permission for the brand to reuse the creator’s video (duration, channels, and geography matter).
- Exclusivity: creator agrees not to promote competing brands for a set period.
Takeaway: write these definitions into your campaign brief so pricing and reporting do not drift mid campaign.
Pick the right format and length (with decision rules)
Explainers fail when the format does not match the platform or the audience’s intent. A 90 second voiceover that works on YouTube can feel slow on TikTok, while a fast cut TikTok may not answer enough questions for a higher priced product. Start with a decision rule: if the viewer needs context to trust the product, go longer; if the viewer needs a single reason to try it, go shorter.
Use these practical guidelines:
- 15 to 30 seconds: one problem, one solution, one proof point, one CTA. Best for top of funnel and retargeting.
- 45 to 75 seconds: add a mini demo and one objection handler. Best for apps, subscriptions, and DTC products with a learning curve.
- 90 to 150 seconds: deeper walkthrough, comparisons, or before and after. Best for B2B tools, finance, or anything with setup steps.
Format options that map well to influencer content:
- On camera explainer: creator speaks directly, adds captions and b roll. Highest trust, fastest to produce.
- Screen recording demo: ideal for apps and SaaS. Make the first 3 seconds show the outcome, not the menu.
- Hybrid: creator on camera plus screen capture plus simple motion graphics. Often the best balance of clarity and pace.
Takeaway: choose length by the amount of “new information” the viewer must absorb to act, not by what feels standard.
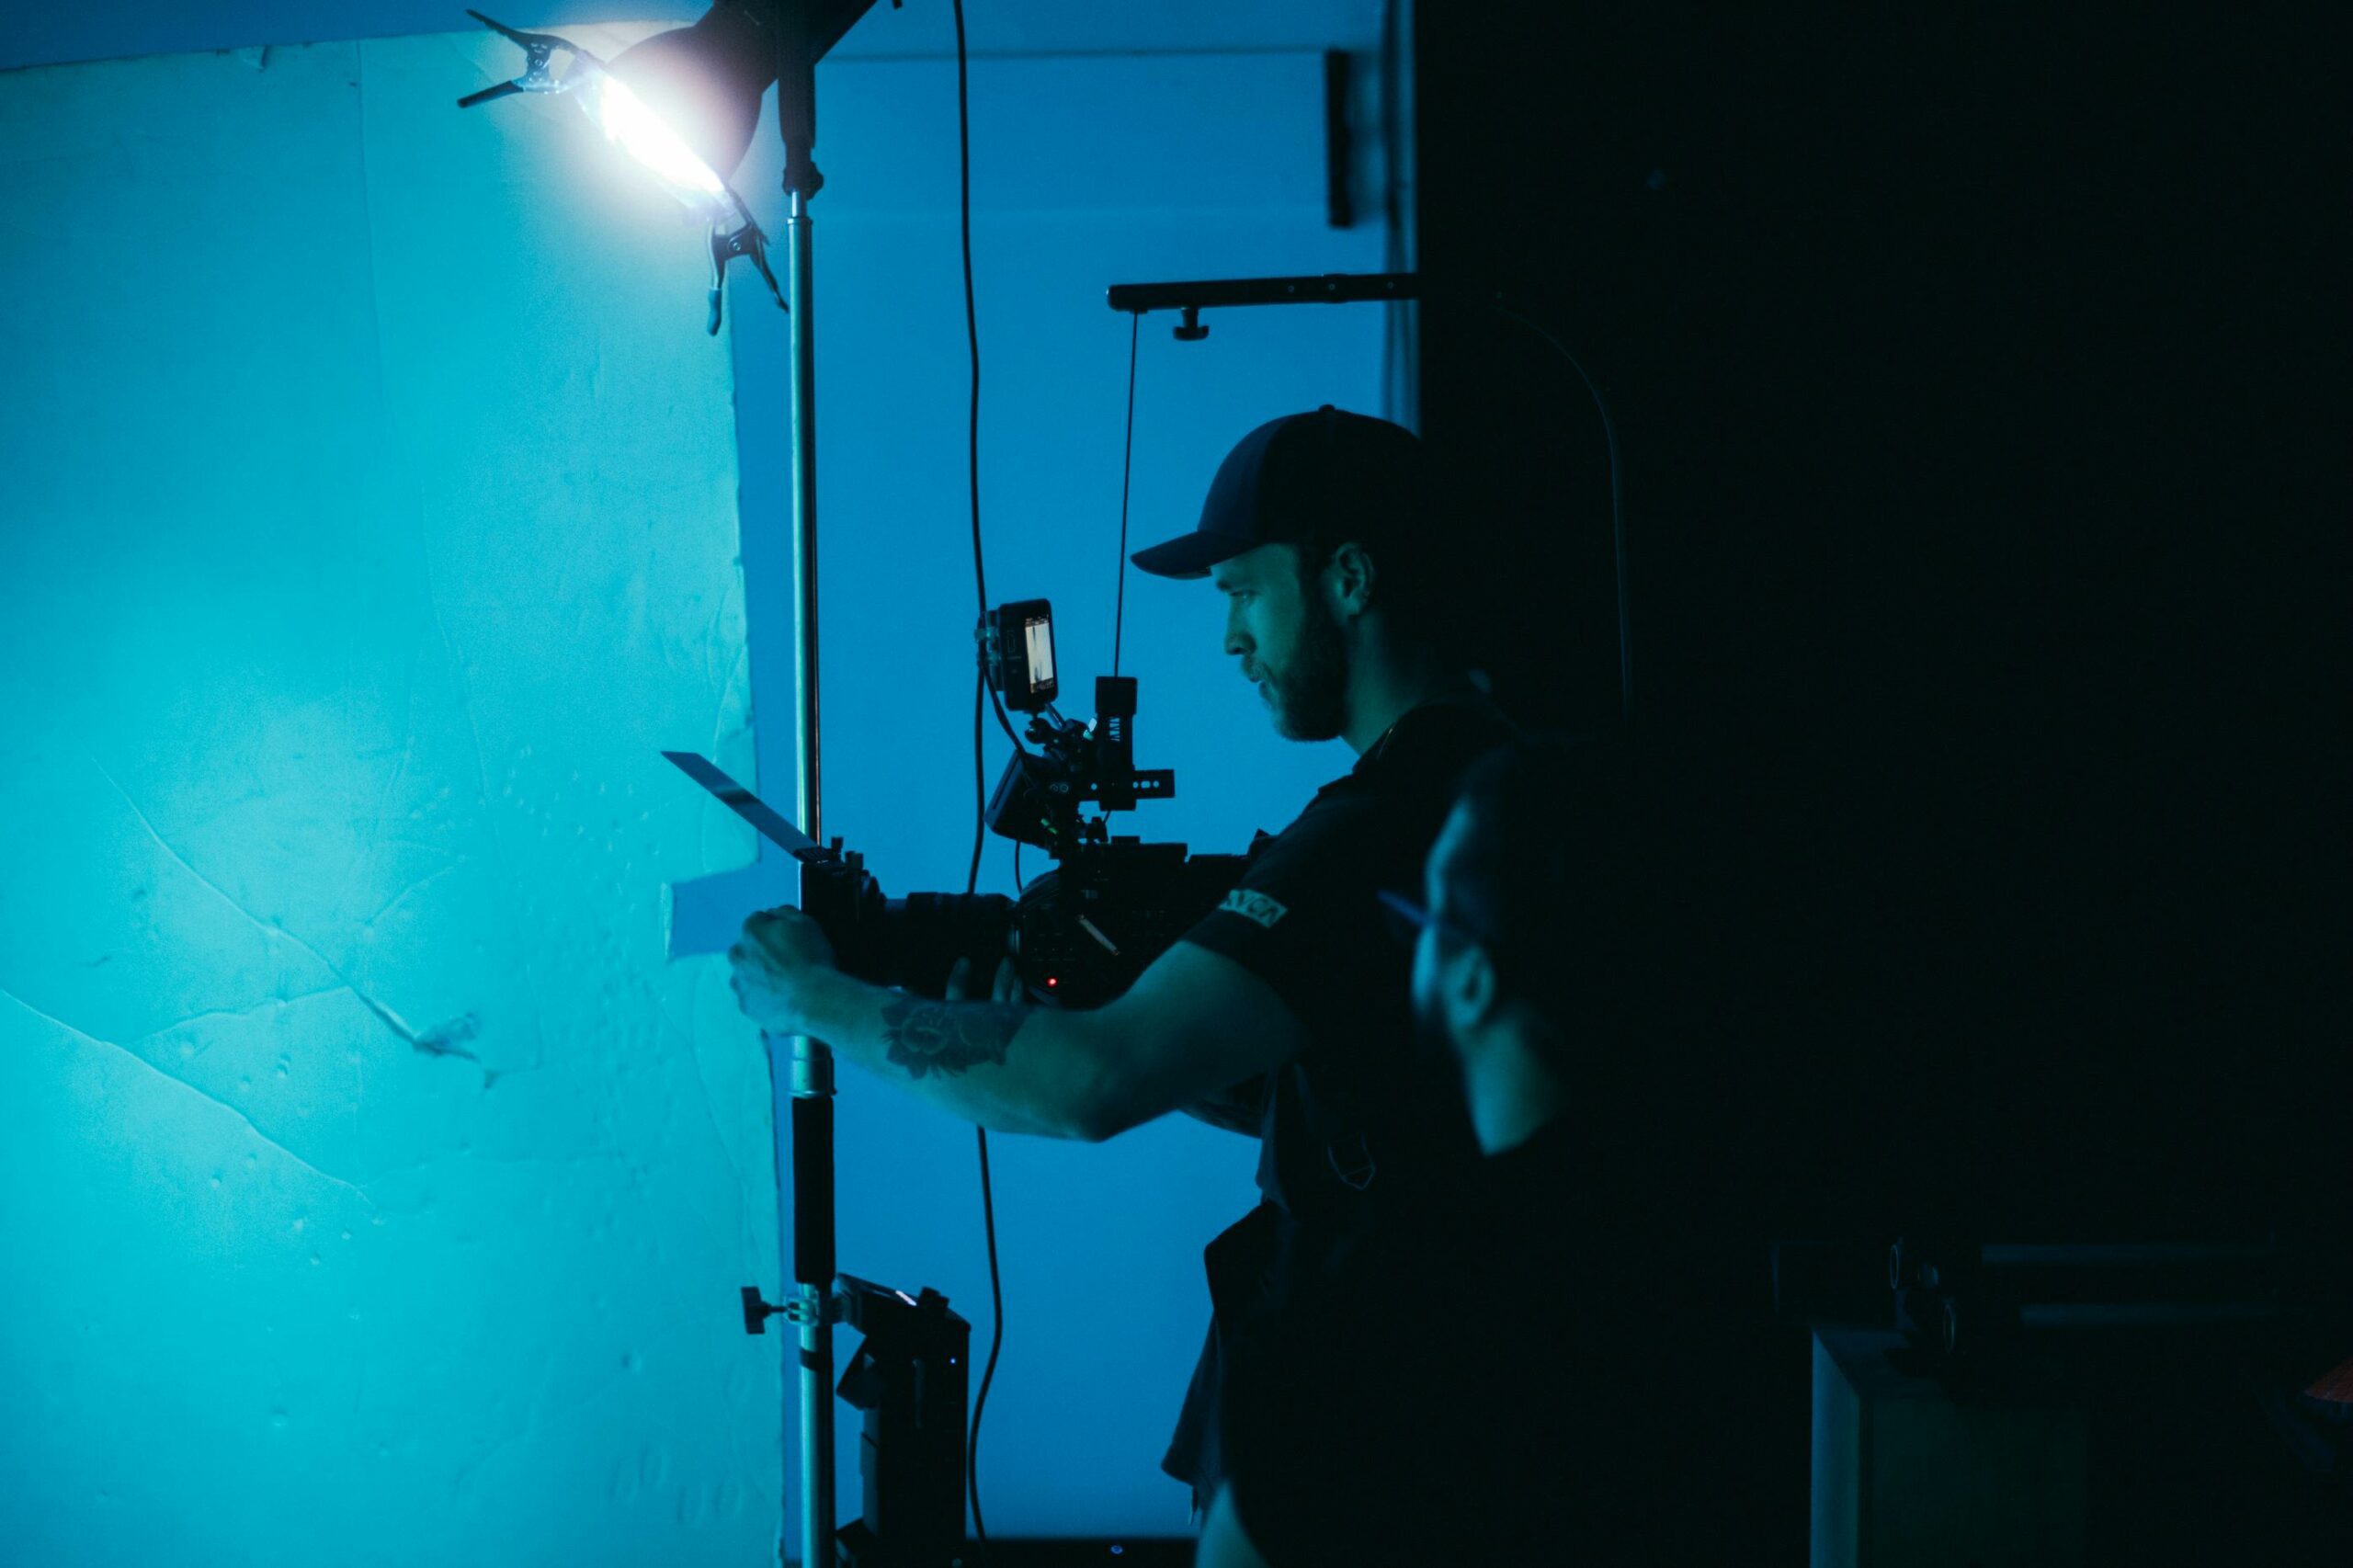
A step by step framework: brief, script, storyboard, shoot, edit, publish
This workflow keeps explainer production predictable, even when multiple stakeholders are involved. It also makes creator collaborations smoother because you can separate what must be accurate from what can be in the creator’s voice.
- Brief (one page): audience, promise, key features, proof, CTA, do not say list, required disclosures, and deliverables. If you want a template mindset, browse how we structure campaign thinking on the InfluencerDB Blog and adapt it to your product.
- Message hierarchy: pick one primary message and two supporting points. If you have five “must mentions,” you do not have a message, you have a brochure.
- Script: write for the ear, not the eye. Keep sentences short, use concrete nouns, and avoid stacked clauses.
- Storyboard or shot list: map each line to a visual. For creators, a shot list is often enough and feels less rigid.
- Production: capture clean audio first, then visuals. Bad audio kills retention faster than imperfect lighting.
- Edit: cut ruthlessly. Remove anything that does not increase understanding or trust. Add captions, on screen labels, and pattern interrupts every 3 to 5 seconds.
- Publish and iterate: test hooks, thumbnails, and CTAs. Save raw project files so you can version quickly.
Takeaway: treat the brief and message hierarchy as your “source of truth” so edits do not become opinion battles.
Script that converts: a proven structure with a fill in template
A good explainer script is not poetic, it is precise. It anticipates confusion, answers objections, and earns the right to ask for action. To keep it practical, use a structure that works across niches and platforms.
Use this 7 part structure:
- Hook (0 to 3 seconds): show the outcome or the pain. Example: “If your invoices take hours, this cuts it to minutes.”
- Problem: name the friction in plain language. Avoid abstract claims like “streamline your workflow.”
- Why it matters: one consequence. Time, money, stress, or missed opportunities.
- Solution: introduce the product and the core mechanism.
- How it works: 3 steps max. If you need more, split into a series.
- Proof: one data point, one demo moment, or one credible testimonial.
- CTA: one action, one incentive, one deadline if real.
Fill in template (copy into your doc):
- Hook: “If you struggle with [pain], try this.”
- Problem: “Most people [current behavior] and it leads to [consequence].”
- Solution: “I use [product] because it [mechanism].”
- How: “Step 1 [action]. Step 2 [action]. Step 3 [action].”
- Proof: “Here is what changed: [metric or visible result].”
- CTA: “Do [action] and use [code] for [offer].”
Takeaway: if the hook does not promise a clear outcome, rewrite it before you touch the rest of the script.
Pricing explainer videos: benchmarks, add ons, and negotiation levers
Explainer videos cost more than simple shoutouts because they require scripting, tighter editing, and often multiple revisions. That said, you can control cost by being specific about deliverables and rights. The cleanest way to negotiate is to separate the creative fee from paid usage and exclusivity, since those are value multipliers.
Use this table as a starting point for creator made explainer content. These are broad market ranges, and your niche, creator demand, and production complexity can move pricing significantly.
| Deliverable | Typical length | Common price range (USD) | Notes |
|---|---|---|---|
| TikTok or Reels explainer | 30 to 60 sec | $500 to $5,000 | Price rises with scripting, props, and niche expertise |
| YouTube dedicated explainer | 3 to 8 min | $2,000 to $25,000 | Includes deeper research and higher opportunity cost |
| UGC style explainer for ads | 20 to 45 sec | $300 to $2,500 | Often priced per concept, with bundles for variants |
| Animated explainer (agency or studio) | 60 to 120 sec | $5,000 to $50,000+ | Higher cost, but easier brand control and reuse |
Now add the levers that change the deal:
| Lever | How it changes price | Decision rule |
|---|---|---|
| Usage rights | +20% to +200% depending on duration and channels | If you will run it as an ad, negotiate paid usage up front |
| Whitelisting | Monthly fee or % uplift | Use when creator identity is a key performance driver |
| Exclusivity | Often +25% to +100% | Only buy it if competitors actively advertise to the same audience |
| Revisions | Flat included rounds, then hourly or per round | Cap revisions and require consolidated feedback |
Example calculation: you pay $3,000 for a 60 second explainer that gets 120,000 impressions. CPM = (3000 / 120000) x 1000 = $25. If it drives 75 purchases, CPA = 3000 / 75 = $40. Those two numbers tell different stories, so pick the one that matches your goal.
Takeaway: negotiate rights and exclusivity separately, and always translate the final fee into CPM, CPV, or CPA so you can compare options.
Measurement and tracking: what to report and how to calculate it
Explainers are often judged too early. A video can have average engagement but strong downstream conversion because it answers questions that block purchase. Therefore, build a simple measurement stack that captures both attention and outcomes.
Track these metrics by default:
- Hook rate: 3 second views divided by impressions (platform dependent). If this is weak, fix the first line and first visual.
- Average watch time: tells you if the explanation is paced correctly.
- Completion rate: completions divided by views. Strong for short explainers.
- CTR: clicks divided by impressions. Useful when the CTA is clear and link placement is consistent.
- Conversion rate: conversions divided by clicks or sessions.
Simple formulas you can paste into a report:
- Engagement rate (impressions based) = engagements / impressions
- CPV = cost / views
- Incremental lift estimate = (post campaign conversion rate – baseline conversion rate) x campaign sessions
For campaign hygiene, align on attribution rules. If you use UTMs and a landing page, document it in the brief. If you use platform native reporting, capture screenshots within 7 days because some metrics roll up or disappear. For a baseline on how YouTube defines key view metrics, reference YouTube Analytics documentation in your internal measurement notes.
Takeaway: report one attention metric (watch time or completion) and one outcome metric (CPA or conversion rate) so creative and performance teams stay aligned.
Common mistakes that quietly tank performance
Most explainer videos do not fail because the product is bad. They fail because the video tries to do too much, or because the team confuses “explaining” with “listing features.” Fixing these mistakes usually improves results without increasing spend.
- Starting with the brand: viewers care about their problem first. Lead with the pain or outcome.
- Too many claims, no proof: add one credible proof point, even if it is small.
- Jargon: replace internal terms with everyday language. If you must use a term, define it on screen.
- Weak CTA: “Learn more” is rarely enough. Tell people exactly what to do next.
- Unclear rights: teams assume they can reuse the video in ads, then discover they cannot.
Takeaway: if you can only fix one thing, rewrite the first 5 seconds to show the outcome and remove brand intro.
Best practices for creators and brands (a checklist you can reuse)
Explainers work best when the creator’s voice stays intact while the facts remain tight. That balance comes from a clear brief, fast approvals, and realistic production expectations. Also, compliance matters: if the video includes a paid partnership, disclosures must be clear and unavoidable.
- Keep one objective: awareness, consideration, or conversion. Do not mix all three in one short video.
- Write for captions: assume many viewers watch muted. Use on screen labels and clean subtitles.
- Show, then tell: demonstrate the outcome before you explain steps.
- Build for variants: plan 3 hooks and 2 CTAs so you can test without reshooting everything.
- Lock disclosures: require “Paid partnership” tools where available and add verbal or on screen disclosure when needed.
For disclosure rules that apply to endorsements, review the FTC’s guidance at FTC endorsements and testimonials resources. Keep that link in your brief so creators can self check before posting.
Takeaway: treat disclosure and usage rights as production requirements, not legal cleanup after the edit.
Putting it all together: a simple production plan for your next campaign
To ship faster, run explainer video creation like a repeatable system. Start with one flagship explainer, then repurpose it into shorter cuts for paid and organic. Next, assign owners so feedback is consolidated and timelines stay real. Finally, measure performance against the objective you chose, then iterate on the hook and proof point before you change the entire concept.
Use this mini plan:
- Day 1: finalize brief, definitions, and tracking links.
- Day 2: script and shot list approved in one review round.
- Day 3 to 5: production and first edit; capture 3 hook variants.
- Day 6: final approval, publish, and schedule cutdowns.
- Day 7 to 14: report watch time, CPV, and CPA; decide what to reshoot versus what to re edit.
Takeaway: if you want consistent results, standardize the brief, standardize the measurement, and let creators own the delivery.