
Social Event Marketing Strategy is the difference between a one-night spike and a campaign that compounds before, during, and after your event. Whether you are promoting a product launch, a conference, or a pop-up, you need a plan that ties creative to measurable outcomes. In practice, that means defining success, choosing channels, booking creators, and setting tracking before the first post goes live. It also means designing on-site moments that translate into content, not just memories. Finally, it means using post-event assets and data to drive sales, leads, and learnings for the next cycle.
Social Event Marketing Strategy: define goals, KPIs, and terms
Start with outcomes, then work backward into content and influencer deliverables. Pick one primary objective per event: ticket sales, qualified leads, brand lift, app installs, or retail foot traffic. Next, choose 3 to 5 KPIs that match that objective and that you can actually measure within your stack. For ticketed events, track ticket conversions, cost per acquisition, and checkout drop-off. For brand events, track reach, video views, and branded search lift, then validate with post-event traffic and email signups. Concrete takeaway: write your objective in one sentence and attach a number and a deadline, for example, “Sell 600 tickets by May 20 with CPA under $18.”
Define the core measurement terms early so everyone uses the same language. CPM is cost per thousand impressions: CPM = (Spend / Impressions) x 1000. CPV is cost per view: CPV = Spend / Views (define “view” by platform). CPA is cost per action: CPA = Spend / Conversions. Engagement rate is typically (Likes + Comments + Shares + Saves) / Followers for creator posts, or Engagements / Impressions for paid placements. Reach is unique accounts exposed; impressions are total exposures including repeats. If you plan to run creator content as ads, define whitelisting (brand runs ads through the creator handle), usage rights (how long and where you can reuse content), and exclusivity (creator cannot promote competitors for a period). Concrete takeaway: put these definitions into your brief and contract so reporting and invoicing do not drift.
Before the event: build the plan, the brief, and the tracking
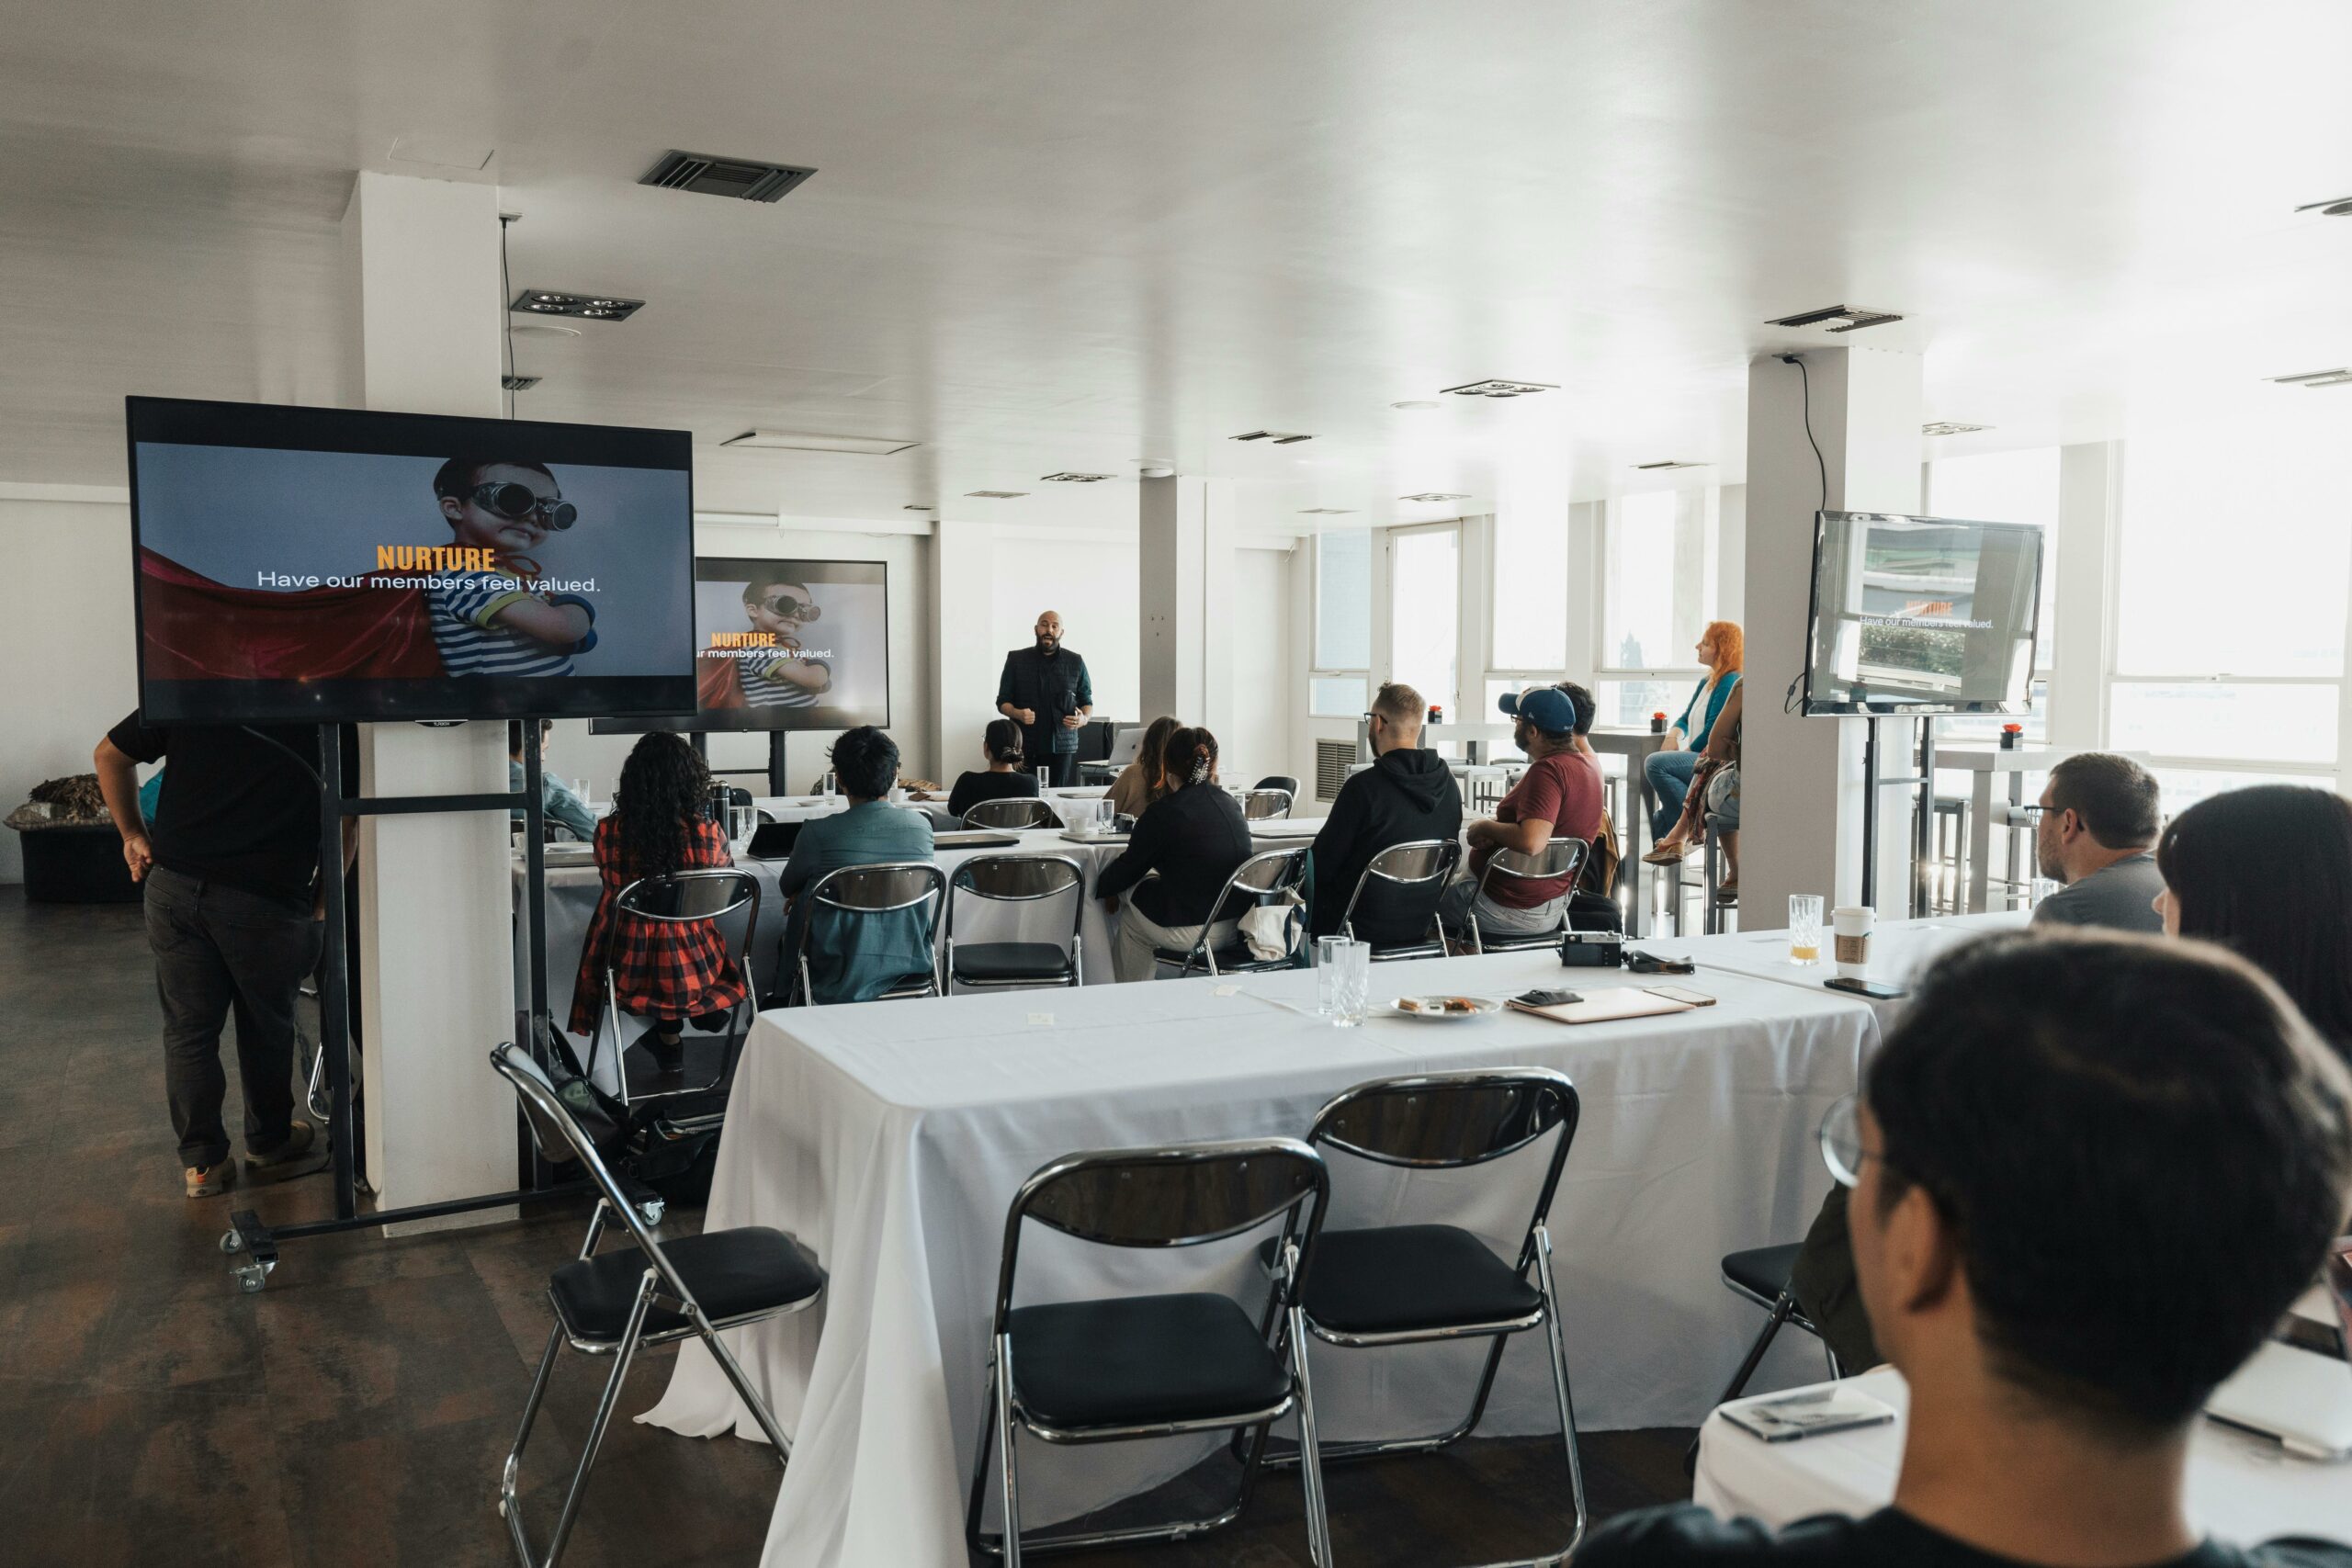
Pre-event is where most ROI is won, because this is when you can still influence attendance and intent. Build a simple timeline: announcement, early-bird push, speaker or lineup reveals, last-call urgency, and day-of reminders. Then map each beat to a content format: short video for awareness, carousel for details, Stories for reminders, and email or SMS for conversion. If you are working with creators, assign each creator a role, such as “awareness driver,” “community validator,” or “conversion closer.” Concrete takeaway: if a post contains logistics, include a saved highlight or pinned post so late viewers can still find the details.
Write a brief that is specific enough to execute and flexible enough to feel native. Include: event value proposition, target audience, key messages, do and do-not list, brand safety notes, required disclosures, and a shot list for on-site content. Add deliverables with dates and acceptance criteria, for example, “1 TikTok (20 to 35 seconds) with venue exterior, check-in moment, and one attendee quote.” Also include a measurement plan: UTM links, promo codes, and landing pages per creator or per cohort. For a practical reference on planning and measurement templates, keep a running library on your team and review examples from the InfluencerDB blog on influencer campaign planning.
Tracking is not glamorous, but it prevents guesswork. Create a dedicated landing page for the event with fast load time, clear CTA, and a single primary conversion. Use UTMs for every channel and creator, and generate unique discount codes when possible. If you are using paid amplification, set up pixels and conversion APIs before launch, not the night before. Concrete takeaway: test your tracking by clicking every UTM link on mobile, completing a test checkout or form submission, and confirming the conversion shows up in analytics within 24 hours.
| Phase | Key tasks | Owner | Deliverables | Done when |
|---|---|---|---|---|
| 4 to 6 weeks before | Set objective, budget, creator shortlist, tracking plan | Marketing lead | One-page strategy, KPI list, measurement sheet | KPIs approved and tracking links created |
| 3 to 4 weeks before | Creator outreach, contracts, content calendar | Influencer manager | Signed agreements, posting schedule | All posts scheduled or draft dates locked |
| 1 to 2 weeks before | Creative review, landing page QA, paid setup | Creative + paid social | Approved assets, ad sets, pixel tests | Test conversions recorded in analytics |
| Event week | Final reminders, on-site run of show, creator check-ins | Event producer | Run sheet, shot list, creator schedule | Everyone knows where to be and when |
| 1 to 7 days after | Recap content, retargeting, reporting, learnings | Analyst | Performance report, asset library | Insights documented and next actions assigned |
Creator and channel selection: decision rules that save budget
Choose channels based on how people discover and decide, not on what is trendy. TikTok and Reels are strong for discovery and last-minute momentum, while Instagram Stories and email are reliable for reminders and conversions. YouTube can work for higher-consideration events when you have a strong narrative, such as a behind-the-scenes build or a creator vlog. LinkedIn is often underestimated for B2B events because it supports speaker credibility and direct registration intent. Concrete takeaway: if your event is local, prioritize creators with high local audience concentration over creators with higher overall follower counts.
When selecting creators, look beyond average engagement and ask whether their audience matches your attendee profile. Request audience location, age, and interest breakdowns, and validate with past event performance if available. For conversion-focused pushes, prioritize creators who can explain logistics clearly and who have a track record of driving clicks. For brand events, prioritize creators who can capture atmosphere and social proof without making the content feel like an ad. Also decide upfront whether you need whitelisting and usage rights, because those change pricing and timelines. Concrete takeaway: shortlist creators in three tiers – anchor (1 to 2), mid (3 to 6), and micro (10 to 30) – so you can scale based on early results.
| Creator tier | Best for | Typical deliverables | Pricing model to request | Risk to watch |
|---|---|---|---|---|
| Micro (5k to 50k) | Local attendance, community trust | Stories, short video, link sticker | Flat fee + performance bonus per ticket | Inconsistent production quality |
| Mid (50k to 250k) | Balanced reach and credibility | Reels/TikTok + Stories + recap | Flat fee with usage rights add-on | Overlapping audiences across creators |
| Macro (250k+) | Awareness spikes, press-like impact | Hero video, announcement post, on-site appearance | Flat fee + whitelisting + exclusivity | High CPM if content underperforms |
During the event: capture content that travels and converts
On-site social succeeds when you treat content like a production, not an afterthought. Build a run of show that includes content windows: arrivals, opening moment, peak energy, and a closing beat. Assign a point person to each creator and give them a shot list that includes both brand moments and human moments, such as attendee reactions and quick interviews. Create a “content station” with good lighting, clean audio options, and a branded but not cluttered background. Concrete takeaway: schedule 15-minute creator capture blocks between programming segments so creators are not forced to film in chaos.
Live distribution matters as much as capture. Use Stories for real-time updates and FAQs, then post one high-quality short video during the event to catch late deciders. Pin a post with the most important logistics and update it if anything changes. If you have a live stream, keep it simple and stable, and repurpose clips into short videos within 24 hours. For platform-specific guidance, consult official documentation like Meta Business resources to align formats, specs, and ad options with your plan. Concrete takeaway: have a pre-written set of captions for delays, sold-out updates, and schedule changes so you can communicate fast without sounding frantic.
Do not ignore compliance during the rush. If creators are compensated or receive free access, they should disclose clearly and early in the post. In the US, the FTC expects disclosures that are hard to miss and understandable, even on short-form video. A quick refresher from FTC endorsement guidelines can prevent awkward edits later. Concrete takeaway: include disclosure examples in your brief, such as “Paid partnership with Brand” plus a spoken disclosure in the first 10 seconds when appropriate.
After the event: turn assets into a 30-day performance engine
Post-event is where many teams waste their best material by posting one recap and moving on. Instead, treat the event as a content mine: testimonials, product demos, behind-the-scenes, speaker highlights, and community reactions. Build a 30-day repurposing plan that mixes short clips, carousels, and longer edits. Then sequence content by funnel stage: recap for awareness, testimonials for consideration, and offer-driven posts for conversion. Concrete takeaway: within 72 hours, publish one “what you missed” video and one proof-focused asset, such as attendee quotes or measurable outcomes.
Retargeting is the simplest way to extend event momentum. Build audiences from video viewers, landing page visitors, and engaged social users, then serve them recap content and a next-step CTA like “Join the waitlist,” “Download the deck,” or “Book a demo.” If you used whitelisting, test creator-handle ads against brand-handle ads, because the creator identity can lift CTR. Keep frequency in check so you do not burn goodwill, especially for local communities. Concrete takeaway: cap frequency and rotate creative weekly, using the top-performing on-site clips as the base.
Measurement and ROI: simple formulas and an example you can copy
Event marketing measurement gets messy when you mix online and offline outcomes, so keep your model simple and explicit. Start with direct response: tickets sold, leads captured, or purchases attributed to UTMs and codes. Then add assisted value: email signups, demo requests, and branded search lift, which you can treat as leading indicators. Finally, document qualitative outcomes like press mentions and partner relationships, but do not let them replace the numbers. Concrete takeaway: report results in three layers – direct, assisted, and qualitative – so stakeholders see the full picture without inflating ROI.
Here is a copyable example calculation for a ticketed event. Suppose you spend $12,000 total: $7,000 on creators, $3,000 on paid amplification, and $2,000 on content production. Your tracking shows 420 ticket purchases attributed to UTMs and codes, with an average ticket price of $45. Revenue attributed is 420 x 45 = $18,900. Your blended CPA is 12,000 / 420 = $28.57. If your target CPA was $30, you are on plan; if not, you know exactly where to optimize next time. Concrete takeaway: always calculate blended CPA and also CPA by channel so you can reallocate budget quickly.
For brand events, use cost per reached person and cost per engaged person as sanity checks. Example: $10,000 spend, 500,000 impressions, 220,000 reach, 18,000 engagements. CPM is (10,000 / 500,000) x 1000 = $20. Cost per reached person is 10,000 / 220,000 = $0.045. Cost per engagement is 10,000 / 18,000 = $0.56. Concrete takeaway: compare these numbers to your historical paid social benchmarks to judge whether the event content performed like strong creative or like expensive noise.
Common mistakes that quietly kill event performance
One common mistake is treating creators like billboards instead of collaborators, which leads to stiff content and weak watch time. Another is launching without a measurement plan, then trying to reconstruct attribution from screenshots and gut feelings. Teams also over-index on follower count and ignore audience location, which is fatal for local attendance goals. On-site, a frequent failure is not providing creators with time, access, or audio conditions that allow them to capture usable footage. Finally, many brands post a recap too late, when the social conversation has already moved on. Concrete takeaway: run a pre-mortem meeting and ask, “What would make this event underperform?” then assign owners to prevent those failures.
Best practices: a repeatable playbook you can run every time
Build repeatability by standardizing the pieces that should not change: brief template, tracking sheet, contract clauses for usage rights and exclusivity, and a post-event reporting format. Keep a creator bench and track performance over time, including conversion rate, CPM, and qualitative fit, so selection improves each cycle. Use a content capture plan with a shot list, but allow creators to pitch one original concept each, because that is often where the best posts come from. Afterward, store assets in a labeled library by format and theme, so your paid team can find winners fast. Concrete takeaway: schedule a 45-minute post-mortem within seven days, document three keep-doing and three change-next-time actions, and link them in your campaign folder.
If you want a lightweight way to keep improving, create one dashboard that includes: spend by channel, content outputs, reach and impressions, engagement rate, clicks, conversions, and top three posts by objective. Then add notes about what happened in the real world, like weather, competing events, or a schedule change, because context explains anomalies. Over time, this becomes your internal benchmark set for event marketing, and it makes budget conversations easier. Concrete takeaway: decide one testing variable per event, such as “micro creators only” or “whitelisted ads vs brand ads,” so you learn something clean instead of changing everything at once.