Event social media marketing is no longer just posting a flyer and hoping it spreads – in 2026, you need a measurable plan that connects content, creators, paid amplification, and on-site capture to ticket sales and real attendance.
This guide is built for event marketers who want practical decisions: what to post, who to partner with, how to price creator deliverables, and how to track results without getting lost in vanity metrics. You will also find definitions for the terms teams argue about, plus tables you can copy into your campaign doc.
Platforms are pushing short video, search-style discovery, and in-app shopping, but the fundamentals of event demand generation are steady. People still buy tickets when they trust the experience, understand the value, and feel urgency. The difference is that algorithms now reward native formats and consistent signals, so a single big announcement post rarely carries the campaign.
Start by treating your event like a product launch with phases: awareness, consideration, conversion, and retention. Then map each phase to a content promise. For example, awareness content answers “what is this and who is it for,” while conversion content answers “why now and how do I buy.” A concrete takeaway: publish at least one piece of proof content per week (speaker clip, attendee testimonial, behind-the-scenes build) because proof tends to outperform pure announcements when budgets tighten.
Finally, plan for distribution, not just creation. Organic reach is volatile, so you should assume you will need a mix of creator posts, paid boosts, email, and partner channels. If you are building a measurement-first culture, keep a simple rule: every post should have one primary job (reach, clicks, saves, or sales) and one tracking method tied to that job.
Key terms you must align on before you brief creators
Event campaigns fall apart when teams use the same words to mean different things. Align definitions early, then bake them into your brief and reporting template. That way, your brand, agency, and creators are grading the same test.
- Reach: unique accounts that saw the content at least once. Use it to estimate how many people entered the top of funnel.
- Impressions: total views, including repeats. Use it to understand frequency and creative fatigue.
- Engagement rate: engagements divided by reach or impressions (pick one and stick to it). A practical rule: for event awareness posts, compare engagement rate only within the same platform and format.
- CPM (cost per mille): cost per 1,000 impressions. Formula: CPM = (Spend / Impressions) x 1000.
- CPV (cost per view): cost per video view (define view length per platform). Formula: CPV = Spend / Views.
- CPA (cost per action): cost per desired action (ticket purchase, email signup, app install). Formula: CPA = Spend / Conversions.
- Whitelisting: running paid ads through a creator’s handle (also called creator licensing). Takeaway: request it when you need scale and social proof, but negotiate usage windows and approval steps.
- Usage rights: permission to reuse creator content on your channels, ads, or website. Takeaway: specify where (paid vs organic), how long, and in which regions.
- Exclusivity: limits on a creator working with competing events or sponsors. Takeaway: pay for it explicitly and define the category narrowly.
For disclosure and compliance, build your policy around official guidance. The FTC’s endorsement guidelines are the baseline in the US: FTC Endorsement Guides. If you run paid social, also keep platform ad policies handy, such as Meta Advertising Standards.
Build a campaign plan that ties content to ticket revenue
Before you pick platforms or creators, decide what you are optimizing for: ticket sales, registrations, foot traffic, or sponsor leads. Next, set a single primary KPI per phase. This prevents the common trap of judging a conversion post by likes, or an awareness post by purchases.
Use this step-by-step framework:
- Define the offer: ticket tiers, deadlines, bundles, and what is included. If you have VIP, spell out the tangible perks.
- Identify audiences: local attendees, travelers, industry professionals, students, or families. Then match each audience to a platform behavior.
- Choose proof assets: speaker clips, venue walk-through, last year recap, sponsor activations, or attendee reactions.
- Set tracking: UTMs for every link, platform pixels where possible, and a plan for offline attribution (QR codes at the venue, post-event surveys).
- Schedule content: weekly cadence plus “moments” (lineup drop, price increase, limited seats, on-site day-of).
A practical example calculation helps align expectations. Suppose you spend $6,000 on creator content and boosts. If you sell 120 tickets directly attributed to tracked links, your CPA is $6,000 / 120 = $50 per ticket. If your average ticket margin is $80, that is profitable on direct response alone. Additionally, you may have assisted conversions that show up later in email or organic search, so keep a separate “tracked direct” and “modeled total” view.
| Phase | Primary goal | Best content types | Tracking method | Concrete takeaway |
|---|---|---|---|---|
| Awareness | Reach new locals | Short video teasers, creator POV, venue reveals | Reach, video views, CPM | Run at least 2 creatives per week to avoid fatigue |
| Consideration | Build trust | Speaker clips, FAQs, “who it’s for” explainers | Link clicks, saves, time watched | Answer top 5 objections in content, not just on the site |
| Conversion | Sell tickets | Offer posts, deadline reminders, creator discount codes | UTM sales, CPA, ROAS | Use one landing page per audience segment |
| On-site | Increase experience and UGC | Live clips, attendee interviews, sponsor activations | QR scans, hashtag volume, story mentions | Assign a runner to capture 10 short clips per hour |
| Post-event | Retain and pre-sell next event | Recap video, highlights, testimonials | Email signups, waitlist joins | Publish recap within 72 hours while emotion is high |
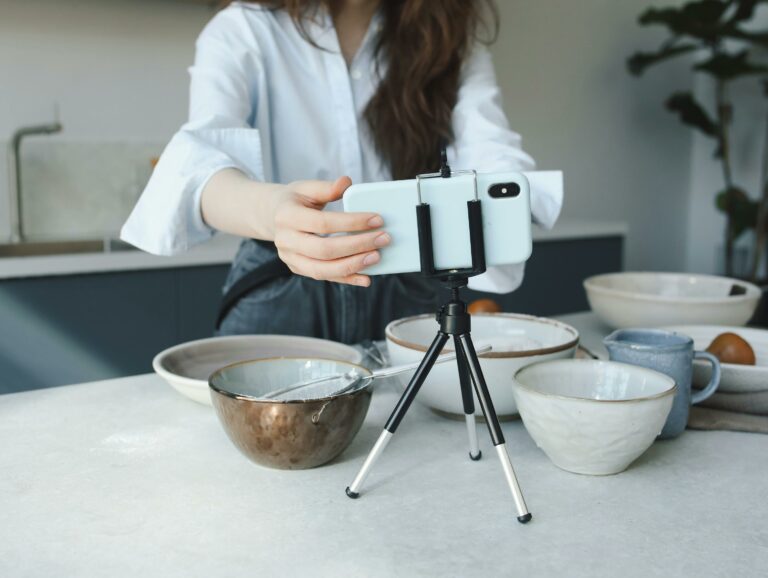
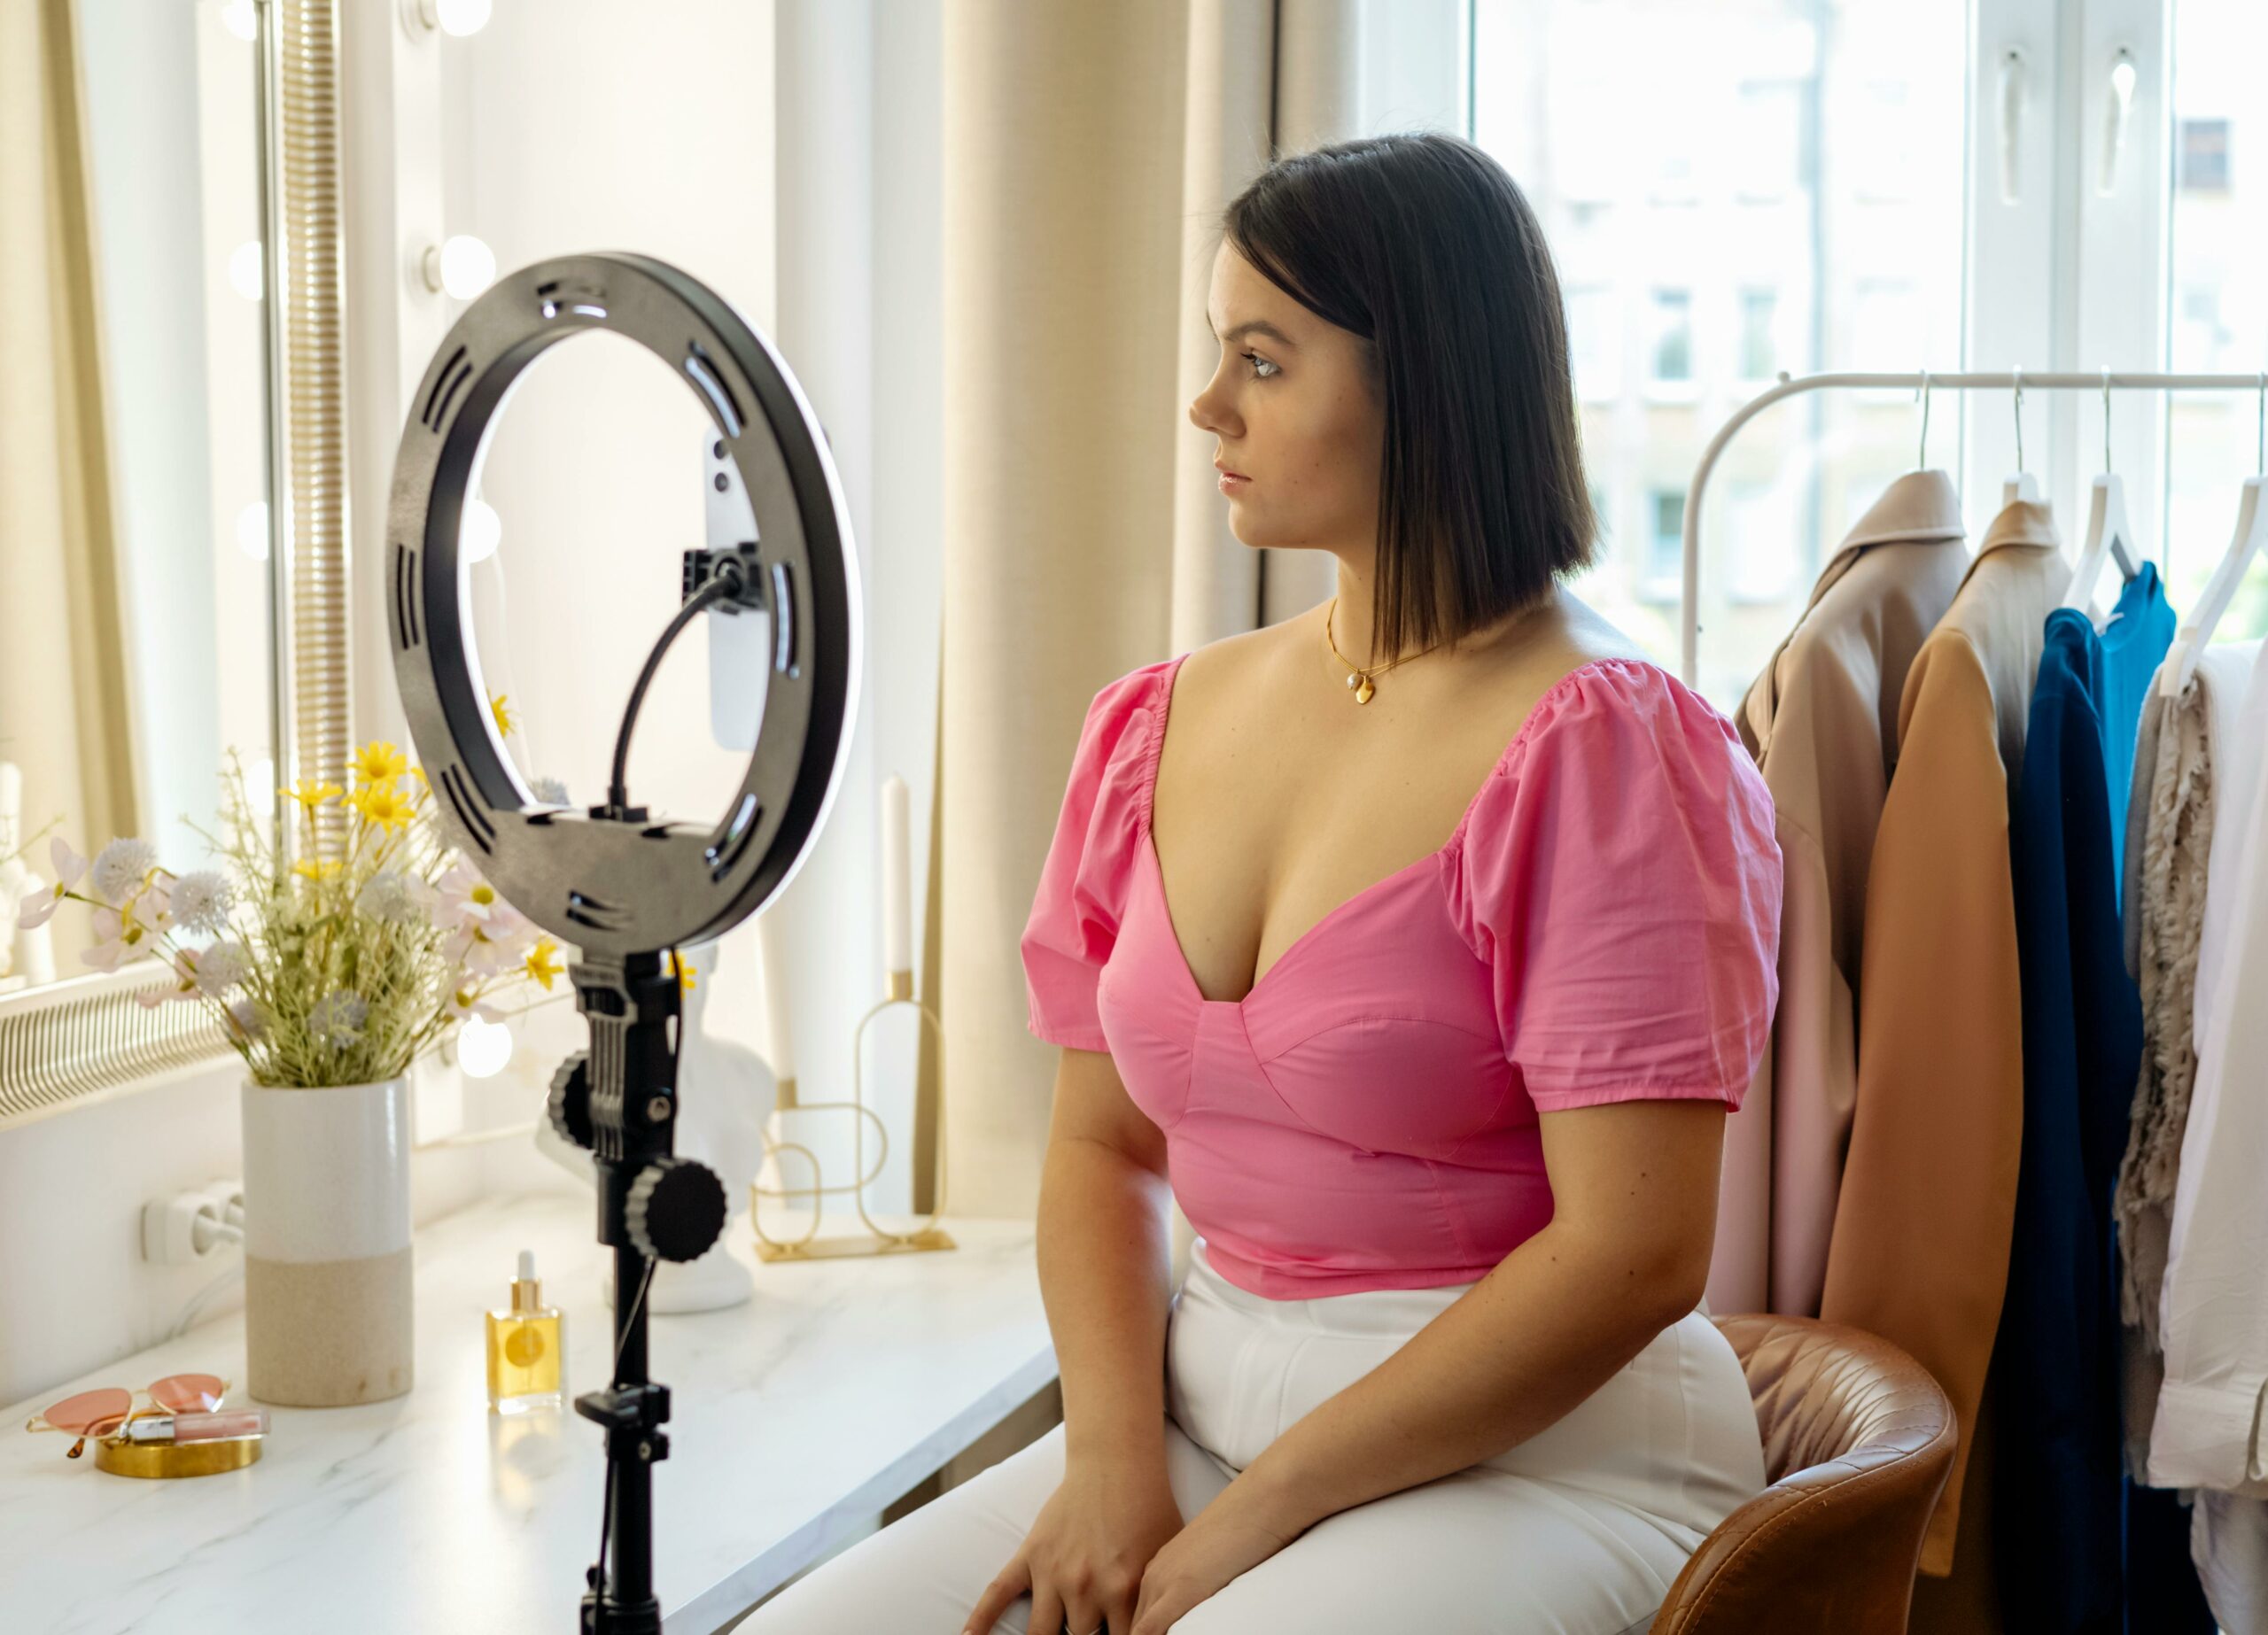
Influencer selection and auditing: a practical checklist
Creators can fill seats, but only if their audience matches your attendees and their content style fits the event vibe. In 2026, the best predictor is not follower count, it is audience fit plus repeatable performance. Therefore, audit creators like you would audit a media buy.
Use this selection checklist:
- Audience location: ask for top cities or regions. For local events, prioritize creators with meaningful local concentration.
- Content format fit: if your event needs energy, choose creators who can shoot fast, clear short video, not just static photos.
- Recent performance: review the last 10 posts. Look for consistent views, not one viral spike.
- Brand safety: scan comments and past partnerships. If the creator is polarizing, decide if that is acceptable.
- Conversion ability: ask for examples of past link clicks, code redemptions, or event attendance outcomes.
When you need a deeper playbook on creator vetting, keep a reference library for your team. Our own resources at InfluencerDB.net blog are a good place to standardize how you evaluate creators, structure briefs, and report outcomes.
Decision rule: if a creator cannot provide basic proof of audience location and recent performance, treat them as a top-of-funnel awareness partner only, and price accordingly. Conversely, if they can show repeatable click or sales performance, pay for that value and lock in usage rights for paid amplification.
Pricing, deliverables, and negotiation: benchmarks you can actually use
Event budgets are often tight, so you need a pricing model that is fair to creators and defensible to stakeholders. Start with deliverable-based pricing, then add fees for usage rights, whitelisting, and exclusivity. Avoid vague “one post” deals that leave format and revisions unclear.
Here is a simple way to structure offers:
- Base fee: covers creation and organic posting.
- Usage rights fee: for reposting on brand channels and paid ads. Define duration and placements.
- Whitelisting fee: for running ads through the creator handle. Include approval and spend caps.
- Exclusivity fee: only if you truly need it. Keep the category narrow, such as “local food festivals” rather than “events.”
| Deliverable | Best use | What to specify | Negotiation tip |
|---|---|---|---|
| 1 short-form video (15 to 45s) | Awareness and consideration | Hook, CTA, posting date, raw footage delivery | Offer a performance bonus tied to tracked clicks |
| 3 to 5 story frames | Conversion bursts | Link sticker, code, talking points, timing | Ask for a second reminder story near deadline |
| On-site coverage (2 hours) | UGC and FOMO | Shot list, access, check-in, deliverables count | Bundle with a pre-event teaser for better lift |
| Whitelisting for 30 days | Scale winning creative | Ad approvals, spend cap, targeting restrictions | Trade higher fee for shorter usage window |
Example negotiation math: if a creator charges $1,200 for a video and you expect 40,000 impressions, your CPM is ($1,200 / 40,000) x 1000 = $30. If your paid social CPM is $12, that might look expensive, but creator content can convert better because it carries trust. The decision rule is to compare on CPA, not CPM, once you have conversion tracking.
Measurement that holds up: UTMs, pixels, and offline attribution
Event measurement is tricky because people often see content on one platform, then buy later on another device, or at the door. Still, you can build a reporting stack that is good enough to make decisions. Start with UTMs on every creator link and every paid ad. Next, use platform pixels where your ticketing setup allows it. Finally, add at least one offline method so you are not blind to walk-ups.
Use these practical steps:
- UTM naming convention: utm_source=creatorname, utm_medium=influencer, utm_campaign=eventname2026, utm_content=video1. Takeaway: keep it consistent so you can pivot reports fast.
- Unique codes: give each creator a code for checkout and a separate code for on-site discounts if you have them.
- QR codes on-site: place them at registration, sponsor booths, and photo ops to capture signups and interest.
- Post-purchase survey: one question, multiple choice: “How did you hear about us?” Include creators by name.
If you are running paid amplification, ensure your team understands what the platforms count as a view or click. For video metrics and definitions, YouTube’s measurement documentation is a solid reference point: YouTube Analytics basics.
Concrete reporting rule: publish a weekly one-page dashboard with (1) spend, (2) tracked ticket sales, (3) CPA, (4) top creatives by click-through rate, and (5) notes on what you will change next week. That “next week” line is what turns reporting into optimization.
Common mistakes that waste budget (and how to avoid them)
Most event campaigns do not fail because the creative is terrible. They fail because the plan is vague, the tracking is inconsistent, or the offer is unclear. Fixing these issues is often cheaper than buying more impressions.
- Mistake: One big launch post.
Fix: build a cadence and repeat the value proposition in different formats. - Mistake: No landing page alignment.
Fix: match creator messaging to a landing page that repeats the same promise and includes FAQs. - Mistake: Paying for follower count.
Fix: pay for audience fit, content quality, and usage rights you can scale. - Mistake: Ignoring usage rights.
Fix: negotiate usage rights up front so you can reuse the best content in ads. - Mistake: Reporting only likes and comments.
Fix: report clicks, conversions, CPA, and assisted signals like saves and email signups.
One more operational mistake is payment friction. If you are paying many creators, streamline payouts and keep clean records. Even if you are not a finance team, it helps to understand how modern payment rails work and what fees to expect. For a broader primer, see resources like payments basics and online security practices so your process is fast and safe.
Best practices: a repeatable playbook for sold-out events
Once you have the basics, consistency wins. The best event teams run the same core playbook each season, then improve it with small tests. That is how you get predictable ticket sales instead of last-minute panic.
- Build a creator bench: sign 5 to 10 creators early, then activate them in waves. Takeaway: stagger posts so you can learn and adjust messaging.
- Design for capture: every piece of content should drive to a link, a code, or a save. Takeaway: if a post has no CTA, it is usually just entertainment.
- Use whitelisting selectively: boost only the top 20 percent of creator posts based on early click-through rate.
- Plan on-site content like a production: shot list, locations, backup audio, and a schedule. Takeaway: assign one person to approvals so creators are not waiting.
- Protect brand and attendee trust: disclose partnerships clearly and avoid misleading urgency. For disclosure expectations, keep the FTC guidance bookmarked.
For teams managing budgets across multiple events, create a simple financial checklist: forecast spend by phase, set a CPA target, and track cash flow so you can pay creators on time. If you need background reading for how teams structure budgets and accounts, internal references like financial planning and budgeting can help you build a cleaner process with fewer surprises.
Quick start checklist: launch your next event campaign in 7 days
If you need to move fast, use this seven-day sprint to get a campaign live without cutting corners. The goal is not perfection, it is a trackable baseline you can improve.
- Day 1: define audience segments, ticket offer, and key objections.
- Day 2: build one landing page per segment and set UTMs.
- Day 3: shortlist creators, request audience location and recent performance screenshots.
- Day 4: finalize deliverables, usage rights, whitelisting terms, and posting dates.
- Day 5: deliver creative brief with hooks, CTAs, and do-not-say list.
- Day 6: QA tracking, codes, and checkout flow on mobile.
- Day 7: launch, monitor comments, and prepare a second creative angle for midweek.
When you run this sprint, keep one discipline: document what you learned and what you will change next time. That single habit turns event social into a system, not a scramble.
For supporting figures, see SproutSocial Insights.