
Stream alert sounds are one of the fastest ways to make follows, subs, raids, and donations feel rewarding without derailing your show. The trick is to treat them like product UI audio – short, consistent, and mixed correctly – rather than random soundboard chaos. In this guide, you will learn how to pick sounds, set them up in common alert tools, and keep them compliant with licensing rules. You will also get practical benchmarks for length and loudness, plus a repeatable QA checklist you can run before every stream. If you are rebuilding your Twitch workflow after Mixer or simply tightening production value, the same principles apply.
What stream alert sounds are – and the key terms you should know
Alert sounds are audio cues triggered by viewer actions such as follows, subscriptions, gifted subs, raids, hosts, tips, and channel point redemptions. They usually play through an alert layer in OBS or Streamlabs Desktop, and they can be paired with an animation and text. Because alerts affect retention and perceived quality, you should define a few measurement and deal terms early, especially if you are a creator working with brands or a marketer sponsoring a stream.
- Reach – unique viewers who saw the stream during a period.
- Impressions – total times the stream or an on-screen element was viewed; one person can generate multiple impressions.
- Engagement rate – interactions divided by reach or impressions, depending on your reporting standard.
- CPM – cost per 1,000 impressions. Formula: CPM = (Cost / Impressions) x 1000.
- CPV – cost per view, often used for video placements. Formula: CPV = Cost / Views.
- CPA – cost per acquisition, used when you track signups or purchases. Formula: CPA = Cost / Conversions.
- Whitelisting – a brand runs ads through a creator account or uses creator content in paid media. For streams, this often shows up as paid clips or boosted VOD segments.
- Usage rights – what a brand can do with your stream content (clip, repost, run ads) and for how long.
- Exclusivity – restrictions on working with competing brands in a category for a set period.
Takeaway: Even if you are only changing audio, alerts influence impressions and engagement. That makes them part of your measurable stream product, not just decoration.
Choosing stream alert sounds that match your channel brand
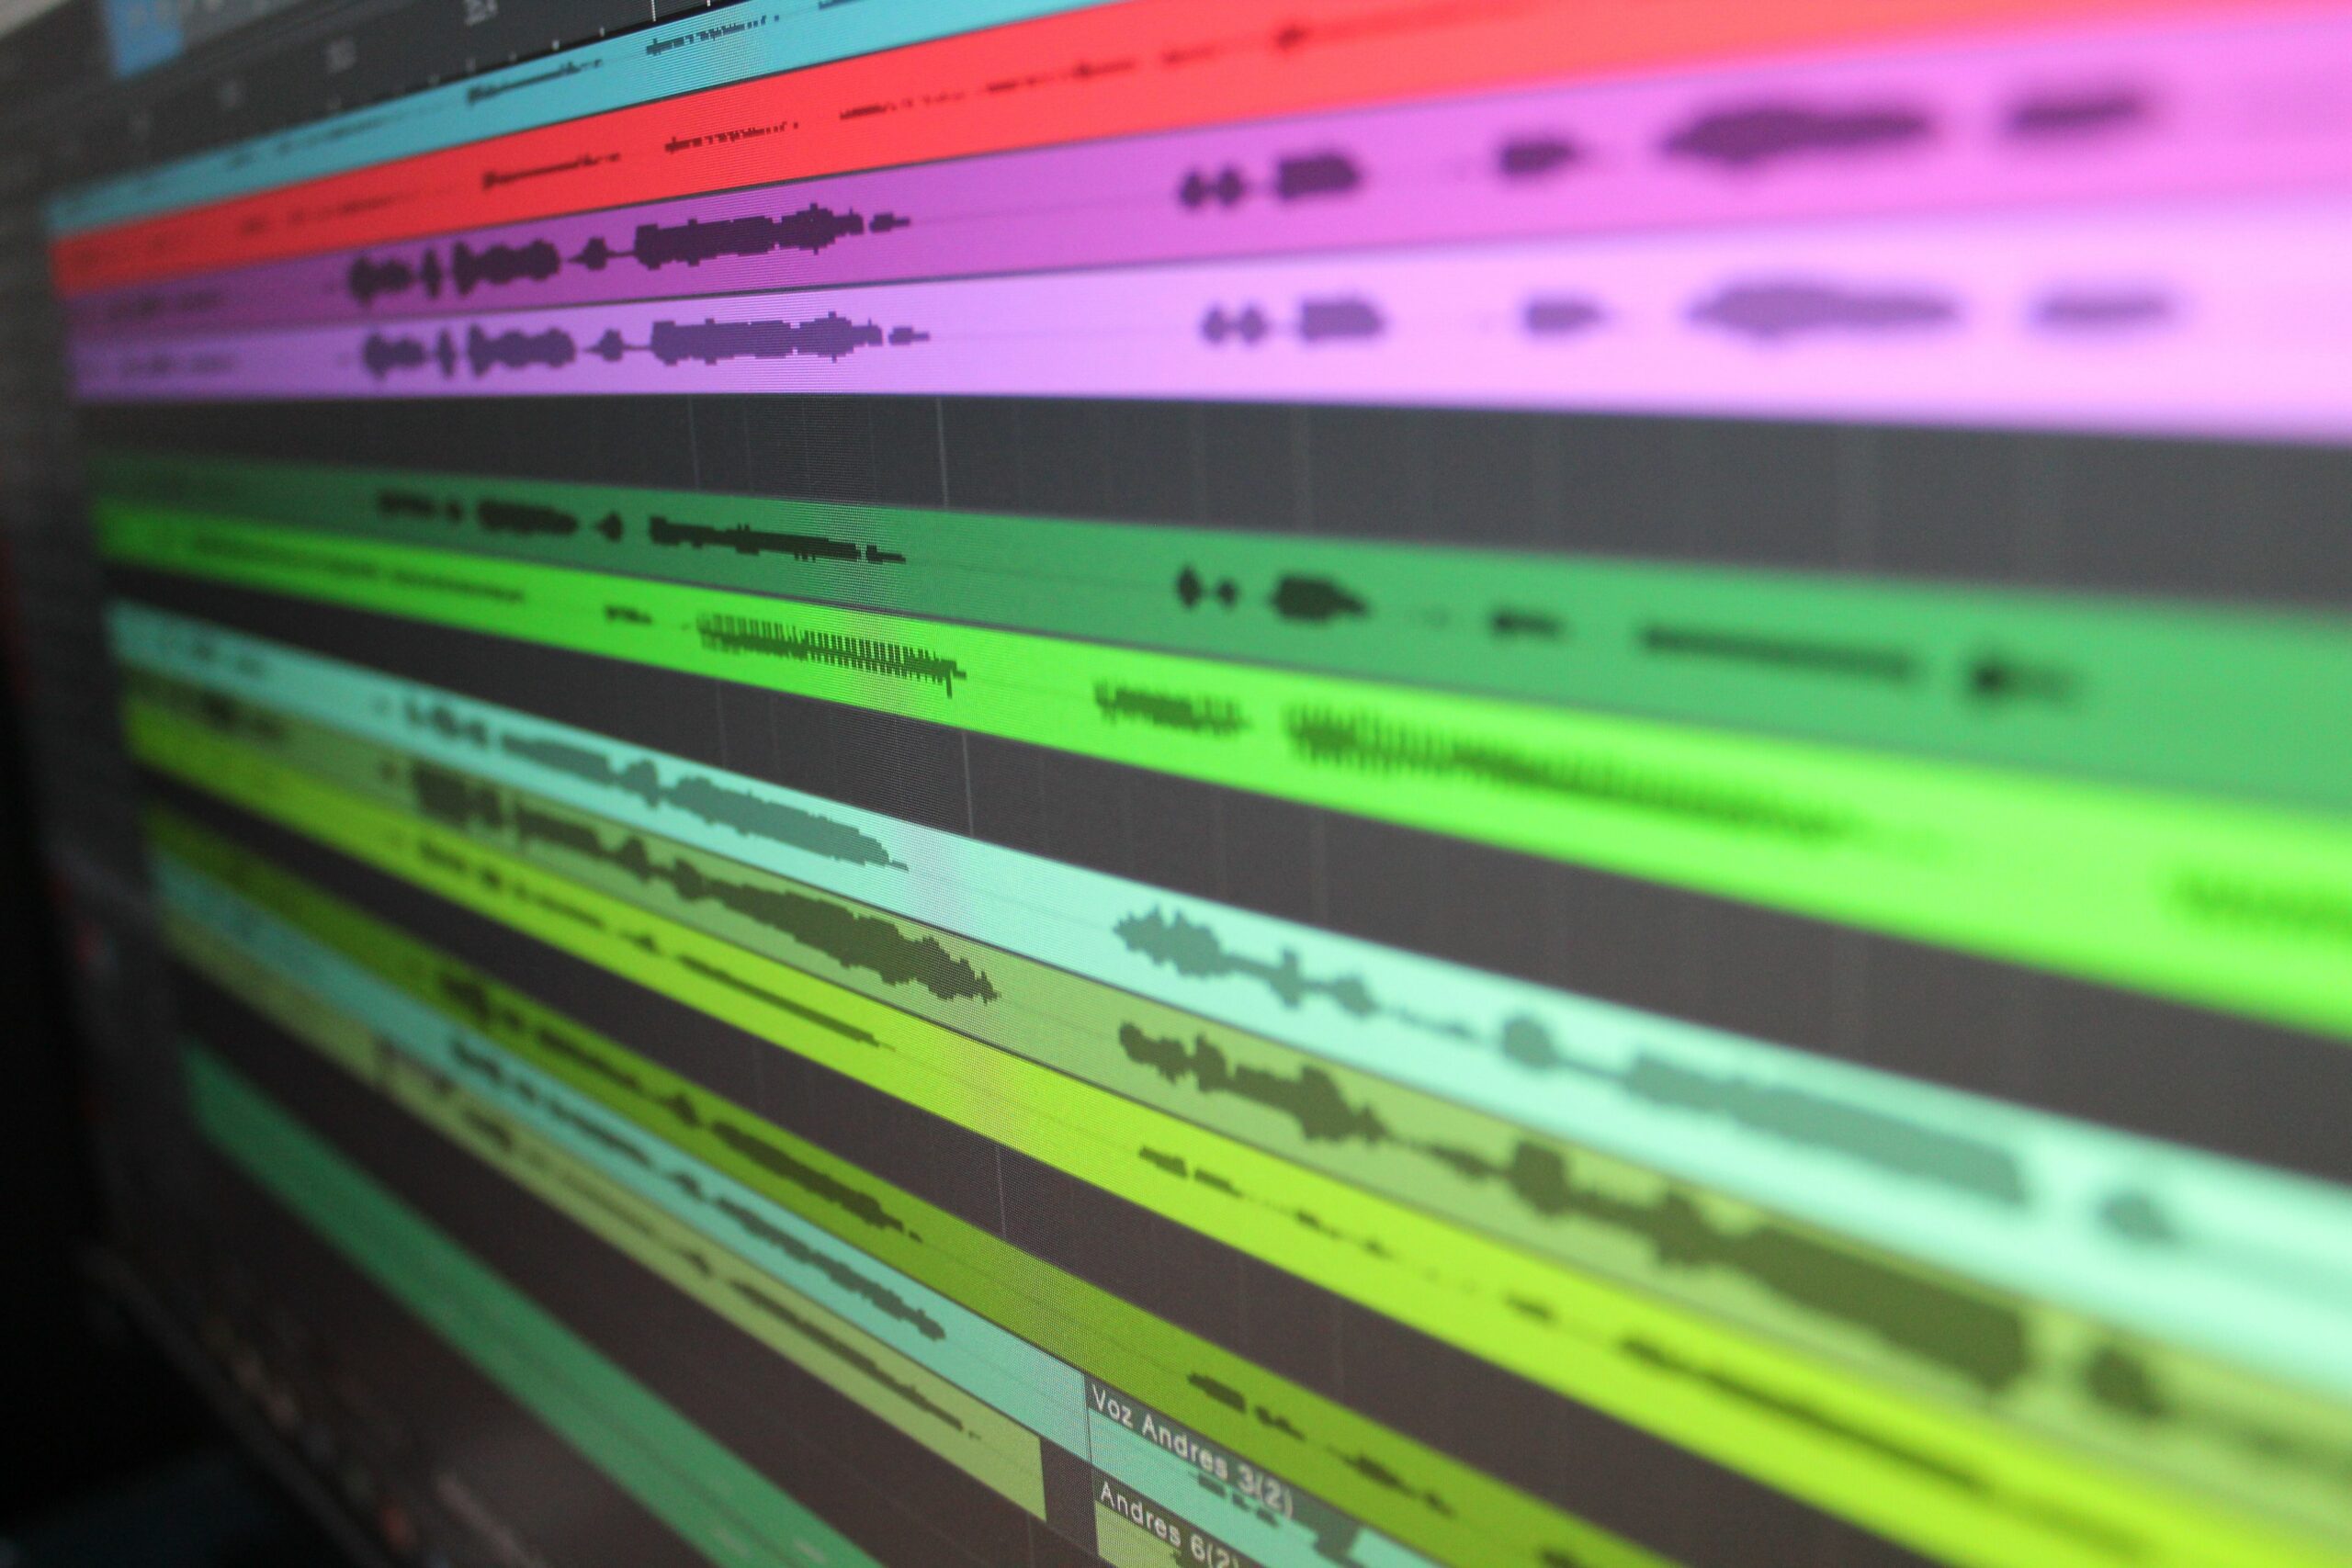
Before you open any tool, decide what you want alerts to do. Most channels need alerts to confirm an action, reward the viewer, and keep the streamer on pace. That means your best sounds are recognizable in under a second, pleasant at low volume, and consistent across alert types. Start by writing three adjectives for your channel identity, such as “cozy, witty, precise” or “competitive, high energy, clean.” Then pick a small palette of sounds that fit those adjectives.
Next, set decision rules so you do not overthink every new idea. A simple rule set works: keep most alerts under 1.2 seconds, reserve longer audio for rare events like big raids, and avoid vocals unless you have explicit rights. If you want humor, use timing rather than loudness. Also consider accessibility: some viewers use headphones at high volume, so sudden peaks can be punishing.
- Length targets: 0.4 to 1.2 seconds for common events; 1.5 to 3 seconds for rare events.
- Frequency targets: keep tones in a comfortable midrange; avoid piercing highs.
- Consistency: one “family” of sounds across follow, sub, and raid feels professional.
- Context: if you stream horror, a soft click can be scarier than a scream.
Takeaway: Define a palette and rules first. You will spend less time tweaking and your audience will learn what each alert means.
Setup workflow: OBS, alert tools, and audio routing
The cleanest setup is predictable routing: alerts should come from a browser source and land in one audio channel you can control. In OBS Studio, that usually means adding an alert browser source (from Streamlabs, StreamElements, or another provider) and monitoring it through your main desktop audio or a dedicated virtual device. If you use a mixer app like Voicemeeter or an audio interface, route alerts to a separate bus so you can duck them when you are speaking.
Here is a step-by-step workflow that works for most creators:
- Pick your alert provider and create an alert overlay link.
- Add a Browser Source in OBS and paste the overlay URL.
- Set resolution to match your canvas and check “Shutdown source when not visible” only if you do not need persistent audio.
- Test audio monitoring so you can hear alerts without sending double audio to stream.
- Assign a dedicated audio track if you record separate tracks for editing.
- Create a hotkey to mute alerts during intense gameplay or serious moments.
If you are migrating habits from Mixer, the principle stays the same: keep alert audio separate from game audio so you can mix it quickly. Also, document your settings. A short “stream build sheet” saves hours when you reinstall OBS or switch PCs.
Takeaway: Route alerts like a production element, not like desktop noise. One controllable channel is the difference between “polished” and “painful.”
Benchmarks for volume, loudness, and timing (with a quick test plan)
Most alert problems are not about the sound choice – they are about levels. Viewers forgive a basic “ding,” but they will leave if alerts are too loud, too frequent, or delayed. Use a simple target: alerts should sit slightly below your speaking voice and never spike above it. In OBS terms, that often means alerts peaking around -15 dB to -10 dB on the meter, while your mic peaks around -10 dB to -6 dB depending on your chain. Exact numbers vary, so treat these as starting points and verify with a VOD.
Timing matters too. If an alert triggers three seconds late, it feels disconnected. Reduce delay by keeping your alert page lightweight and avoiding huge video files. When you do use a longer animation, keep the audio front-loaded so the reward happens immediately.
| Element | Recommended peak level | Typical length | Notes |
|---|---|---|---|
| Mic (speech) | -10 dB to -6 dB | Continuous | Use compression and a limiter for consistency. |
| Stream alert sounds | -15 dB to -10 dB | 0.4 to 1.2 sec | Keep below voice so it reads as a UI cue. |
| Game audio | -20 dB to -12 dB | Continuous | Duck slightly when speaking if needed. |
| Music (if used) | -30 dB to -20 dB | Continuous | Be careful with licensing and DMCA risk. |
Run a fast QA test before you go live. Record 60 seconds locally, trigger each alert twice, then listen on headphones and phone speakers. Finally, check the VOD to see how compression changed the mix.
| QA step | What to check | Pass rule | Fix if it fails |
|---|---|---|---|
| Peak check | Alert peaks vs mic peaks | Alerts never exceed mic peaks | Lower alert volume or add a limiter |
| Clarity check | Can you identify the event? | Recognizable in under 1 second | Shorten file, remove reverb, simplify |
| Delay check | Time from trigger to sound | Under 500 ms feels instant | Optimize overlay, reduce file size |
| Device check | Phone speaker playback | No harsh highs, still audible | EQ the sound, reduce high frequencies |
Takeaway: Use a repeatable test. One minute of QA prevents weeks of “your alerts are loud” chat messages.
Licensing and rights: how to avoid DMCA and brand risk
Alert audio is still copyrighted audio. If you rip a movie quote, a popular song hook, or a meme clip from a random upload, you may be using it without permission. That can create DMCA takedown risk for VODs and clips, and it can also scare off sponsors who do not want their campaign attached to infringement. For a baseline on disclosure and advertising expectations, review the FTC’s endorsement guidance at FTC Endorsement Guides.
Use a simple licensing decision rule: if you cannot point to a license, assume you do not have rights. Safer sources include original recordings you made, commissioned audio, or properly licensed sound libraries. Keep proof of purchase or license terms in a folder with your stream assets. If you work with brands, spell out who is responsible for rights in your agreement, especially if the brand provides audio.
- Usage rights checklist: source, license type, allowed platforms, allowed edits, duration, attribution requirements.
- Exclusivity note: if a brand wants a custom sound, clarify whether you can reuse it after the campaign.
- Whitelisting tie-in: if a brand will run ads using your clips, confirm that alert audio is cleared for paid usage.
Takeaway: Treat alert audio like any other asset in your content pipeline. Keep licenses documented and campaign-ready.
Monetization and measurement: tying alerts to KPIs
Alerts can do more than celebrate. They can nudge behavior when you design them around a goal. For example, a unique sound for first-time chatters can increase participation, while a distinct raid sound can encourage viewers to stick around for the handoff. If you are running a sponsored stream, you can also map alert moments to trackable outcomes, such as commands, QR codes, or pinned links.
Here is a simple framework to measure impact without overcomplicating it:
- Pick one KPI per alert experiment: chat messages per minute, follows per hour, or click-throughs on a command.
- Set a baseline using the last 3 to 5 comparable streams.
- Change one variable – for example, shorten the follow sound from 2.5 seconds to 0.8 seconds.
- Run for two streams to reduce randomness.
- Review VOD timestamps to see if alerts interrupted key moments.
When brands ask for pricing, you can translate stream performance into standard metrics. Example: a sponsor pays $600 for a stream segment that generated 30,000 impressions on the live stream and clips. CPM = (600 / 30000) x 1000 = $20. If you also drove 40 tracked signups, CPA = 600 / 40 = $15. Those numbers help you negotiate upgrades like usage rights or a second stream.
For more on building measurable creator programs and reporting cleanly, keep an eye on the research and playbooks in the InfluencerDB Blog, especially when you need benchmarks and templates.
Takeaway: Alerts are part of the viewer experience, so they can move KPIs. Measure one change at a time and use CPM and CPA math to defend your pricing.
Common mistakes (and quick fixes)
Most channels make the same alert mistakes, and they are easy to correct once you spot them. The biggest is loudness creep: you keep raising alert volume because you want it to cut through, but it ends up punishing headphone listeners. Another common issue is using too many unique sounds, which turns your stream into an unpredictable noise collage. Finally, creators often forget that alerts are content for clips, so copyrighted audio can follow you into highlights and social posts.
- Mistake: Alerts louder than your voice. Fix: lower alert gain and add a limiter.
- Mistake: 5 second sounds for common events. Fix: cut to under 1.2 seconds.
- Mistake: Different sound style for every event. Fix: build a consistent sound family.
- Mistake: No mute control. Fix: add a hotkey or stream deck toggle.
- Mistake: Unclear rights. Fix: use licensed or original audio and keep receipts.
Takeaway: If you fix loudness, length, and rights, you eliminate most alert-related complaints and risks.
Best practices: a repeatable playbook you can copy
Once your basics are stable, you can make alerts feel premium with small, repeatable habits. First, standardize naming and file formats so you can swap assets quickly. WAV is great for editing, but compressed formats can load faster in overlays, so test what your provider handles best. Second, keep a “quiet mode” scene for emotional moments or competitive matches. Third, document your alert settings and keep backups in cloud storage so a reinstall does not wipe your work.
Use this playbook as your ongoing checklist:
- Design: pick 3 brand adjectives and build a sound palette around them.
- Mix: set alerts below voice and verify on two devices.
- Control: add mute hotkeys and scene-based alert behavior.
- Compliance: store licenses and confirm paid usage rights for sponsored clips.
- Optimize: run one alert experiment per week and track a single KPI.
If you want a platform reference for how Twitch handles content and enforcement, read the official policy pages at Twitch Community Guidelines. That will not replace legal advice, but it will help you understand what the platform expects when you publish and monetize content.
Takeaway: Treat alerts like a system: design, mix, control, comply, then optimize. That approach scales whether you stream twice a week or run sponsored broadcasts.