
Ecommerce website search is one of the highest intent signals on your site, yet many brands treat it like a basic utility instead of a revenue engine. When a shopper types “size 7 wide,” “gift under 50,” or a creator’s discount code into your search bar, they are telling you exactly what they want and how close they are to buying. The practical goal is simple: reduce friction between that intent and the right product page. In this guide, you will learn what to measure, how to tune results, and how to connect influencer traffic to on-site search behavior so you can make smarter merchandising and campaign decisions.
What ecommerce website search tells you (and why it matters)
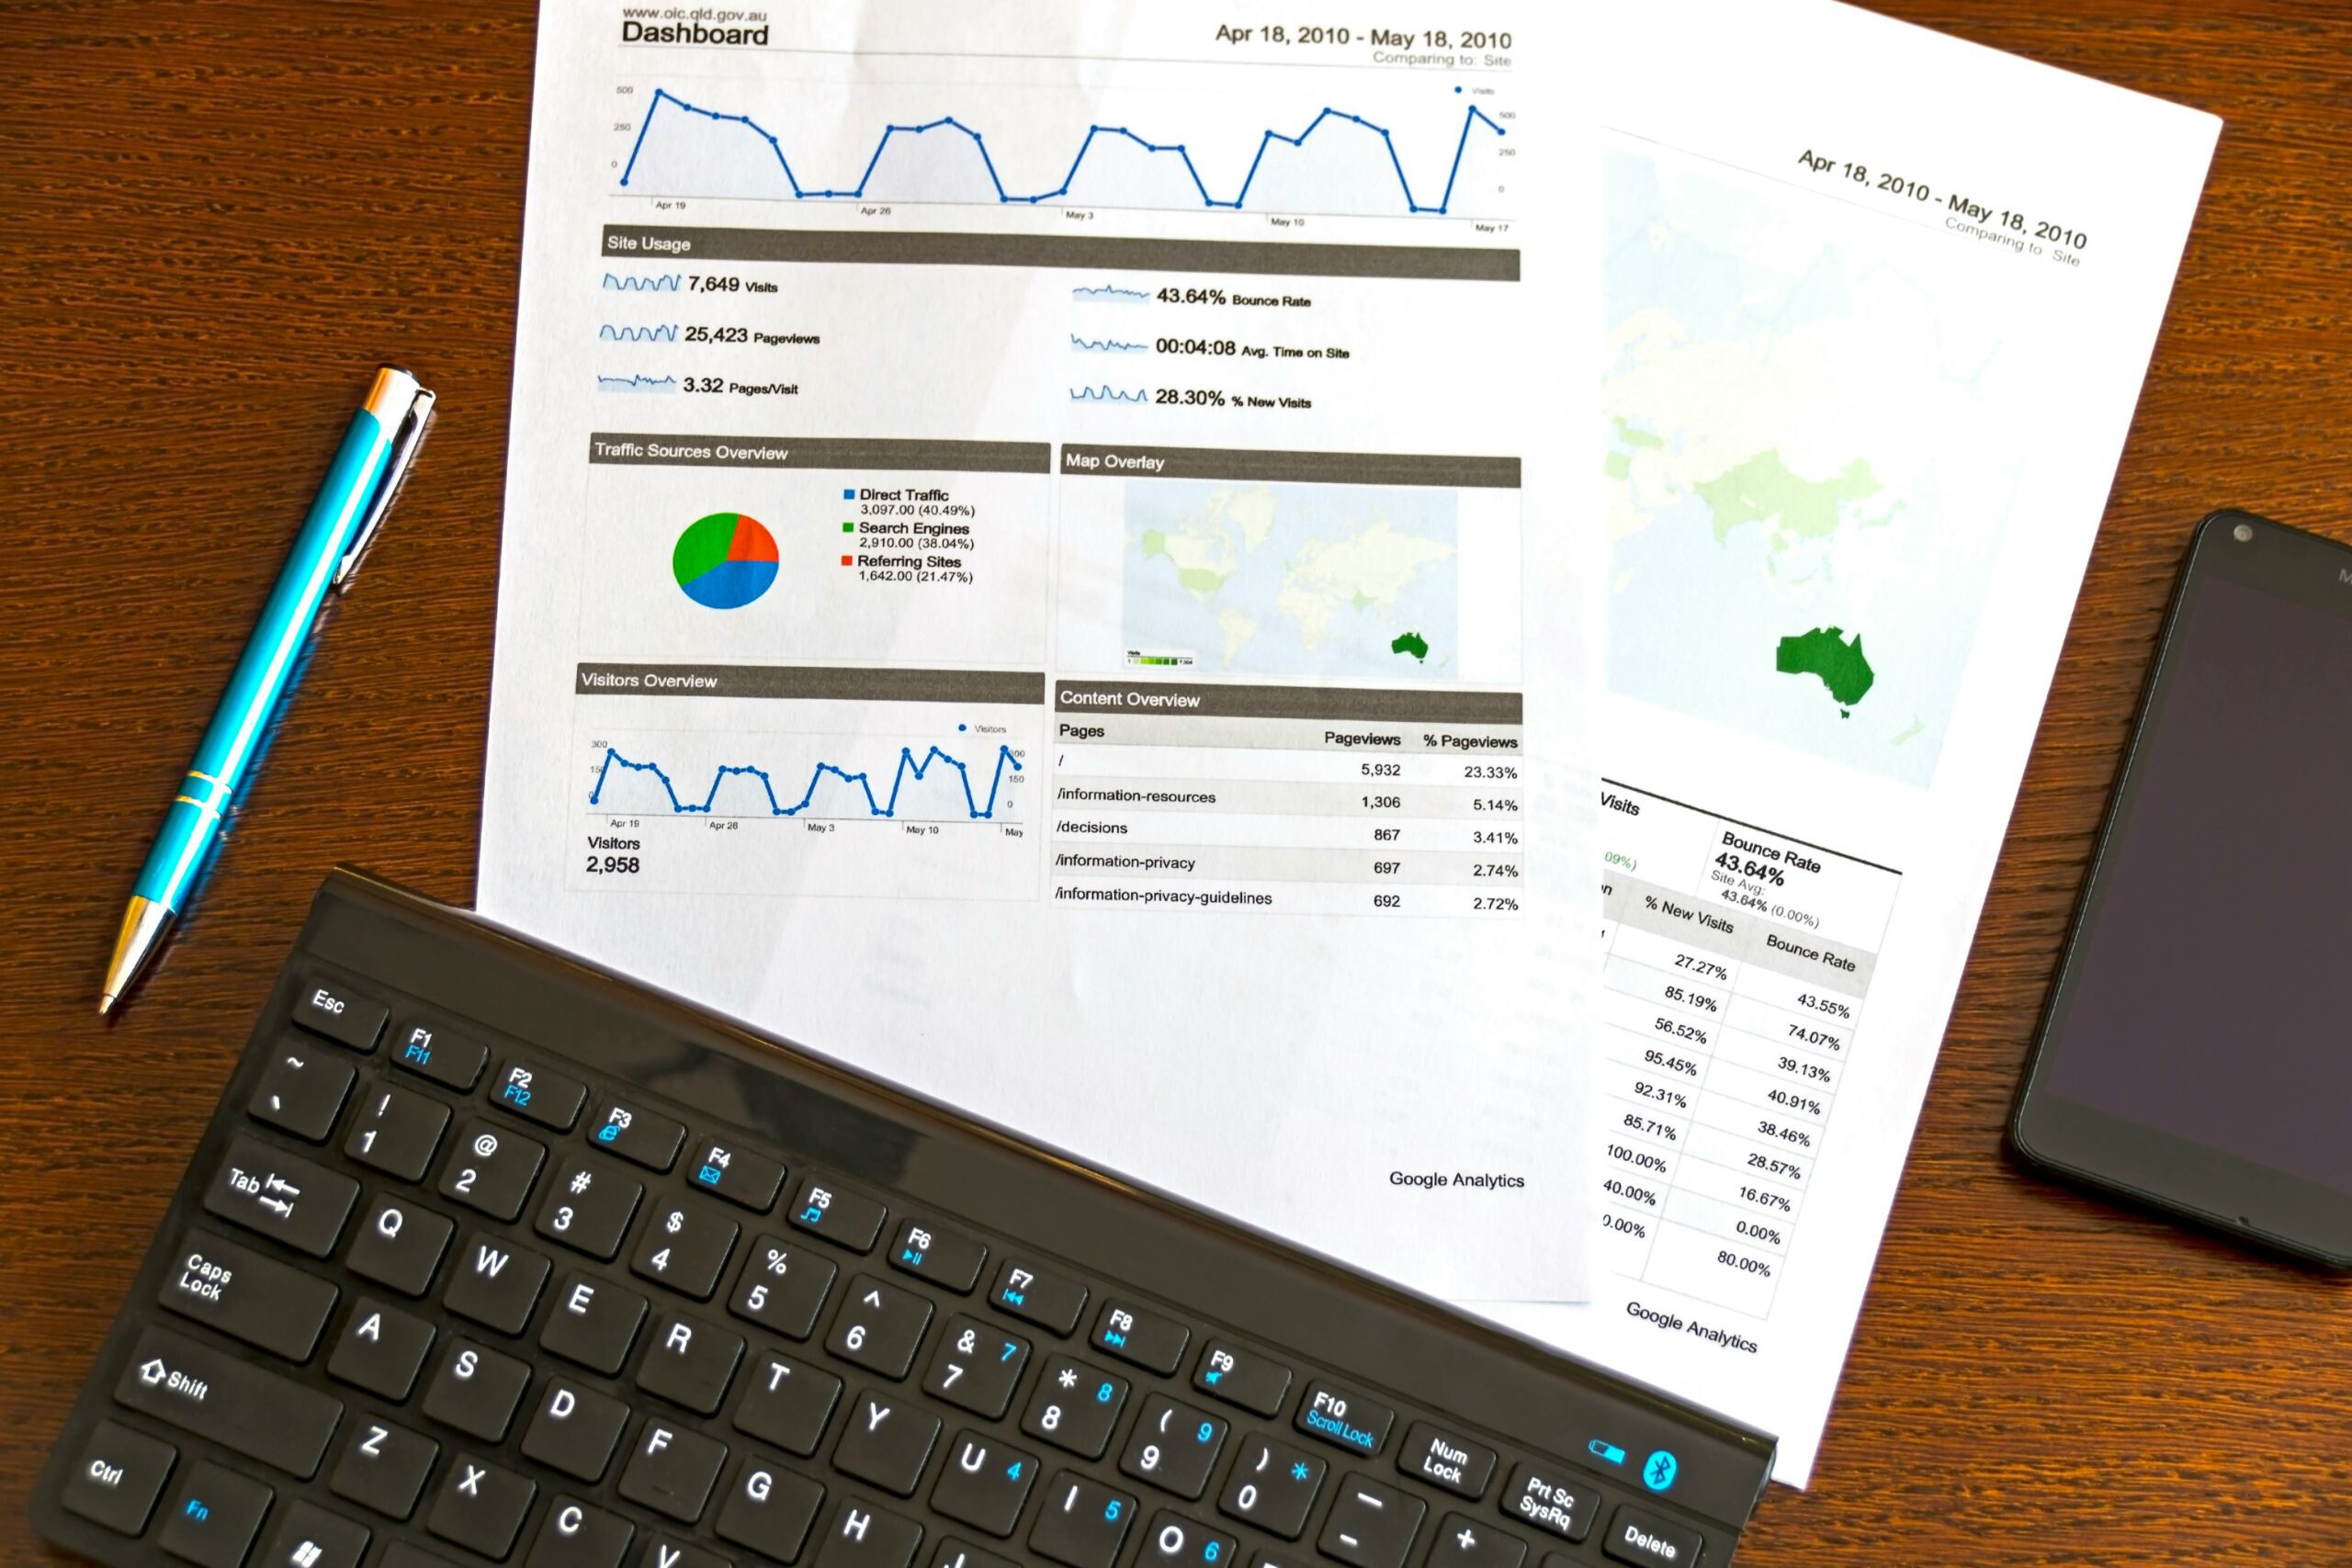
On-site search is different from browsing because it compresses the customer journey into a few words. Those words often reveal product attributes (color, material, fit), use cases (wedding guest, travel), and urgency (overnight, last minute). As a result, search data becomes a direct input to merchandising, content, and influencer campaign planning. If you see a spike in searches for “creator name + code,” you can infer that influencer traffic is landing but not finding the intended collection fast enough. Likewise, repeated searches that return few results are not just UX issues – they are lost demand and a roadmap for what to stock, bundle, or explain better.
Concrete takeaway: Export your top 100 search queries weekly and tag each query as (1) product name, (2) attribute, (3) use case, (4) brand or creator, or (5) support question. That simple classification will show you whether your biggest opportunity is relevance tuning, navigation, or content.
Key terms to know before you optimize
Because search optimization overlaps with influencer measurement, you need a shared vocabulary across marketing, ecommerce, and analytics. Here are the terms that most often cause confusion, plus how to apply them in practice.
- Reach: Unique people who saw content. Use it to estimate top-of-funnel exposure from creators.
- Impressions: Total views, including repeats. Helpful for frequency, but it can overstate unique demand.
- Engagement rate: Typically (likes + comments + shares + saves) divided by impressions or followers. Use one definition consistently when comparing creators.
- CPM: Cost per thousand impressions. Formula: CPM = (Spend / Impressions) x 1000. Useful for comparing creator content to paid media.
- CPV: Cost per view (often video views). Formula: CPV = Spend / Views. Use when video is the primary deliverable.
- CPA: Cost per acquisition. Formula: CPA = Spend / Purchases. Best for performance-driven creator programs.
- Whitelisting: Running ads through a creator’s handle (with permission). It can change the traffic mix and increase on-site search if landing pages are not aligned.
- Usage rights: Permission to reuse creator content (duration, channels, territories). This affects pricing and how long search demand may persist.
- Exclusivity: A creator agrees not to work with competitors for a period. It can protect demand, but it increases cost and should be justified with expected lift.
Concrete takeaway: Add these definitions to your influencer brief and your ecommerce analytics doc so your team does not argue about metrics after the campaign launches.
Set up ecommerce website search tracking the right way
Before you tune relevance or add fancy features, make sure you can measure what matters. At minimum, you want to capture the query, whether results were shown, what was clicked, and whether the session converted. If you run influencer campaigns, you also want to know which creator or campaign drove the session so you can see how search behavior differs by traffic source.
Start with a clean event taxonomy. For example: search_submit (query), search_results_view (result count), search_result_click (SKU or URL), and purchase. Then, pass UTM parameters and creator identifiers into your analytics so you can segment search performance by campaign. If you are using Google Analytics, follow Google’s measurement guidance for ecommerce events and parameters to keep your data consistent across teams. See Google Analytics developer documentation for current event standards and implementation notes.
Concrete takeaway: Create a dashboard view that filters sessions where a search occurred. Compare conversion rate for “search sessions” vs “no-search sessions.” If search sessions convert lower, your search experience is likely failing high-intent shoppers.
| Metric | How to calculate | What it tells you | Action if weak |
|---|---|---|---|
| Search usage rate | Search sessions / total sessions | How often shoppers rely on search | Improve search visibility, add autosuggest, fix mobile UI |
| Zero-results rate | Zero-result searches / total searches | How often shoppers hit dead ends | Add synonyms, fix spelling, expand catalog mapping |
| Search click-through rate | Search result clicks / searches | Whether results look relevant | Tune ranking, improve thumbnails, add filters |
| Search conversion rate | Orders from search sessions / search sessions | How well search drives revenue | Fix landing pages, promote best sellers, adjust sorting |
| Time to product | Median seconds from search to PDP view | Friction in the path to a product | Improve autosuggest, add quick add, reduce clutter |
Relevance tuning: the 80 20 fixes that move revenue
Most ecommerce search problems come from a small set of issues: missing synonyms, poor handling of attributes, and ranking that ignores business goals. Start with the basics. Add synonym groups for common language differences (sneakers vs trainers, hoodie vs sweatshirt), brand abbreviations, and creator nicknames if your audience uses them. Next, make sure attributes are searchable and facetable: size, width, material, skin type, shade, and compatibility are the usual culprits.
Then, tune ranking with a clear decision rule. A practical approach is to rank by relevance first, then apply a lightweight boost for in-stock items, high margin, and strong conversion history. Avoid over-boosting “best sellers” for every query because it can bury niche items shoppers explicitly asked for. Finally, handle misspellings and partial matches gracefully. If you can detect intent, show a “Did you mean” suggestion and still return results rather than a blank page.
Concrete takeaway: Build a “top 50 queries” sheet with three columns: expected top result, current top result, and fix type (synonym, attribute, ranking, content). Assign one owner and close 10 fixes per week.
Design features that reduce friction (autosuggest, filters, and no-result rescue)
Good search UX is not just aesthetics; it is conversion engineering. Autosuggest should show products, categories, and popular queries. Include thumbnails, price, and key attributes so shoppers can decide without extra clicks. On mobile, keep the search bar persistent and make filters easy to apply with one thumb. If your catalog is deep, add “search within results” and sticky filters so shoppers do not lose context.
No-result pages deserve special attention because they are where intent goes to die. Instead of a dead end, show: corrected spelling suggestions, top categories, best sellers in the relevant department, and a way to contact support. If you run influencer drops, add a “Shop the creator edit” module that appears when the query includes the creator name or code. That module can prevent influencer traffic from bouncing when the shopper does not know the exact product name.
Concrete takeaway: For every zero-result query that appears more than 20 times per week, implement one of these fixes: synonym mapping, redirect to a category, or a curated landing page.
| Search feature | Best for | Implementation note | Success metric |
|---|---|---|---|
| Autosuggest with products | Fast shoppers, mobile users | Show 5 to 8 items, include price and rating if available | Lower time to product, higher search CTR |
| Synonyms and spelling tolerance | Apparel, beauty, niche vocab | Maintain a weekly synonym backlog from query logs | Lower zero-results rate |
| Attribute-aware filters | Size-heavy catalogs, electronics | Ensure attributes are normalized (e.g., “XL” vs “Extra Large”) | Higher conversion from search sessions |
| Curated landing pages | Seasonal and influencer traffic | Use for “gift,” “creator edit,” “back in stock” queries | Lower bounce, higher AOV |
| No-result rescue modules | Long-tail demand | Offer alternatives, category links, and support | Higher session continuation rate |
Connect influencer campaigns to on-site search behavior
Influencer traffic often behaves differently from paid search or email. Many shoppers arrive with a vibe, not a SKU. They saw a creator wear “the black set” or mention “the serum for texture,” then they land on your homepage and use search to translate that inspiration into a product. That is why influencer measurement should include search metrics, not just last-click revenue.
First, make sure every creator link includes UTMs and a creator identifier. Next, build a segment for sessions from each creator and look at: search usage rate, top queries, zero-results rate, and conversion rate. If a creator’s audience searches heavily for “creator code” or “creator name,” add a dedicated collection page and set a search redirect. If they search for descriptive phrases like “brown lip oil,” update your product titles and tags so the query matches your catalog language.
For more ideas on tying creator performance to site behavior, use the resources in the InfluencerDB Blog to align your reporting with how influencer audiences actually shop.
Concrete takeaway: After each creator post, pull a 48-hour query report filtered by that creator’s UTM. Add the top 10 queries to your next brief so creators use the same language shoppers type.
Simple formulas and example calculations you can use today
Numbers make search optimization easier to prioritize because you can estimate revenue impact. Start with a baseline: how many searches happen for a query cluster, what the click-through rate is, and what conversion looks like after a click. Then, model a realistic lift from fixes like synonyms, redirects, or better ranking.
- Incremental orders from search fix = Searches x (New CTR – Old CTR) x Post-click conversion rate
- Incremental revenue = Incremental orders x Average order value
- CPM = (Creator spend / Impressions) x 1000
- CPA = Creator spend / Purchases
Example: You have 5,000 monthly searches for “gift set.” Current search CTR is 25%, and post-click conversion is 3%. If a curated landing page and better ranking increase CTR to 35%, incremental orders = 5,000 x (0.35 – 0.25) x 0.03 = 15 orders. With a $60 AOV, that is $900 per month from one query cluster. Multiply that across your top five clusters and you have a clear business case for investing in search.
Concrete takeaway: Prioritize fixes by estimated incremental revenue, not by how loud the complaint is. Query volume plus conversion potential is your north star.
Common mistakes (and how to avoid them)
Teams often assume search is “done” once it returns results. In reality, small gaps compound into lost revenue, especially when influencer campaigns spike demand quickly. Another common mistake is ignoring language differences between your catalog and your customers. Shoppers rarely type your internal product names, so relying on exact matches will inflate zero-results and frustrate high-intent visitors. Finally, many brands fail to connect search logs to inventory, so they keep promoting items that are out of stock and then wonder why search sessions do not convert.
- Mistake: Measuring only sitewide conversion, not search conversion. Fix: Create a dedicated search funnel report.
- Mistake: Letting zero-result queries pile up. Fix: Weekly triage with owners and deadlines.
- Mistake: Over-boosting best sellers for every query. Fix: Relevance first, then business boosts.
- Mistake: Sending influencer traffic to generic pages. Fix: Use creator collections and search redirects.
Concrete takeaway: Treat zero-results queries as a product backlog. If a query repeats, it is not a one-off – it is demand.
Best practices checklist for teams running creator driven ecommerce
Once your tracking is clean and your relevance basics are in place, you can run search as an ongoing program. The key is cadence: weekly fixes, monthly audits, and campaign-specific adjustments when creators go live. Also, document what you change. Search tuning without change logs makes it hard to learn what actually moved conversion.
- Review top queries weekly and ship at least 10 improvements (synonyms, redirects, ranking tweaks).
- Create influencer-specific landing pages for top partners and map creator name and code queries to them.
- Standardize product titles and attributes so search can match real customer language.
- Segment search performance by channel (influencer UTMs, paid social, email) to spot friction unique to each source.
- Run quarterly relevance audits on your top 100 queries and document before and after results.
Finally, keep your measurement honest. If you use whitelisting or paid amplification, disclose it clearly and track it separately so you do not attribute paid lift to organic creator performance. For guidance on transparent endorsements, review the FTC endorsement guidelines and align your contracts accordingly.
Concrete takeaway: Add a “search readiness” step to every influencer launch checklist: confirm landing page, confirm synonyms, confirm redirects, and confirm inventory for the items featured.