Image link building is one of the fastest ways to earn editorial backlinks because people already need visuals for posts, decks, and social content. Instead of begging for links, you give publishers something they can use immediately, then you make attribution easy to do and hard to forget. The trick is to treat images like products – with a clear audience, a distribution plan, and a measurement model. In this guide, you will get a four-step workflow you can run every month, plus the metrics and templates to keep it predictable.
Step 1 – Choose linkable images with clear business value
Not every pretty image earns links. The images that attract citations solve a problem for writers: they explain, compare, or prove something quickly. Start by picking a topic where your brand has data, expertise, or a unique point of view. For influencer marketing teams, that usually means benchmarks, platform changes, creator pricing, or campaign performance patterns. Before you design anything, define the reader and the use case: is this for a journalist writing a trend story, a marketer building a deck, or a creator negotiating rates?
Next, decide what format will be easiest to embed and credit. In practice, the most linkable formats are charts, simple infographics, checklists, and annotated screenshots. Avoid overly branded visuals that feel like ads. A small logo in the corner is fine, but the image should still look like a neutral reference. Also, plan for accessibility: include a descriptive file name, alt text, and a short caption that states the key takeaway.
Define key terms early so your visuals and captions stay consistent. Here are the terms you will see in influencer reporting and how to use them in a visual:
- Reach – unique accounts that saw content at least once.
- Impressions – total views, including repeat views by the same account.
- Engagement rate – engagements divided by reach or impressions (state which one you use).
- CPM – cost per thousand impressions. Formula: CPM = (Cost / Impressions) x 1000.
- CPV – cost per view (common for video). Formula: CPV = Cost / Views.
- CPA – cost per acquisition (sale, signup, install). Formula: CPA = Cost / Conversions.
- Whitelisting – creator grants permission for a brand to run ads from the creator handle.
- Usage rights – how and where the brand can reuse content (channels, duration, geography).
- Exclusivity – creator agrees not to work with competitors for a defined period/category.
Concrete takeaway: pick one image concept that answers a single question in under five seconds, and write the caption first. If you cannot summarize the image in one sentence, the image is too complex to earn links reliably.
| Image asset type | Best for earning links from | What makes it cite-worthy | Production tip |
|---|---|---|---|
| Benchmark chart | Journalists, analysts, agencies | Numbers that support a claim | Show source and date in the footer |
| Comparison table graphic | Bloggers, SaaS reviewers | Clear decision criteria | Limit to 5 to 7 rows for readability |
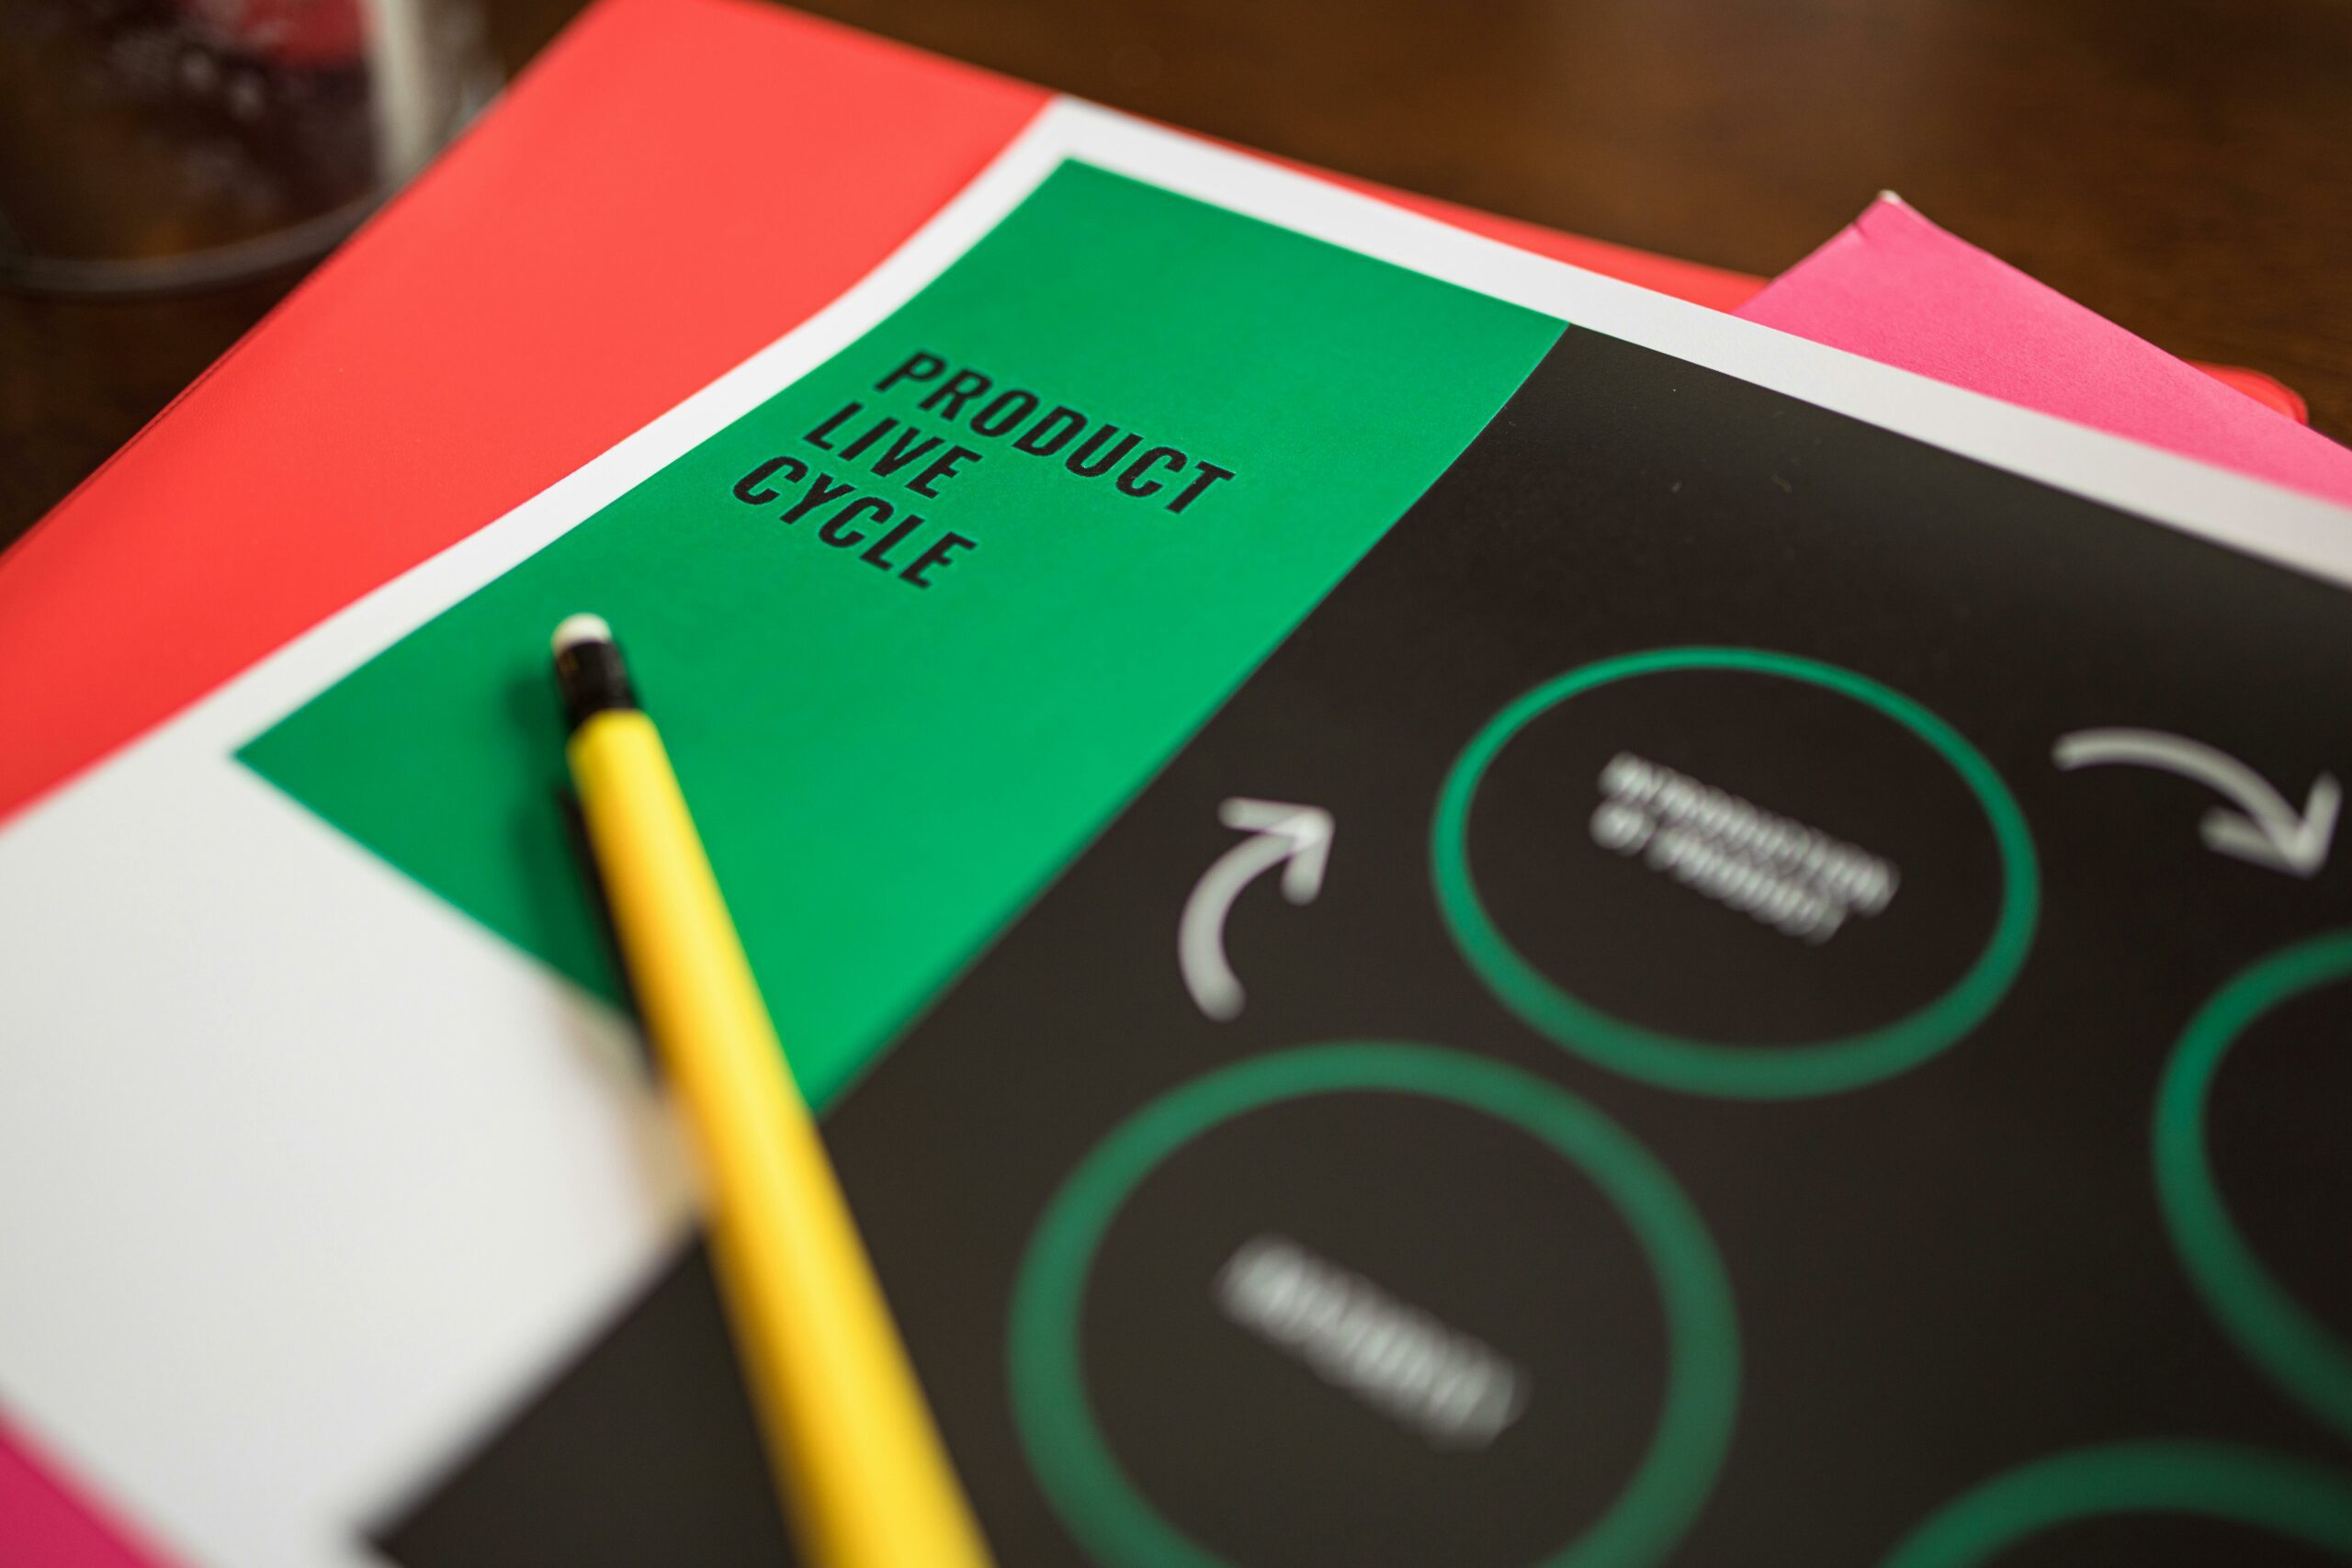
| Process diagram | Marketing educators, newsletters | Explains a workflow quickly | Use numbered steps to encourage quoting |
| Annotated screenshot | How-to writers | Shows exactly where to click | Blur personal data and add callouts |
Step 2 – Publish images so they are easy to embed and credit

Once you have a linkable image, publishing matters as much as design. Put each core visual on a dedicated page that can rank and can be cited. That page should include the image, a short explanation, the methodology, and an explicit attribution line. If you bury the image inside a long post without context, people will still copy it, but they will not know what to link to.
Use a simple attribution block directly under the image, for example: “Source: YourBrand, Month Year. Please credit with a link to this page.” Then make it frictionless: provide an embed snippet that includes a linked credit line. You can also include a downloadable version for presentations, but keep the web version as the canonical source. For technical hygiene, compress images, use modern formats when possible, and ensure the page loads fast on mobile.
Also, align with how Google treats images. Use descriptive filenames (not IMG_4829.png), add alt text that describes the content, and include the image near relevant copy. Google’s own guidance on image SEO is a useful checklist for this step: Google Search Central – Images.
Concrete takeaway: every “hero” image you want links to should have (1) its own URL, (2) a one-paragraph summary, (3) a methodology note, and (4) a copy-paste attribution line.
Step 3 – Promote with targeted outreach and smart distribution
Publishing alone rarely earns links, especially in competitive topics. Distribution is where image assets become a link building engine. Start by building a list of people who already publish on your topic: reporters, newsletter writers, bloggers, and agency strategists. Prioritize those who have used charts or infographics before, because they have a proven habit of embedding visuals.
Then, match the asset to the angle they cover. A pricing benchmark chart fits a “how much does it cost” article, while an engagement benchmark graphic fits a “what good looks like” piece. Keep outreach short and specific: one sentence on why the image helps their audience, one sentence on what the data shows, and a direct link to the image page. If you have multiple assets, do not dump them all in one email. Offer one, then follow up later with another if it performs.
Distribution should not rely only on email. Repurpose the same image into a LinkedIn post, a carousel, and a short “data drop” for your newsletter. If you have a blog, publish a supporting post that explains the chart and invites citation. You can also build a small “press kit” page that collects your best visuals in one place, but each image should still have its own URL for attribution.
For ongoing ideas and examples of content formats that earn citations, keep a running swipe file from the InfluencerDB.net blog and note which posts naturally invite screenshots, embeds, and references.
Concrete takeaway: aim for 20 to 30 highly relevant outreach targets per image, not 300 generic ones. Relevance beats volume because the best links come from writers who already need your exact visual.
| Outreach target | What to pitch | Proof to include | Expected link likelihood |
|---|---|---|---|
| Journalist covering creator economy | One benchmark chart with a newsy takeaway | Methodology and date range | Medium to high |
| Agency strategist writing playbooks | Process diagram or checklist graphic | Example workflow and deliverables | High |
| Marketing blogger updating evergreen posts | Comparison table graphic | What changed since last year | Medium |
| Creator educator | Rate calculation visual | Simple formula and example | Medium |
Step 4 – Reclaim uncredited uses and turn mentions into links
The hidden win in image link building is reclamation. People will copy your visuals into posts, slides, and even PDFs without credit. That is frustrating, but it is also an easy conversion opportunity because the publisher already decided your image is valuable. Your job is to find those uncredited uses and request attribution politely.
Run a monthly audit. Use reverse image search tools and Google Alerts for your brand name plus the chart title. When you find an uncredited use, check whether the site is legitimate and whether the page is indexed. Then send a short note: thank them for using the image, provide the correct source URL, and ask them to add a linked credit line under the visual. Keep it collaborative, not accusatory. If they refuse, move on. Your time is better spent on sites that will credit quickly.
Also, look for “text mentions” that reference your data but do not link. If a writer quotes your benchmark number, they should cite the source. A quick nudge often works because it improves their credibility too. For disclosure and attribution norms in marketing, it helps to understand how regulators think about transparency. The FTC’s guidance is a solid reference point: FTC – Endorsements, Influencers, and Reviews.
Concrete takeaway: track reclamation as its own pipeline. A realistic goal is to convert 20 to 40 percent of uncredited uses into links if you ask within two weeks of publication.
How to measure results – metrics, formulas, and a simple example
To keep this repeatable, measure both SEO outcomes and campaign outcomes. On the SEO side, track new referring domains, link quality, and the pages that earn links. On the marketing side, track assisted conversions if the image page also drives signups or demo requests. Most teams stop at “we got links,” but you will make better decisions if you connect the asset to downstream performance.
Use a simple scorecard for each image asset:
- Links earned – number of unique linking domains to the image page.
- Authority and relevance – are the links from sites in your niche?
- Referral traffic – sessions from those links.
- Conversions – newsletter signups, leads, or downloads attributed to the page.
- Reuse rate – number of times the image is embedded or referenced.
Now add the influencer marketing math when your image includes performance benchmarks. For example, suppose you publish a chart about video CPMs and you want to show a sample calculation in the caption:
- Campaign cost: $5,000
- Impressions: 250,000
- CPM = (5,000 / 250,000) x 1,000 = $20
If you also track CPV for a video activation:
- Views: 100,000
- CPV = 5,000 / 100,000 = $0.05
Finally, if the campaign drove 200 purchases:
- CPA = 5,000 / 200 = $25
These simple formulas make your visuals more cite-worthy because writers can lift the numbers and the explanation together. For broader context on how marketers think about measuring social performance, you can reference an industry explainer like HubSpot – social media metrics in your research process, then translate it into your own methodology.
Concrete takeaway: put one example calculation directly on the image page. It increases citations because it reduces the writer’s effort to explain what the numbers mean.
Common mistakes that kill image link building
Teams often do the hard work of creating visuals, then accidentally make them difficult to cite. One common mistake is publishing the image only on social platforms, where the original source URL is unclear. Another is over-branding the graphic so it feels promotional, which makes editors avoid it. People also forget to include methodology, so the image looks untrustworthy even if the data is solid.
Outreach mistakes are just as costly. Sending the same pitch to everyone signals low effort, and it usually gets ignored. Following up too aggressively can burn relationships that would have paid off later. Finally, many teams do not monitor uncredited uses, which means they miss the easiest links they will ever earn.
- Do not hide the image behind a form if your goal is links.
- Do not publish without a clear attribution line and a canonical URL.
- Do not mix reach-based and impression-based engagement rates without labeling them.
- Do not promise “industry benchmarks” unless your sample size is defensible.
Concrete takeaway: if you can fix only one thing, fix attribution. A visible credit line under the image improves link conversion more than almost any outreach tweak.
Best practices – a repeatable monthly workflow
Consistency is what turns a one-off infographic into a compounding SEO asset. Build a monthly cadence: one new linkable image, one supporting post, and one reclamation sprint. Over time, you will learn which topics attract organic citations and which need heavier promotion. You will also build a library of visuals that writers can reference year-round.
Use this practical checklist to keep quality high:
- Topic selection: choose a question people already write about, then add a data angle.
- Design: one idea per image, readable on mobile, minimal branding.
- Publishing: dedicated URL, alt text, caption, methodology, embed code.
- Promotion: 20 to 30 targeted pitches, plus social and newsletter distribution.
- Reclamation: monthly reverse image search and polite attribution requests.
- Measurement: track links, referring domains, and conversions per asset.
When your images touch influencer campaigns, clarify commercial terms in the accompanying text so readers can apply it. For instance, if you show a “rate card” style benchmark, note how usage rights and exclusivity can change pricing, and explain that whitelisting often carries an additional fee because it extends the value of the creator’s handle into paid distribution. That context makes your asset more than a graphic – it becomes a reference.
Concrete takeaway: treat each image as a mini-report with a clear source page. The more “complete” the asset is, the more likely editors are to cite it instead of rewriting it.