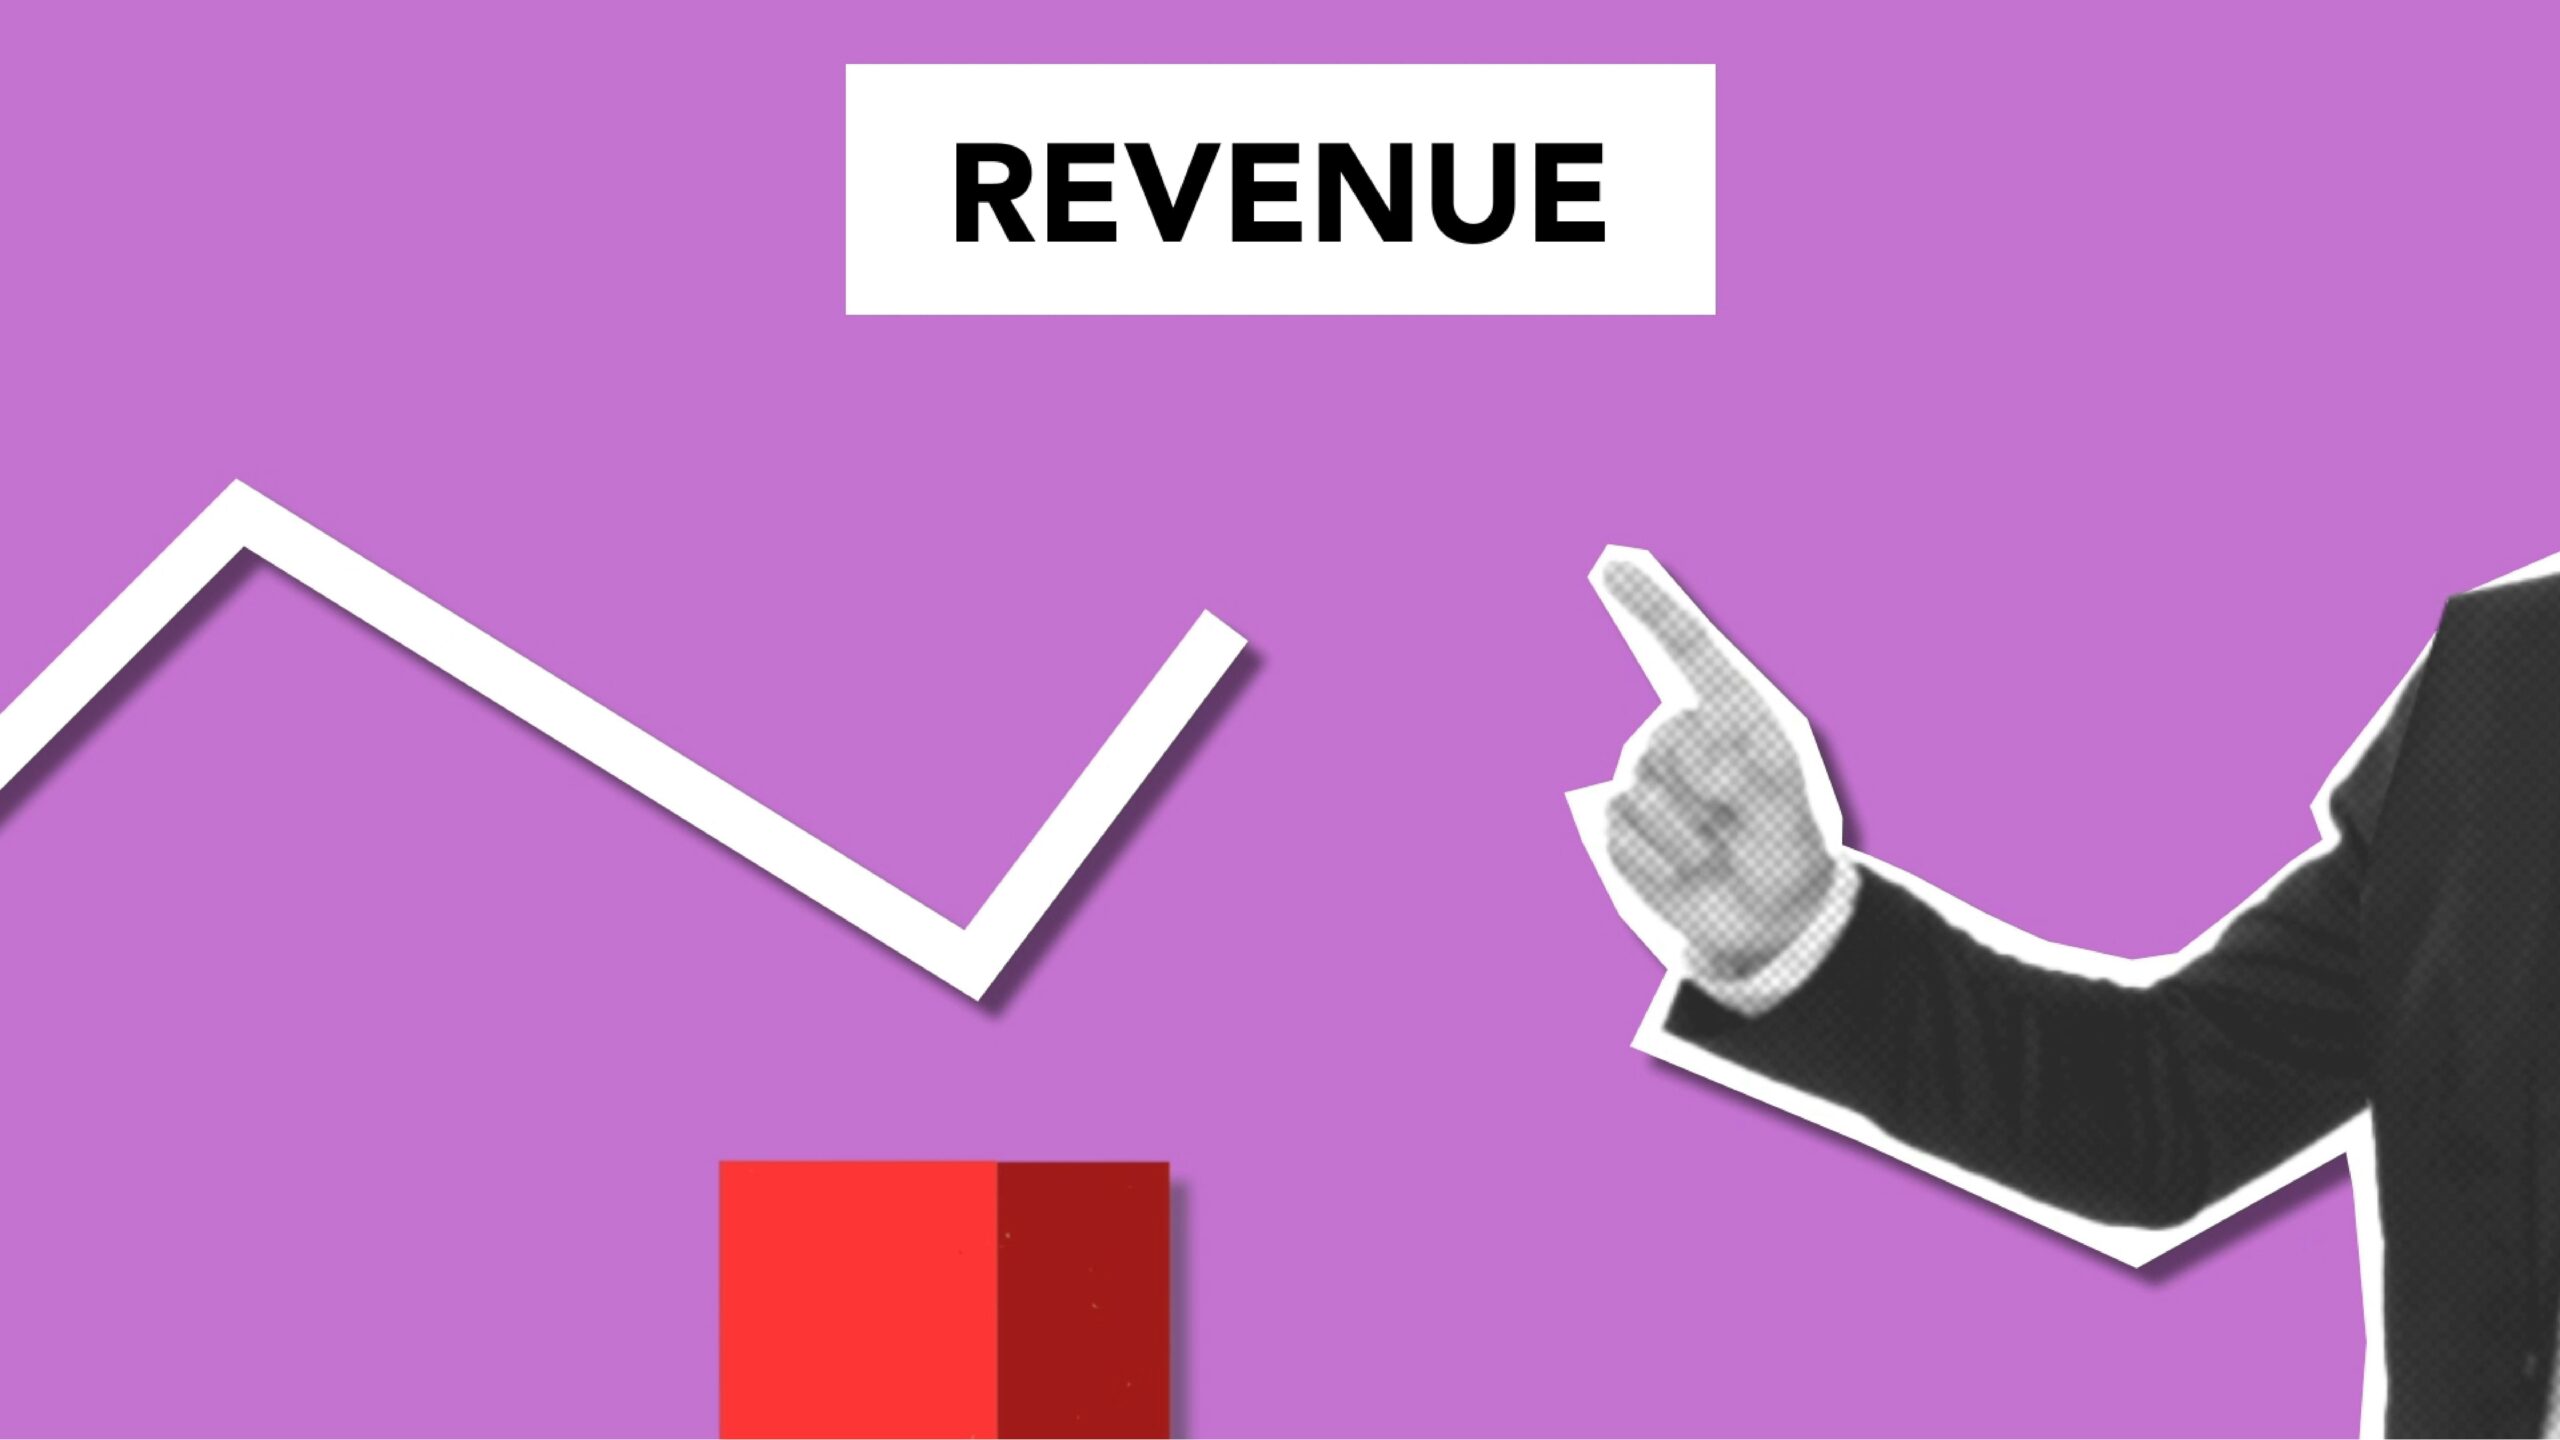
Influencer marketing strategy is one of the fastest ways to improve your business when you treat it like a measurable growth channel, not a vibe-based partnership. Instead of chasing follower counts, you can build a repeatable system that selects the right creators, sets clear KPIs, prices deliverables fairly, and tracks outcomes back to revenue or qualified leads. In this guide, you will get definitions for the metrics and contract terms that matter, plus a step-by-step framework you can run in a week. Along the way, you will see practical formulas, example calculations, and checklists you can copy into your next campaign plan.
Start with a measurable influencer marketing strategy
Before you DM a creator, decide what “improve your business” means in numbers. For ecommerce, that might be incremental revenue, first-time customers, or email signups that later convert. For B2B, it could be demo requests, webinar registrations, or content downloads from a target account list. Once you pick the business outcome, you can work backward into the right influencer format, platform, and tracking method. As a rule, if you cannot describe success in one sentence with a number, your campaign will drift.
Takeaway checklist:
- Pick one primary KPI (sales, leads, signups, or installs) and one secondary KPI (reach or engagement).
- Define your ideal customer in one line: role, pain point, and budget range.
- Choose a conversion path: link click to landing page, coupon redemption, or lead form.
- Set a test budget you can afford to lose, then scale only what proves out.
If you want more planning templates and measurement ideas, the InfluencerDB.net blog regularly covers campaign structure, creator selection, and reporting patterns that hold up across industries.
Define the metrics and deal terms you will use
Clear definitions prevent bad reporting and awkward renegotiations. Use the terms below in your brief and in your contract so everyone is aligned. Keep the language plain and specify exactly what you will measure, when you will measure it, and what counts as a valid result.
- Reach: the number of unique people who saw the content at least once.
- Impressions: the total number of times the content was shown, including repeat views.
- Engagement rate: engagements divided by reach or impressions (you must specify which). A simple version is: (likes + comments + saves + shares) / reach.
- CPM (cost per mille): cost per 1,000 impressions. Formula: (cost / impressions) x 1000.
- CPV (cost per view): cost per video view. Formula: cost / views.
- CPA (cost per acquisition): cost per purchase, lead, or signup. Formula: cost / conversions.
- Whitelisting: the creator grants permission for your brand to run paid ads through the creator’s handle (often called “spark ads” or “branded content ads,” depending on platform).
- Usage rights: permission to reuse the creator’s content on your owned channels, ads, or website for a defined time and region.
- Exclusivity: the creator agrees not to work with competitors for a defined period and category.
For platform-specific ad permissions and labeling, review Meta’s official guidance on branded content tools at Meta Business Help Center. Keep that link handy when you set up whitelisting, because the workflow changes over time.
Choose creators with a simple audit framework
Creator selection is where most campaigns win or lose. The goal is not “biggest audience,” it is “best match for your buyer and your offer.” Start with a short list of 20 to 40 creators, then narrow to 5 to 10 after a quick audit. You can do this in a spreadsheet in under two hours if you know what to look for.
Audit steps you can run today:
- Audience fit: scan comments for buyer language. Look for people asking about price, sizing, shipping, integrations, or results.
- Content fit: check whether the creator already makes the format you need (tutorial, review, day-in-the-life, comparison).
- Consistency: review the last 30 days. A creator with steady output is easier to brief and schedule.
- Engagement quality: prioritize thoughtful comments and saves over raw likes.
- Brand safety: read captions and Stories highlights for controversial topics that could conflict with your brand.
Decision rule: if you cannot explain in one sentence why this creator’s audience will buy your product, do not hire them yet. Instead, keep them as an awareness option for later.
Set pricing with CPM, CPV, and CPA guardrails
Influencer pricing varies widely, so you need guardrails that protect your budget while still paying creators fairly. Use CPM and CPV to compare offers across creators and formats, then use a target CPA to decide how much you can afford to spend per conversion. Even when you pay a flat fee, these metrics help you negotiate with numbers instead of opinions.
Example calculation: You pay $1,200 for one short-form video. It generates 60,000 impressions and 1,500 link clicks. Your CPM is (1200 / 60000) x 1000 = $20. If 30 purchases come from those clicks, your CPA is 1200 / 30 = $40. Now you can compare that $40 to your gross margin per order and decide whether to scale.
| Metric | Formula | What it tells you | How to use it in negotiation |
|---|---|---|---|
| CPM | (Cost / Impressions) x 1000 | Efficiency of awareness delivery | Ask for a lower fee if CPM is far above your paid social benchmarks |
| CPV | Cost / Views | Efficiency of video distribution | Use when the platform reports views more reliably than impressions |
| CPA | Cost / Conversions | Direct response performance | Offer a hybrid deal: lower flat fee plus performance bonus |
| Engagement rate | Engagements / Reach | Creative resonance with the audience | Use as a quality signal, not as a payment metric by itself |
When you need a neutral reference point for ad measurement concepts like reach and impressions, Google’s ads glossary is a solid baseline. Keep it separate from creator reporting, but use it to align your internal team on definitions: Google Ads glossary.
Build a brief that creators can execute without rewrites
A strong brief reduces revisions, improves on-time delivery, and protects performance. Creators do their best work when you define the objective and constraints, then give them room to write in their own voice. If you over-script, you often get stiff content that underperforms. On the other hand, if you give no direction, you risk missing key claims, compliance language, or product details.
Brief essentials:
- Goal and KPI: one primary KPI plus how you will track it (UTM link, code, landing page).
- Audience: who it is, what they care about, and one objection to address.
- Key messages: 3 bullet points, not a paragraph.
- Must-show product moments: unboxing, before and after, app screen, texture, sizing, or setup.
- Do-not-say list: prohibited claims, competitor mentions, sensitive topics.
- Deliverables: format, length, number of revisions, and due dates.
- Usage and whitelisting: where you can reuse content and for how long.
| Campaign phase | Tasks | Owner | Deliverable |
|---|---|---|---|
| Discovery | Shortlist creators, run quick audits, confirm audience fit | Brand marketer | Creator list with notes and estimated costs |
| Briefing | Send brief, confirm talking points, agree on usage rights and exclusivity | Brand marketer + creator | Signed scope and posting schedule |
| Production | Draft concept, film, submit for review, revise once | Creator | Final assets ready to post |
| Launch | Publish, monitor comments, pin FAQ answers, capture screenshots | Creator + brand community | Live posts and first 48-hour performance snapshot |
| Measurement | Pull platform metrics, attribute conversions, calculate CPM and CPA | Brand analyst | One-page report with learnings and next actions |
Track performance with clean links and a simple reporting cadence
Tracking is where influencer programs become scalable. Use unique UTMs per creator and per post, and send traffic to a landing page that matches the creator’s message. If you also use discount codes, treat them as a secondary signal because some buyers will click the link and never use the code. Meanwhile, set a reporting cadence that matches the platform: daily for the first two days, then weekly until the campaign ends.
Practical setup:
- Create one UTM template and reuse it: utm_source, utm_medium, utm_campaign, utm_content.
- Give each creator a unique utm_content value so you can filter in analytics.
- Decide attribution windows upfront: for example, 7-day click for ecommerce tests.
- Capture qualitative learnings: top comments, repeated questions, and objections.
Mini reporting template: For each creator, report reach, impressions, video views, engagement rate, clicks, conversions, revenue, CPM, and CPA. Then add one sentence on what to repeat and one sentence on what to change. This forces clarity and makes scaling decisions easier.
Negotiate usage rights, exclusivity, and whitelisting without confusion
Many brands overpay because they bundle everything into one flat fee without itemizing rights. Instead, separate the creative fee from the media value you get when you reuse the content. If you want to run the post as an ad through the creator handle, ask for whitelisting terms and a time limit. Similarly, if you need exclusivity, define the competitor set and the exact category to avoid accidental conflicts.
Negotiation tips you can use immediately:
- Ask for a base package price, then price add-ons: extra cutdowns, raw footage, usage rights, and whitelisting.
- Limit usage rights by time (for example, 3 months) and channels (paid social only) to control cost.
- Define exclusivity narrowly: “direct-to-consumer skincare serums” is better than “beauty.”
- Put review timelines in writing so approvals do not stall the posting date.
Common mistakes that waste budget
Most influencer spend is not “lost” because creators are bad. It is lost because the campaign design is vague, the offer is weak, or the measurement is sloppy. Fixing these issues usually improves results more than switching creators. Also, avoid judging performance too early, since some posts build momentum after the first day.
- Picking creators by follower count instead of audience fit and content format.
- No clear CTA, which leads to high engagement but low conversions.
- Sending traffic to a generic homepage rather than a message-matched landing page.
- Bundling rights into one fee without understanding what you are buying.
- Ignoring comment sections, where you can learn objections and improve your offer.
Best practices to improve results in the next 30 days
Once you have a baseline, you can improve performance with small, repeatable changes. Start by testing creative angles, then tighten your offer and landing page. After that, scale the winners with whitelisting so you can reach more of the right audience. Finally, keep a creator bench so you are not scrambling when a top performer is unavailable.
Best-practice playbook:
- Test 3 angles: problem first, comparison, and tutorial. Keep the product and CTA constant.
- Ask creators to pin a comment with the CTA and a short FAQ answer.
- Reuse winning hooks across multiple creators to isolate audience effects.
- Scale with paid amplification only after you see strong retention or click quality.
- Run a post-campaign retro: what worked, what did not, and what you will change next time.
If you want to go deeper on creator selection and reporting habits, browse additional frameworks in the and adapt the templates to your niche.