Free video editing software can be the difference between posting consistently and getting stuck in endless revisions. In practice, the best choice depends on your platform, your device, and how “serious” your edits need to be: quick trims and captions for TikTok, color work for YouTube, or brand-safe exports for paid ads. This guide compares the strongest free options, explains key marketing terms you will see in briefs, and gives you a repeatable workflow to edit faster without sacrificing quality.
Free video editing software: how to choose in 5 minutes
Before you download anything, decide what you actually need to ship this week. Start with your platform: vertical short-form needs fast captioning and templates, while long-form needs timeline control, audio mixing, and stable exports. Next, check your hardware limits because some editors are “free” but require a strong GPU to run smoothly. Finally, confirm you can export without watermarks at the resolution you need.
- Platform fit: TikTok and Reels – vertical presets, captions, quick effects. YouTube – multicam, audio, color, chapter-friendly pacing.
- Export needs: 1080p is the baseline; 4K matters for YouTube and repurposing.
- Caption workflow: Auto-captions save hours if you post frequently.
- Brand work: Look for clean licensing, consistent color, and reliable codecs.
- Learning curve: If you will not use keyframes, do not pick a keyframe-heavy tool.
As you build a repeatable process, keep a running checklist of what slows you down. Then pick the editor that removes that bottleneck first, not the one with the longest feature list.
Quick comparison table: the best free editors by use case

This table focuses on practical differences that affect creators and influencer teams: ease of use, watermark risk, and whether the tool supports a clean workflow for social deliverables. Use it to shortlist two tools, then test both on the same 30-second clip.
| Tool | Best for | Strengths | Watch-outs | Ideal user |
|---|---|---|---|---|
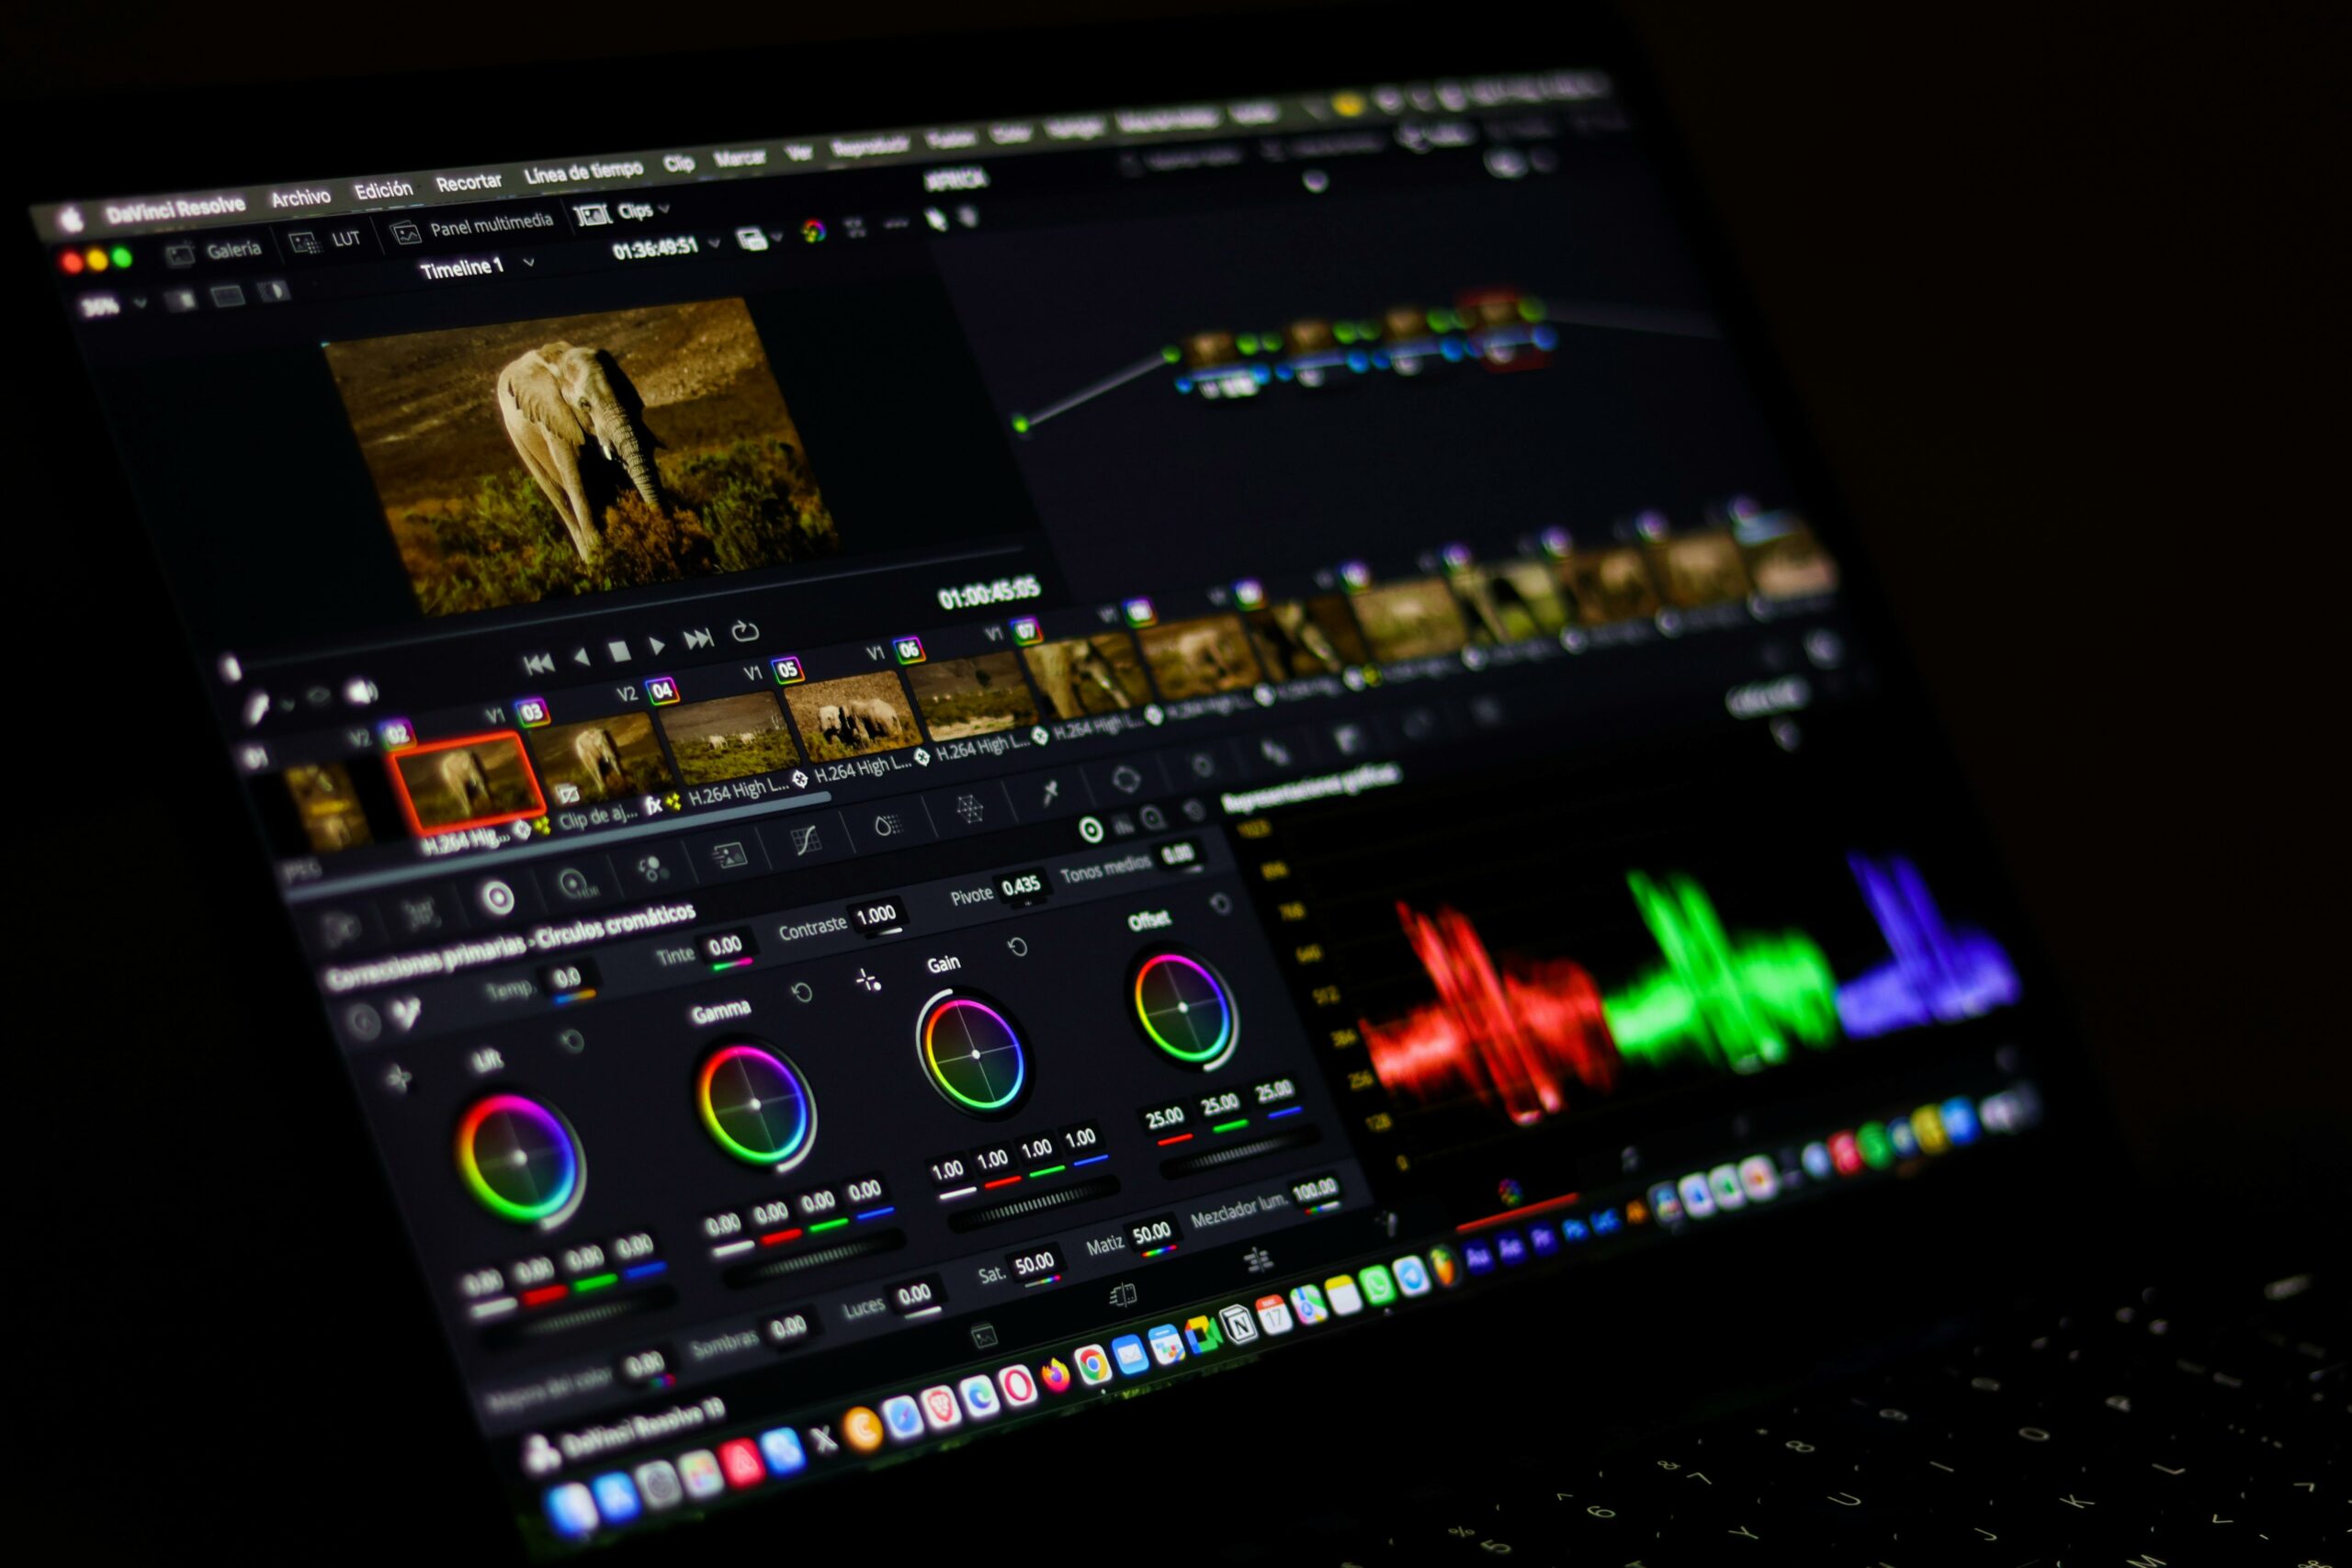
| DaVinci Resolve | YouTube, color, audio | Pro-grade color, strong audio tools, robust timeline | Heavy on older laptops; steeper learning curve | Creators who want “studio” control for free |
| CapCut (desktop/mobile) | TikTok, Reels, Shorts | Fast templates, captions, effects, easy vertical exports | Some features may be gated; stay alert for watermark settings | High-volume short-form creators |
| Shotcut | Simple edits on any OS | Open-source, lightweight, wide format support | UI feels technical; fewer “social-first” features | Budget setups needing reliable basics |
| OpenShot | Beginner timelines | Very approachable, quick trims and titles | Can struggle with heavy projects | New editors learning the basics |
| iMovie (macOS/iOS) | Clean, fast Apple workflow | Simple, stable, good defaults for sound and color | Limited advanced controls | Apple creators who want speed over complexity |
| Clipchamp (Windows/web) | Quick social edits | Easy UI, stock options, quick exports | Browser performance varies; check export limits | Teams editing lightweight content fast |
Takeaway: if you are unsure, pair one “fast” editor (CapCut, iMovie, Clipchamp) with one “deep” editor (DaVinci Resolve). That combination covers 90 percent of creator needs without paying upfront.
Key marketing terms you should understand before editing for brands
Editing is not just creative work when money is involved. Brands will judge your video by performance metrics, usage rights, and whether the deliverable matches the brief. Knowing the terms below helps you price correctly and avoid giving away value by accident.
- CPM (Cost per Mille): cost per 1,000 impressions. Formula: CPM = (Spend / Impressions) x 1000.
- CPV (Cost per View): cost per view. Formula: CPV = Spend / Views. Define what counts as a view for the platform.
- CPA (Cost per Acquisition): cost per conversion (sale, signup). Formula: CPA = Spend / Conversions.
- Engagement rate: engagement divided by reach or followers. Ask which one the brand uses.
- Reach: unique accounts that saw the content.
- Impressions: total views, including repeats.
- Whitelisting: brand runs ads through a creator handle. This affects pricing and permissions.
- Usage rights: who can use the video, where, and for how long (organic only vs paid, 30 days vs 12 months).
- Exclusivity: restriction on working with competing brands for a time window.
Concrete rule: if a brand asks for whitelisting or paid usage, treat the edit as an asset, not a post. That usually means higher rates and clearer contract language.
A practical editing workflow for influencer deliverables (with time targets)
Most creators lose time in three places: finding the best takes, fixing audio, and re-exporting because specs were unclear. A simple workflow reduces that waste. Use the steps below as a repeatable system, then refine it after each campaign.
- Confirm specs first (5 minutes): aspect ratio, length, hook timing, CTA, captions, and whether the brand needs clean versions without music.
- Build a “selects” timeline (10 to 20 minutes): drop only the best takes into a new sequence. Do not polish yet.
- Audio pass (10 minutes): normalize voice, reduce noise, and keep music under dialogue. Bad audio kills retention faster than average visuals.
- Structure pass (15 minutes): tighten pauses, move the hook earlier, and cut anything that does not support the claim.
- Caption and graphics pass (15 minutes): add burned-in captions for short-form, plus on-screen proof points (price, feature, result).
- Compliance check (5 minutes): add disclosure text and confirm claims are supportable.
- Export and QC (10 minutes): watch the exported file end-to-end on your phone with sound on.
For disclosure basics, the FTC’s endorsement guidance is the standard reference: FTC Endorsements, Influencers, and Reviews. If you are delivering to a brand team, ask whether they want the disclosure in the caption, on-screen, or both.
Takeaway: timebox each pass. When you edit in “passes” instead of perfecting one clip at a time, you finish faster and your pacing improves.
Export settings that protect quality on TikTok, Reels, and YouTube
Even great edits can look soft if you export with the wrong settings. Start with the platform’s recommended specs, then keep your workflow consistent so you can compare performance fairly across posts. Also, avoid multiple re-uploads because each platform may re-compress the file.
| Platform | Aspect ratio | Resolution | Frame rate | Bitrate tip | Creator takeaway |
|---|---|---|---|---|---|
| TikTok | 9:16 | 1080 x 1920 | 30 fps (or match source) | Export high, let platform compress | Prioritize sharp text and clean audio |
| Instagram Reels | 9:16 | 1080 x 1920 | 30 fps | Avoid extreme filters that band gradients | Keep safe margins for UI overlays |
| YouTube (long) | 16:9 | 1080p or 4K | 24 to 60 fps | Higher bitrate helps with motion and detail | Export 4K if you plan to crop later |
| YouTube Shorts | 9:16 | 1080 x 1920 | 30 fps | Keep file size reasonable for uploads | Hook in the first 1 to 2 seconds |
YouTube’s official help docs are useful when you need to sanity-check formats and upload behavior: YouTube recommended upload encoding settings. Use that page as your baseline when a brand asks for “broadcast quality” exports.
How to price edits and usage rights using simple formulas
Free tools do not mean free work. When a brand pays for content, you are selling creative labor plus media value. A clean way to negotiate is to separate your deliverables into components: production, editing, posting, and licensing. That makes your quote defensible and reduces back-and-forth.
- Base creative fee: covers scripting, filming, and editing for the agreed deliverables.
- Usage rights fee: paid usage, whitelisting, or cross-platform posting by the brand.
- Exclusivity fee: compensation for turning down competing deals.
- Rush fee: if the timeline compresses your schedule.
Example calculation for a whitelisted ad: assume your base creative fee is $600 for one vertical video. The brand wants 3 months of paid usage and whitelisting. You might add a usage multiplier, for example 50 to 150 percent of the base fee depending on scope. If you choose 100 percent, the usage fee is $600, so total becomes $1,200. Then add exclusivity only if requested, and define the category clearly.
Decision rule: if the brand can spend behind your face and handle, price that like media leverage. You are not just editing – you are enabling distribution.
If you want more frameworks for influencer pricing and deliverables, keep an eye on the InfluencerDB Blog guides on creator rates and campaign planning, which regularly break down negotiation patterns and performance signals.
Common mistakes when picking a free editor (and how to avoid them)
Most “bad tool choices” are really mismatches between the tool and the workflow. The fixes below are simple, but they save hours over a month of posting.
- Choosing a tool that your laptop cannot run: test playback with a real clip before committing. If it stutters, your edits will drag.
- Ignoring export constraints: confirm watermark behavior and resolution limits early, especially for template-driven apps.
- Over-editing short-form: too many effects can reduce clarity and hurt watch time. Keep the message readable.
- Not saving presets: build export presets for each platform so you do not reinvent settings every time.
- Skipping version control: name files like Brand_Product_V1, V2, Final, and keep a clean folder structure.
Takeaway: the “best” editor is the one that lets you publish on schedule with consistent quality. Reliability beats novelty when you are working with brand deadlines.
Best practices: a creator checklist for faster edits and better performance
Once your tool is chosen, performance comes from habits. These best practices are simple enough to apply today, yet they compound over time as your library of templates, presets, and reusable assets grows.
- Start with a hook script: write the first two lines before you film. Editing cannot fix a missing hook.
- Record clean audio: a $20 lav mic often beats heavy noise reduction later.
- Use a consistent caption style: same font, size, and placement improves readability and brand recognition.
- Keep a b-roll folder: product close-ups, lifestyle shots, and screen recordings speed up future edits.
- Deliver two cuts when possible: one “safe” brand cut and one creator-native cut. Let performance decide.
- Track results by version: label posts so you can connect edits to outcomes like retention and saves.
To connect editing decisions to outcomes, log a few metrics after 48 hours: average watch time, completion rate, saves, and comments. Then write one sentence about what you will change next time. That simple loop turns editing into an experiment, not a guessing game.
What to download first: a simple recommendation by creator type
If you want a quick answer, match your creator type to a starting tool. Then commit to one month of consistent use before you switch. You will learn faster by mastering one workflow than by chasing new features every week.
- Beginner on Windows: start with Clipchamp for speed, then graduate to DaVinci Resolve when you need more control.
- Beginner on Mac: iMovie is the fastest path to clean exports and stable timelines.
- Short-form heavy: CapCut is hard to beat for captions and templates, especially when you post daily.
- YouTube growth focus: DaVinci Resolve gives you the best long-term ceiling for free.
- Open-source preference: Shotcut is a solid balance of capability and simplicity.
Final takeaway: pick the tool that matches your next 10 videos, not your dream project. Consistency is what builds a catalog, and a catalog is what builds leverage with brands.