LinkedIn post scheduling is the fastest way to publish consistently without living inside the app, and in 2026 it is also how most teams protect quality while scaling output. Instead of scrambling for last minute ideas, you build a repeatable system: topics, drafts, approvals, timing, and measurement. This guide is written for creators, founders, and marketing teams who want predictable reach and clean analytics, not random spikes. You will get a step by step workflow, definitions for key metrics, two practical tables, and decision rules for choosing tools and time slots. Along the way, you will also learn how to connect scheduling to influencer style partnerships, employee advocacy, and paid amplification when it makes sense.
LinkedIn post scheduling: what it is and why it matters in 2026
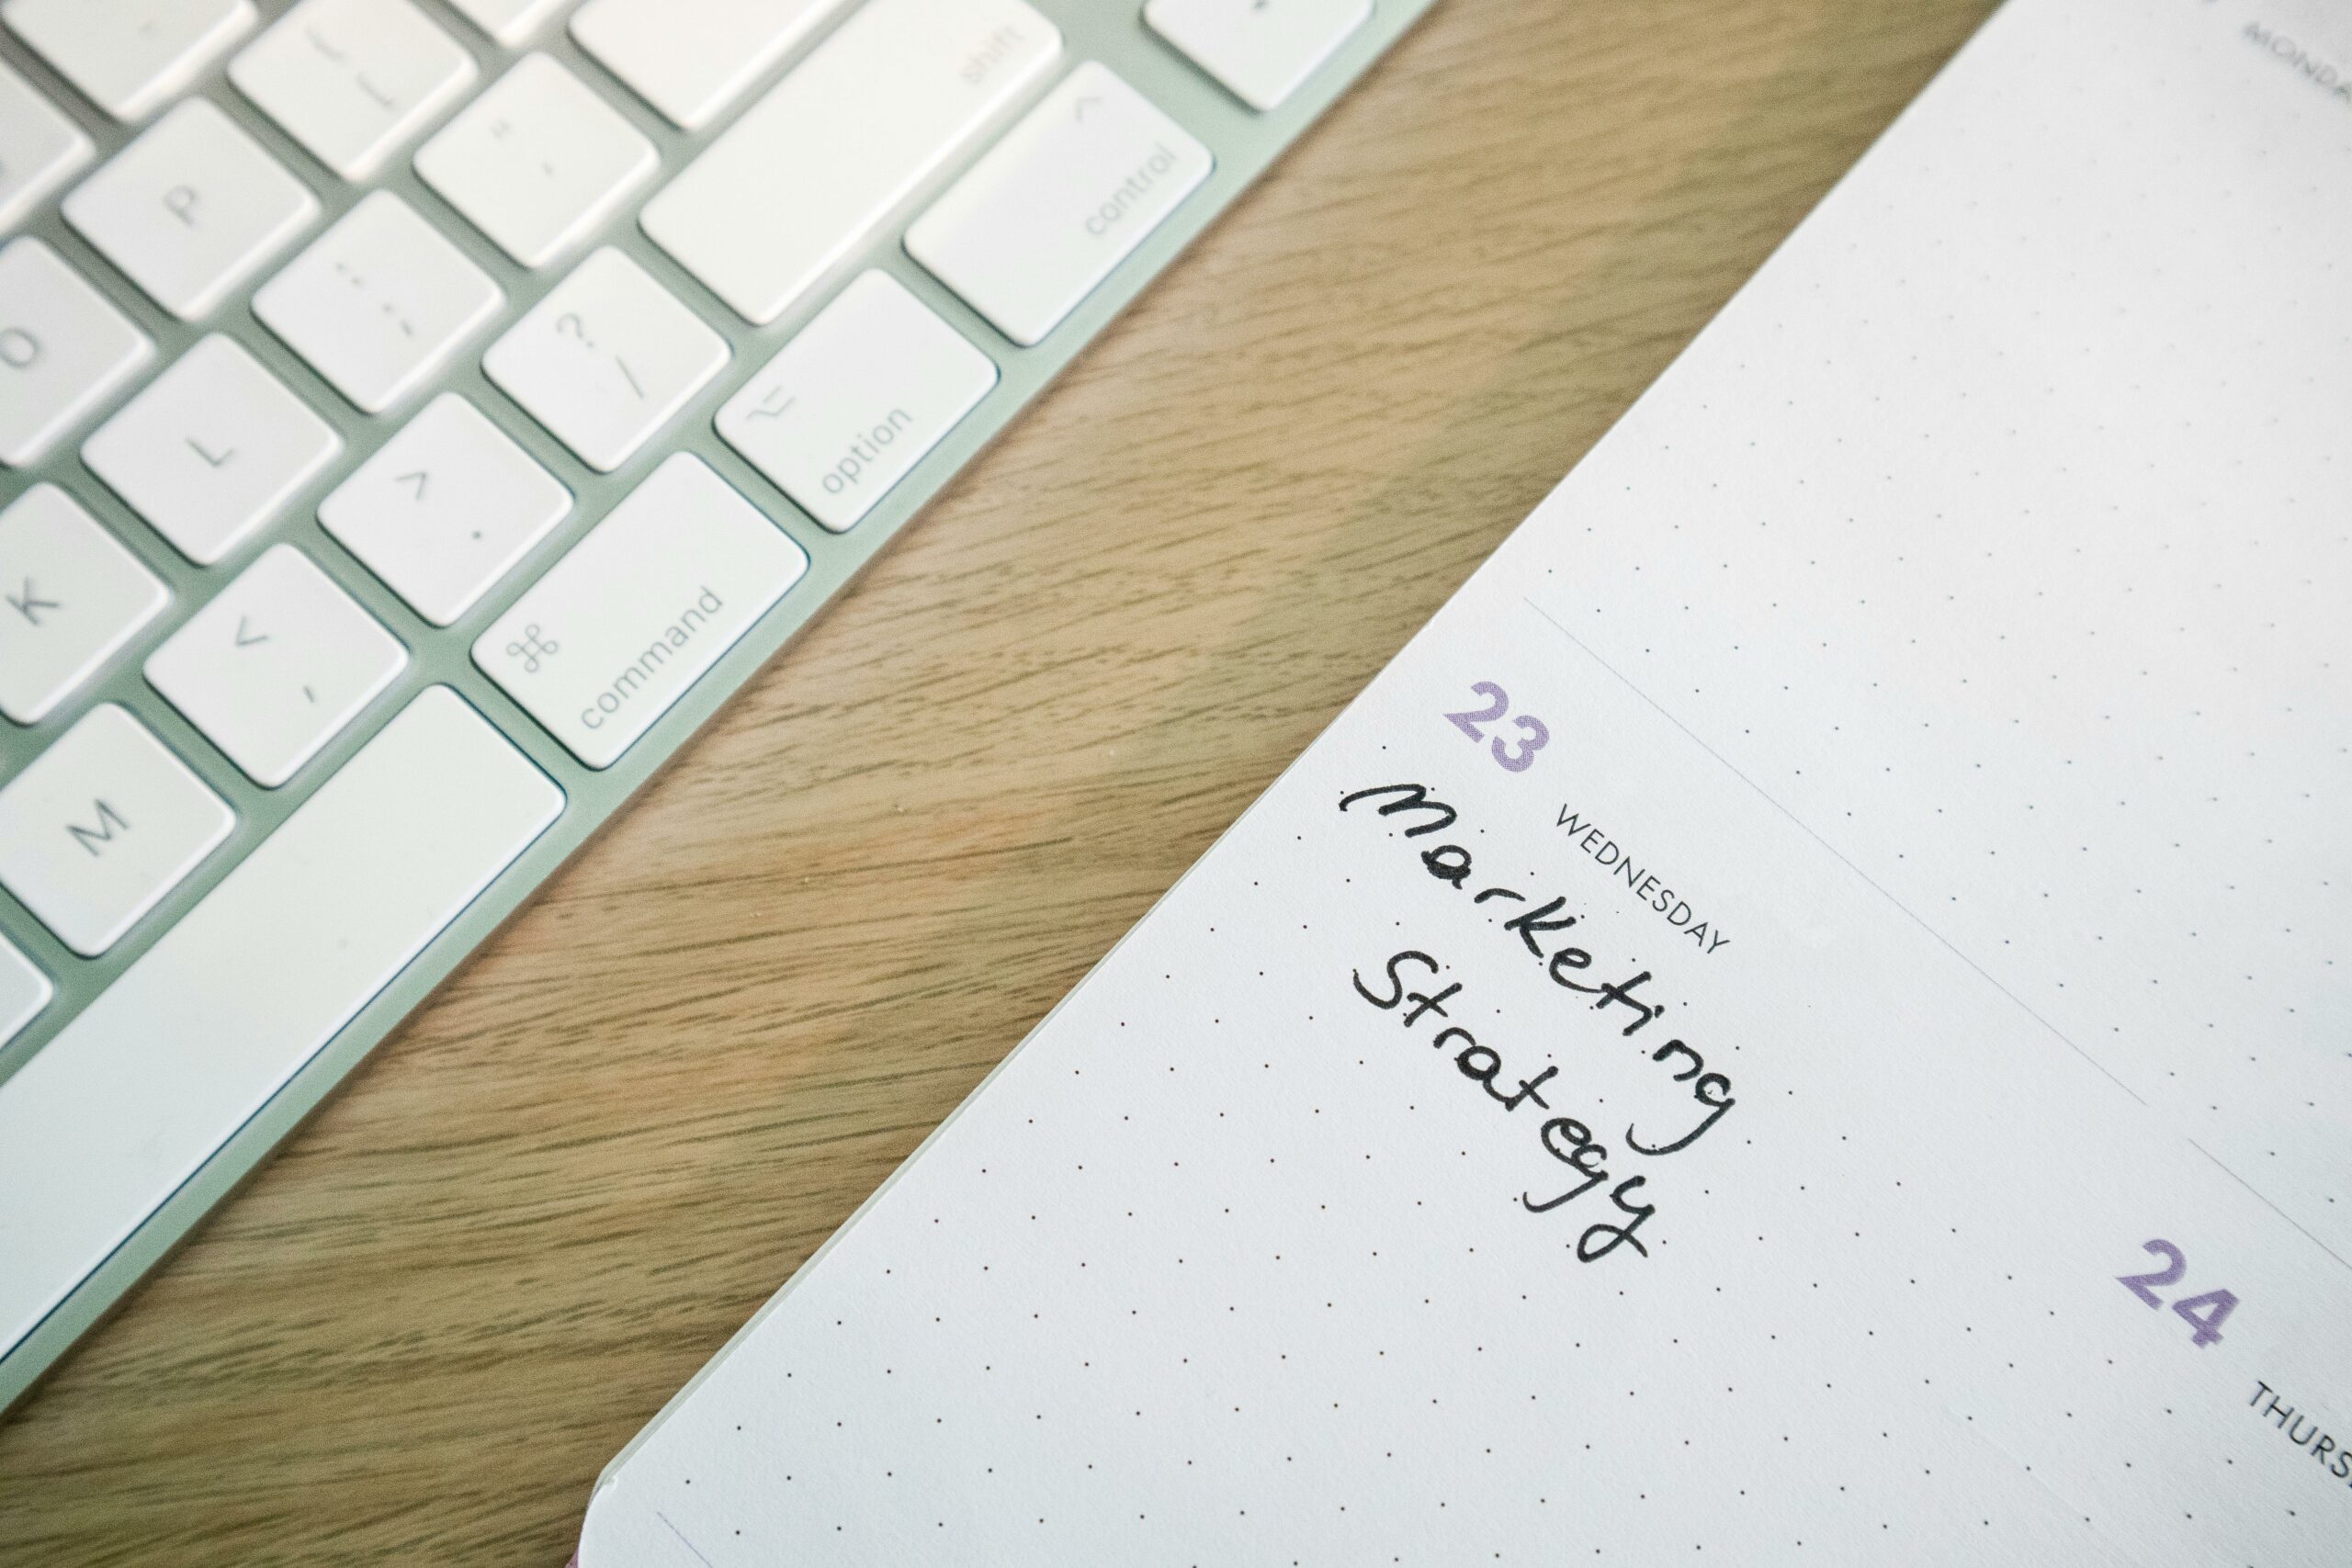
Scheduling means writing posts ahead of time and setting a future publish time through LinkedIn or a third party tool. The obvious benefit is consistency, but the more important benefit is control: you can review claims, add sources, and align posts with launches, events, and campaigns. In 2026, LinkedIn feeds are crowded with AI assisted content, so differentiation comes from specificity and proof. Scheduling creates the space to add screenshots, data points, and a clear point of view. It also reduces the risk of missing key moments like product updates, conference weeks, or hiring pushes.
Use this decision rule: if you publish more than three times per week or collaborate with anyone on approvals, you should schedule. If you post less often but you care about quality, you should still schedule at least one week ahead so you can batch writing and editing. Finally, if you run influencer or creator partnerships, scheduling helps you coordinate announcements and avoid overlapping messages that cannibalize reach. For more planning templates and measurement ideas, browse the InfluencerDB blog resources and adapt them to your LinkedIn cadence.
Key terms you need before you plan
Before you set up a calendar, align on the language your team will use. Otherwise, you will argue about results without realizing you are using different definitions. Here are the core terms, with practical ways to apply them to LinkedIn planning and influencer style collaborations.
- Reach – unique people who saw your post. Use it to compare topic demand across weeks.
- Impressions – total views, including repeat views. Use it to spot posts that get re read or shared in DMs.
- Engagement rate – engagements divided by impressions (or reach, depending on your reporting). Use one method consistently. Formula example: engagement rate = (reactions + comments + reposts + clicks) / impressions.
- CPM – cost per thousand impressions. In organic, treat it as an equivalent value when comparing to paid. Formula: CPM = (spend / impressions) x 1000.
- CPV – cost per view, usually for video. Formula: CPV = spend / video views.
- CPA – cost per acquisition (lead, signup, purchase). Formula: CPA = spend / conversions.
- Whitelisting – a creator grants a brand permission to run ads from the creator handle. On LinkedIn, this is less common than on Meta, but the principle matters when you amplify employee or partner posts.
- Usage rights – permission to reuse content (for example, turning a post into a sales deck slide). Always define duration and channels.
- Exclusivity – a restriction that prevents posting about competitors for a period. If you partner with creators on LinkedIn, exclusivity has a real opportunity cost and should be priced.
Concrete takeaway: write these definitions into your reporting sheet and your creator briefs. If you change the engagement rate denominator mid quarter, your trend line becomes meaningless.
A step by step workflow to plan, schedule, and publish
A good scheduling system is not just a calendar. It is a pipeline that moves from ideas to drafts to approvals to measurement. The workflow below works for solo creators and for teams, because each step has a clear output.
- Set one primary goal per month – awareness, leads, hiring, partnerships, or community. If you pick two, decide which one wins when tradeoffs appear.
- Choose 3 to 5 content pillars – for example: lessons learned, case studies, industry analysis, behind the scenes, and product education.
- Build a backlog of 30 ideas – each idea should fit on one line and include a proof point you can add later.
- Batch draft – write 4 to 8 posts in one sitting. Keep drafts short, then expand the strongest ones with examples.
- Add a hook and a close – hook: a specific claim or question. Close: a clear prompt for comments or a next step.
- Quality check – verify numbers, remove vague claims, and add one concrete detail per post (a metric, a quote, a screenshot, or a mini story).
- Schedule with intent – pick times based on your audience behavior, not generic best times.
- Measure after 48 hours and after 14 days – early velocity and long tail performance are different on LinkedIn.
Practical example: if your goal is leads, schedule two educational posts per week and one proof post per week. A proof post can be a mini case study, a customer quote, or a before and after metric. Then track clicks and conversions, not just reactions.
Editorial calendar template (with owners and deliverables)
Scheduling becomes easier when every post has an owner and a status. Even if you are a solo creator, assigning roles to yourself prevents skipped steps. Use the table as a starting point, then adjust for your team size.
| Phase | Tasks | Owner | Deliverable | Done when |
|---|---|---|---|---|
| Strategy | Pick monthly goal, define KPIs, choose pillars | Marketing lead or creator | One page plan | KPIs and pillars approved |
| Ideation | Collect 30 ideas, tag by pillar and intent | Creator, team, SMEs | Idea backlog | Backlog covers 4 weeks |
| Drafting | Write posts, add proof points, add CTA | Writer or creator | Drafts in doc or tool | At least 2 weeks drafted |
| Review | Fact check, brand voice edit, legal check if needed | Editor, legal, founder | Approved copy | No open comments |
| Scheduling | Set publish time, add UTM links, add alt text if applicable | Social manager | Scheduled posts | Calendar shows dates and times |
| Measurement | Report 48h and 14d metrics, note learnings | Analyst or owner | Weekly report | Next week actions defined |
Concrete takeaway: add a “Done when” column to stop endless revisions. Most teams waste time because approval criteria are fuzzy.
Choosing scheduling tools: what to look for (and what to avoid)
LinkedIn offers native scheduling in many regions, and third party tools add collaboration, asset libraries, and reporting. The best tool is the one that fits your workflow and reduces manual work without breaking attribution. Prioritize: reliable publishing, easy editing, approvals, and link tracking. Then evaluate reporting depth and integrations with your CRM or analytics stack. If you publish for multiple executives, approval workflows matter more than fancy dashboards.
When you evaluate tools, check whether they support UTM parameters and whether they preserve formatting, especially line breaks. Also confirm how they handle post edits after publishing, because LinkedIn posts often need small fixes. For platform guidance and feature changes, use LinkedIn’s official help documentation, which is updated frequently: LinkedIn Help Center.
| Need | Native scheduling | Third party scheduler | Best for | Watch out for |
|---|---|---|---|---|
| Simple queue | Usually yes | Yes | Solo creators | Limited collaboration |
| Approvals | Limited | Strong | Teams, exec accounts | Extra steps can slow publishing |
| Asset library | No | Often yes | Brands with many visuals | Version control issues |
| Reporting | Basic | Varies | Analyst led teams | Metrics definitions differ by tool |
| UTM templates | Manual | Often yes | Lead gen programs | Broken UTMs if auto shorteners are used |
Concrete takeaway: if you care about lead tracking, build a UTM template first, then choose a tool that makes it hard to mess up. Consistency beats sophistication.
Timing, frequency, and experimentation that actually teaches you something
Most “best time to post” advice fails because it ignores audience composition. A B2B SaaS founder with a US audience will not behave like a recruiter in Germany or a creator targeting India. Instead, run small experiments and keep the rest constant. Change one variable at a time: publish time, format, hook style, or CTA. Then compare results over at least four posts per variant, because single post comparisons are noisy.
Start with a baseline schedule for four weeks. For example: Tuesday, Wednesday, and Thursday at one consistent time. After that, test one new time slot for two weeks while keeping topics similar. Use this simple measurement approach: record impressions, engagement rate, profile visits, and link clicks at 48 hours. Then record the same metrics at 14 days to capture long tail distribution. If you need a standard for campaign measurement language, the IAB measurement resources are a useful reference point for definitions and consistency: Interactive Advertising Bureau.
Concrete takeaway: if a post gets high impressions but low comments, your hook may be broad but not debatable. If comments are high but clicks are low, your CTA or offer is weak. Schedule the next post to fix one of those issues, not both.
Measurement and simple formulas (with an example calculation)
Scheduling without measurement is just content production. To make the system pay off, tie each post to a KPI and track it in a spreadsheet. Keep it simple: post URL, publish time, pillar, format, hook type, and the metrics you care about. If you run influencer partnerships, add fields for creator, usage rights, and exclusivity so you can connect performance to contract terms.
Here are practical formulas you can use immediately:
- Engagement rate = (reactions + comments + reposts + clicks) / impressions
- Click through rate = link clicks / impressions
- Lead conversion rate = leads / link clicks
- CPA = spend / leads (if you boosted posts or ran ads)
- Equivalent CPM = (content cost / impressions) x 1000 (useful for valuing organic time investment)
Example: you spend $300 on a designer and editor time for a carousel. It earns 25,000 impressions and 900 total engagements, including 120 link clicks. Engagement rate = 900 / 25,000 = 3.6%. Equivalent CPM = (300 / 25,000) x 1000 = $12. If your paid LinkedIn CPM is $35 for similar audiences, that carousel is efficient, so you should schedule more posts in that format and pillar.
Concrete takeaway: track cost even for organic posts. Time is a budget, and scheduling makes that budget visible.
Common mistakes that break LinkedIn scheduling
Most scheduling failures come from process gaps, not creativity. One common mistake is scheduling too far ahead without leaving room for news. If your calendar is locked for six weeks, you will miss timely conversations that drive comments. Another mistake is writing generic posts that could be published any day, which makes scheduling feel pointless. You also see teams schedule links without context, then blame the algorithm when clicks are low.
Measurement mistakes are just as damaging. People often compare posts with different goals, then draw the wrong conclusion. Others change formatting, topic, and publish time in the same week, which makes learning impossible. Finally, many teams forget to document usage rights and exclusivity when a creator or employee contributes content, which can create conflict later. Concrete takeaway: if you cannot explain why a post is scheduled for a specific day, it probably belongs in the backlog until it has a clearer purpose.
Best practices: a 2026 checklist you can reuse
Good scheduling systems feel calm. They create space for better writing, better proof, and better follow up in comments. Use this checklist as your weekly routine, and you will improve results without adding hours.
- Batch writing – draft at least one week ahead, two weeks if you have approvals.
- Proof first – add one data point, screenshot, or mini case study to every post.
- One CTA – ask for a comment, a DM, or a click, but not all three.
- Comment plan – block 20 minutes after posting to reply and add context.
- UTM discipline – use a consistent naming scheme so attribution stays clean.
- Repurpose with intent – turn one strong post into a carousel, a short video, and a newsletter topic.
- Monthly retro – pick the top 3 posts by your primary KPI and write down why they worked.
Concrete takeaway: scheduling is not “set and forget.” It is “set and then show up” – the comment section is part of distribution.
Putting it all together: a simple 30 day plan
If you want a clean start, run this 30 day plan. Week 1: pick a goal, define KPIs, and build your idea backlog. Week 2: draft eight posts, edit them, and schedule six. Leave two as flexible slots for timely topics. Week 3: publish, respond to comments, and log metrics at 48 hours. Week 4: repeat publishing, then run a retro where you decide what to double down on next month.
As you improve, add one layer at a time. First, tighten your hooks and proof points. Next, test one new format like carousels or short video. After that, consider partnerships: a coauthored post, an employee spotlight, or a creator collaboration with clear usage rights. If you keep the workflow stable, your experiments will teach you something real, and your LinkedIn post scheduling will turn into a measurable growth engine.