Custom shipping supplies are one of the fastest ways to improve unboxing, cut damage rates, and make creator merch or PR mailers feel intentional instead of improvised. The trick is to treat packaging like a system – not a one-off design job – so you can predict cost per order, packing time, and the odds a creator will actually film the moment. In practice, the best setup balances protection, speed, and brand consistency while staying within carrier rules. This guide breaks down the decisions that matter, the numbers to track, and a simple framework you can reuse for every drop or seeding wave.
Custom shipping supplies for influencer campaigns: what they are and why they matter
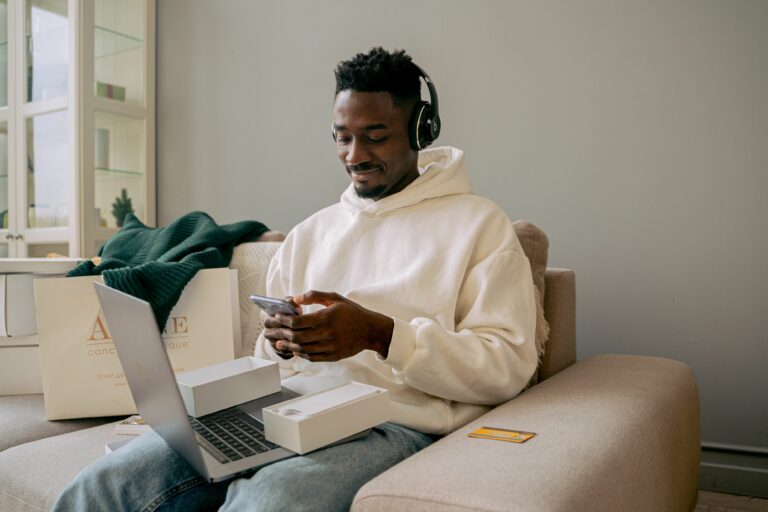
In influencer marketing, packaging is not just logistics; it is part of the content surface area. When a creator opens a box on camera, your mailer becomes a prop, a set, and a signal of quality. That is why brands that seed consistently often standardize mailers the same way they standardize briefs and tracking links. If you want more creators to post, you need packaging that looks good quickly, opens cleanly, and keeps the product pristine.
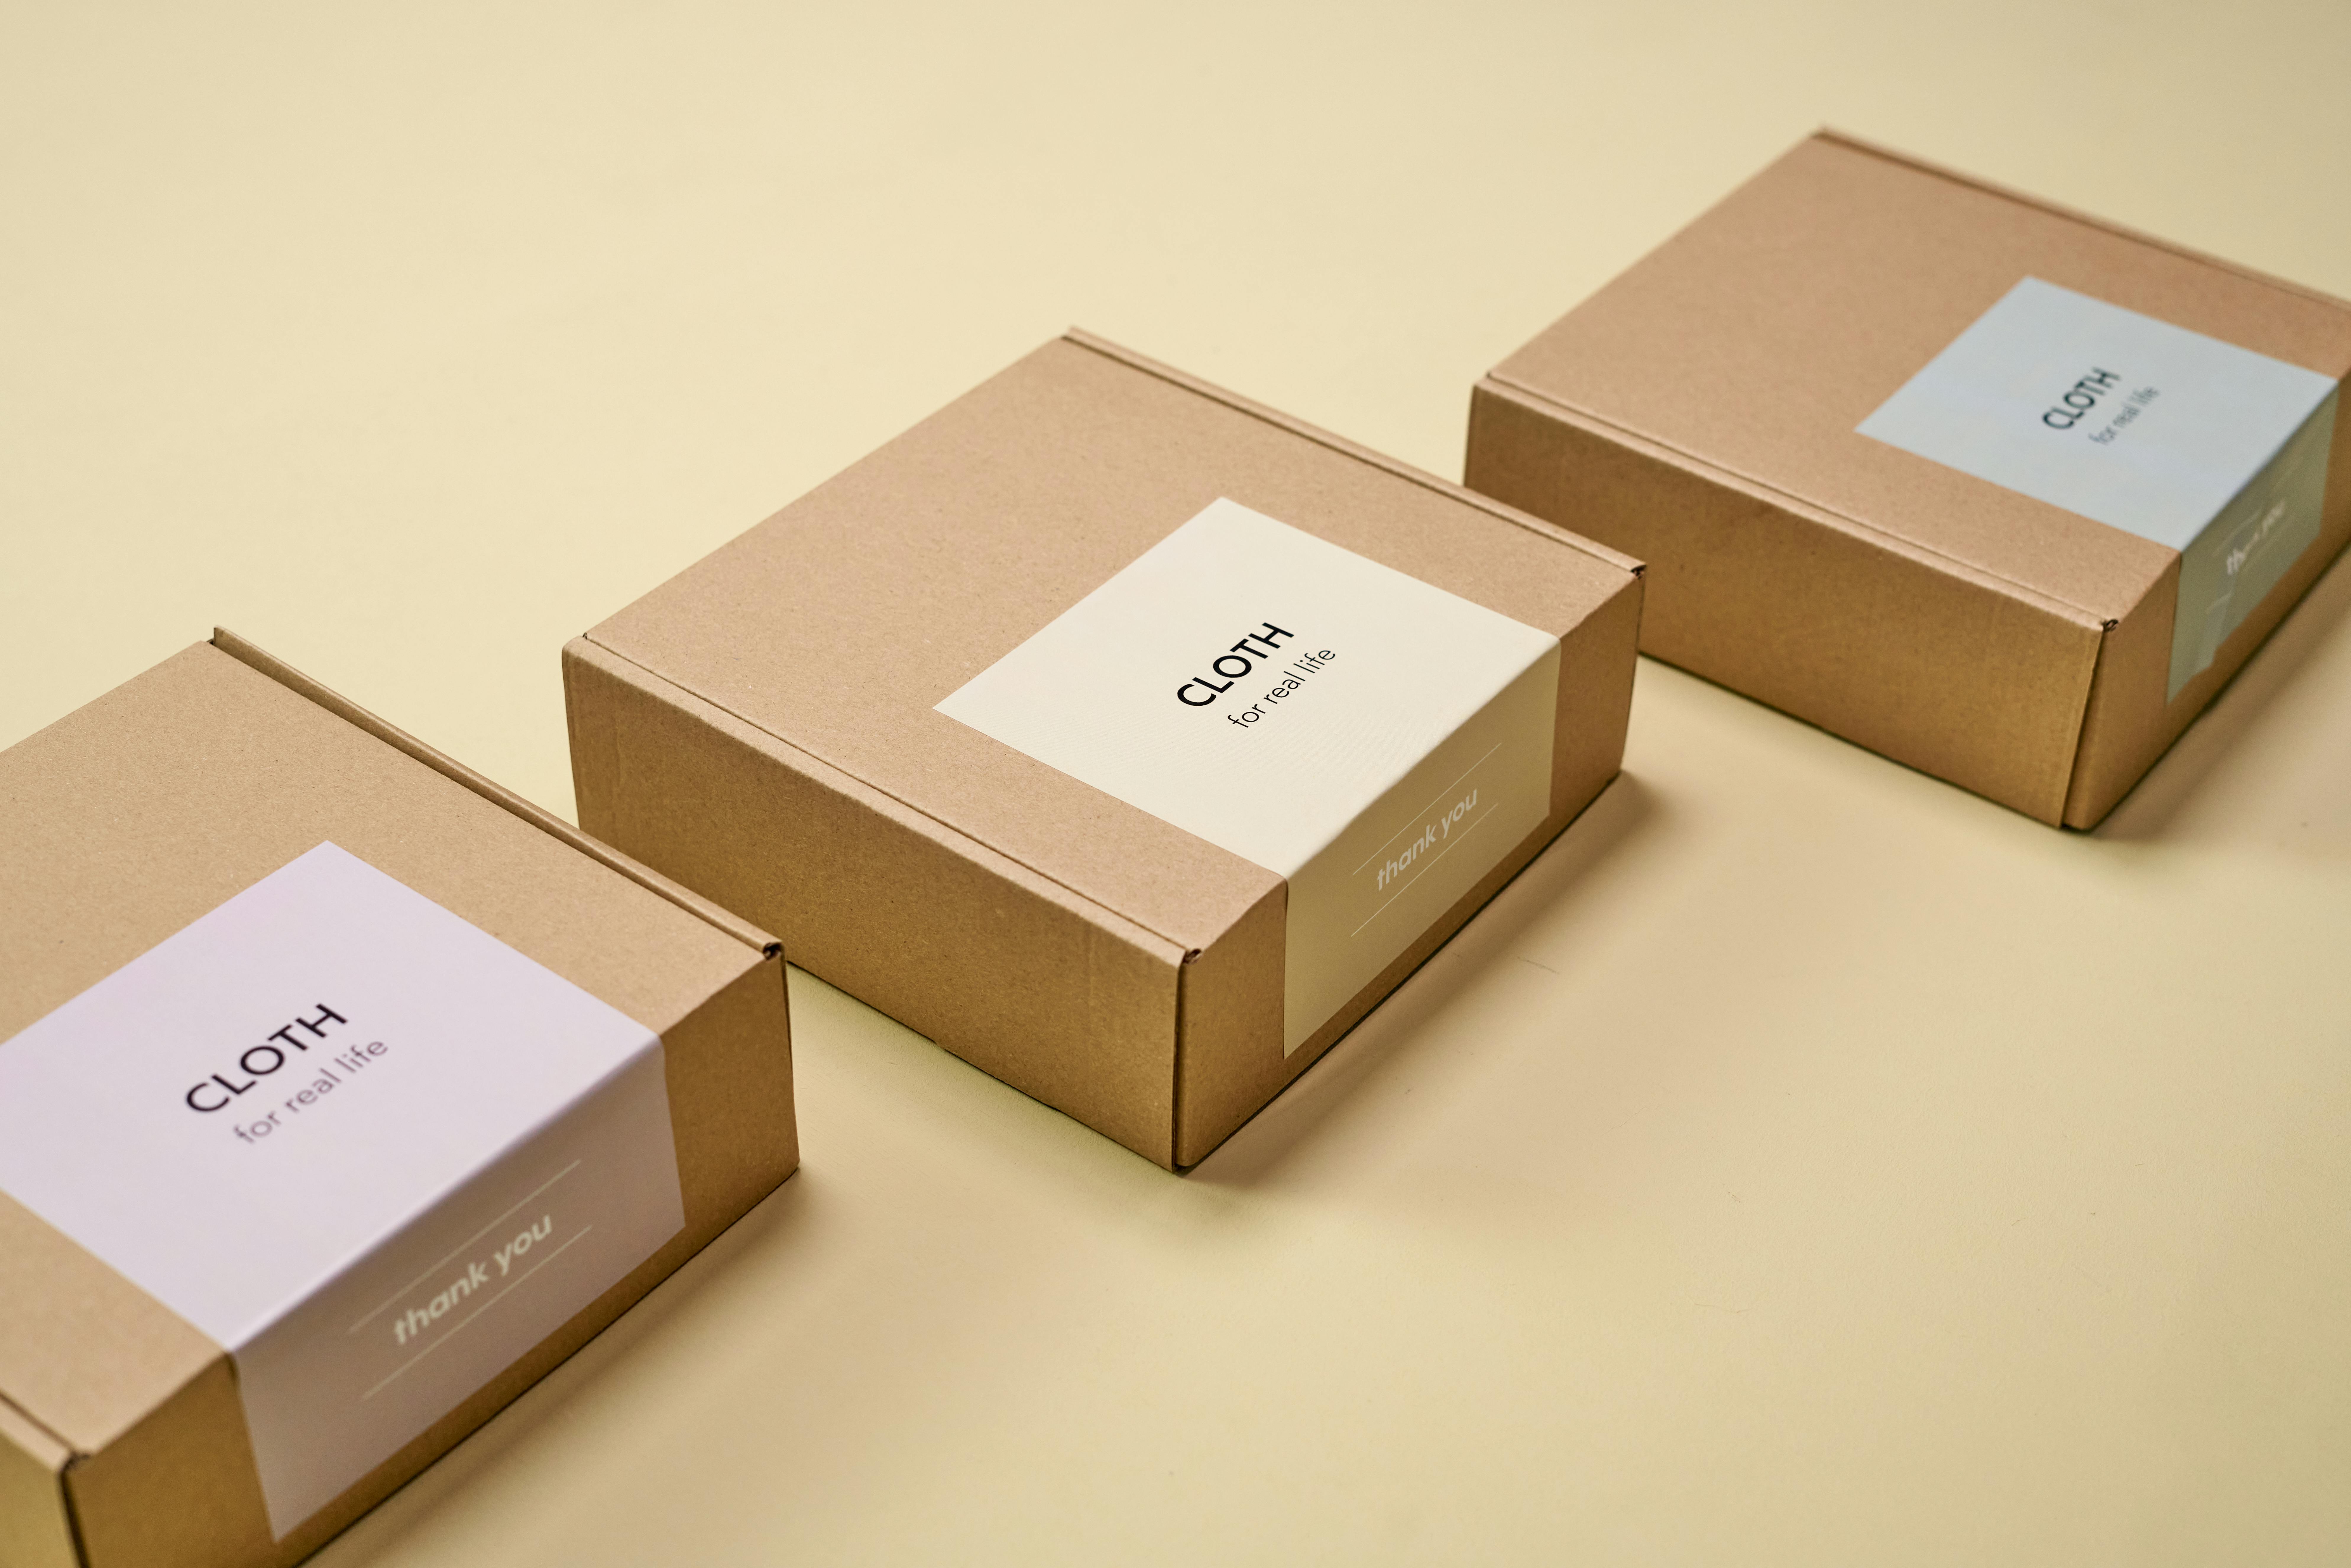
Start by separating three layers: the shipping container (box or mailer), the protective layer (void fill, inserts, padding), and the brand layer (print, stickers, tape, cards). Customization can happen at any layer, and you do not need to customize everything to get results. For example, a plain box with a high-contrast branded tape and a well-designed insert can outperform a fully printed box that arrives dented. As a concrete takeaway, pick one “hero” branded element that is visible in the first two seconds of opening.
Packaging also affects measurable performance. Damage and returns raise cost per acquisition, while a better unboxing can lift engagement rate on creator content. You can connect packaging choices to campaign metrics by tracking which creators received which pack-out version and comparing post rates, reach, and sentiment. If you already run structured creator programs, add packaging as a variable in your test plan and document it alongside creative guidelines in your internal playbooks. For more on building repeatable influencer processes, see the InfluencerDB blog resources on campaign execution.
Key terms you should know before you price packaging into a campaign
Because shipping and influencer budgets often sit in different spreadsheets, teams miss the true unit economics. Define the terms below early so your finance, ops, and marketing teams speak the same language. Then you can roll packaging into your cost per delivered impression and make smarter decisions about when to upgrade.
- CPM (cost per mille) – cost per 1,000 impressions. Formula: CPM = (total cost / impressions) x 1,000.
- CPV (cost per view) – cost per video view. Formula: CPV = total cost / views.
- CPA (cost per acquisition) – cost per purchase, signup, or other conversion. Formula: CPA = total cost / conversions.
- Engagement rate – engagement divided by reach or impressions (be explicit which). Common formula: (likes + comments + shares + saves) / reach.
- Reach – unique accounts exposed to content. Impressions – total views including repeats.
- Whitelisting – running ads through a creator’s handle (often called creator authorization). Packaging can matter because it influences whether creators agree to deeper partnerships.
- Usage rights – permission to reuse creator content (organic, paid, duration, regions). Better packaging can increase the odds you get high-quality footage worth licensing.
- Exclusivity – creator agrees not to promote competitors for a period. If you pay for exclusivity, do not underinvest in the physical experience.
Practical rule: treat packaging as part of total campaign cost when you calculate CPM, CPV, and CPA. Otherwise, you will overestimate performance and underfund the next wave.
A step-by-step framework to choose the right custom shipping supplies
Good packaging decisions start with constraints. Your product fragility, order volume, and shipping zones will shape what is realistic. Use the steps below to avoid overbuilding and to keep your pack-out consistent across warehouses or fulfillment partners.
- Define the shipment type. Is this DTC order fulfillment, a PR mailer, or a hybrid? PR mailers can justify higher cost per unit because the goal is content and relationship building.
- Measure the product and failure points. Record dimensions, weight, and what breaks first. For liquids, assume leaks; for glass, assume drops; for apparel, assume moisture and scuffs.
- Pick a container style. Common options include corrugated boxes, rigid mailers, poly mailers, padded mailers, and tubes. Choose the smallest size that fits with protection to reduce dimensional weight charges.
- Choose protection based on risk. Use inserts for repeatable positioning, bubble or paper padding for shock, and corner protection for rigid items. If you ship cosmetics, add a seal and a secondary bag to contain leaks.
- Decide what to customize. Prioritize what shows on camera: inside lid print, branded tape, or a bold insert card. Keep exterior branding subtle if porch theft is a concern.
- Prototype and drop-test. Ship test packages to staff in different regions. Track damage, unboxing time, and how it looks in a phone video.
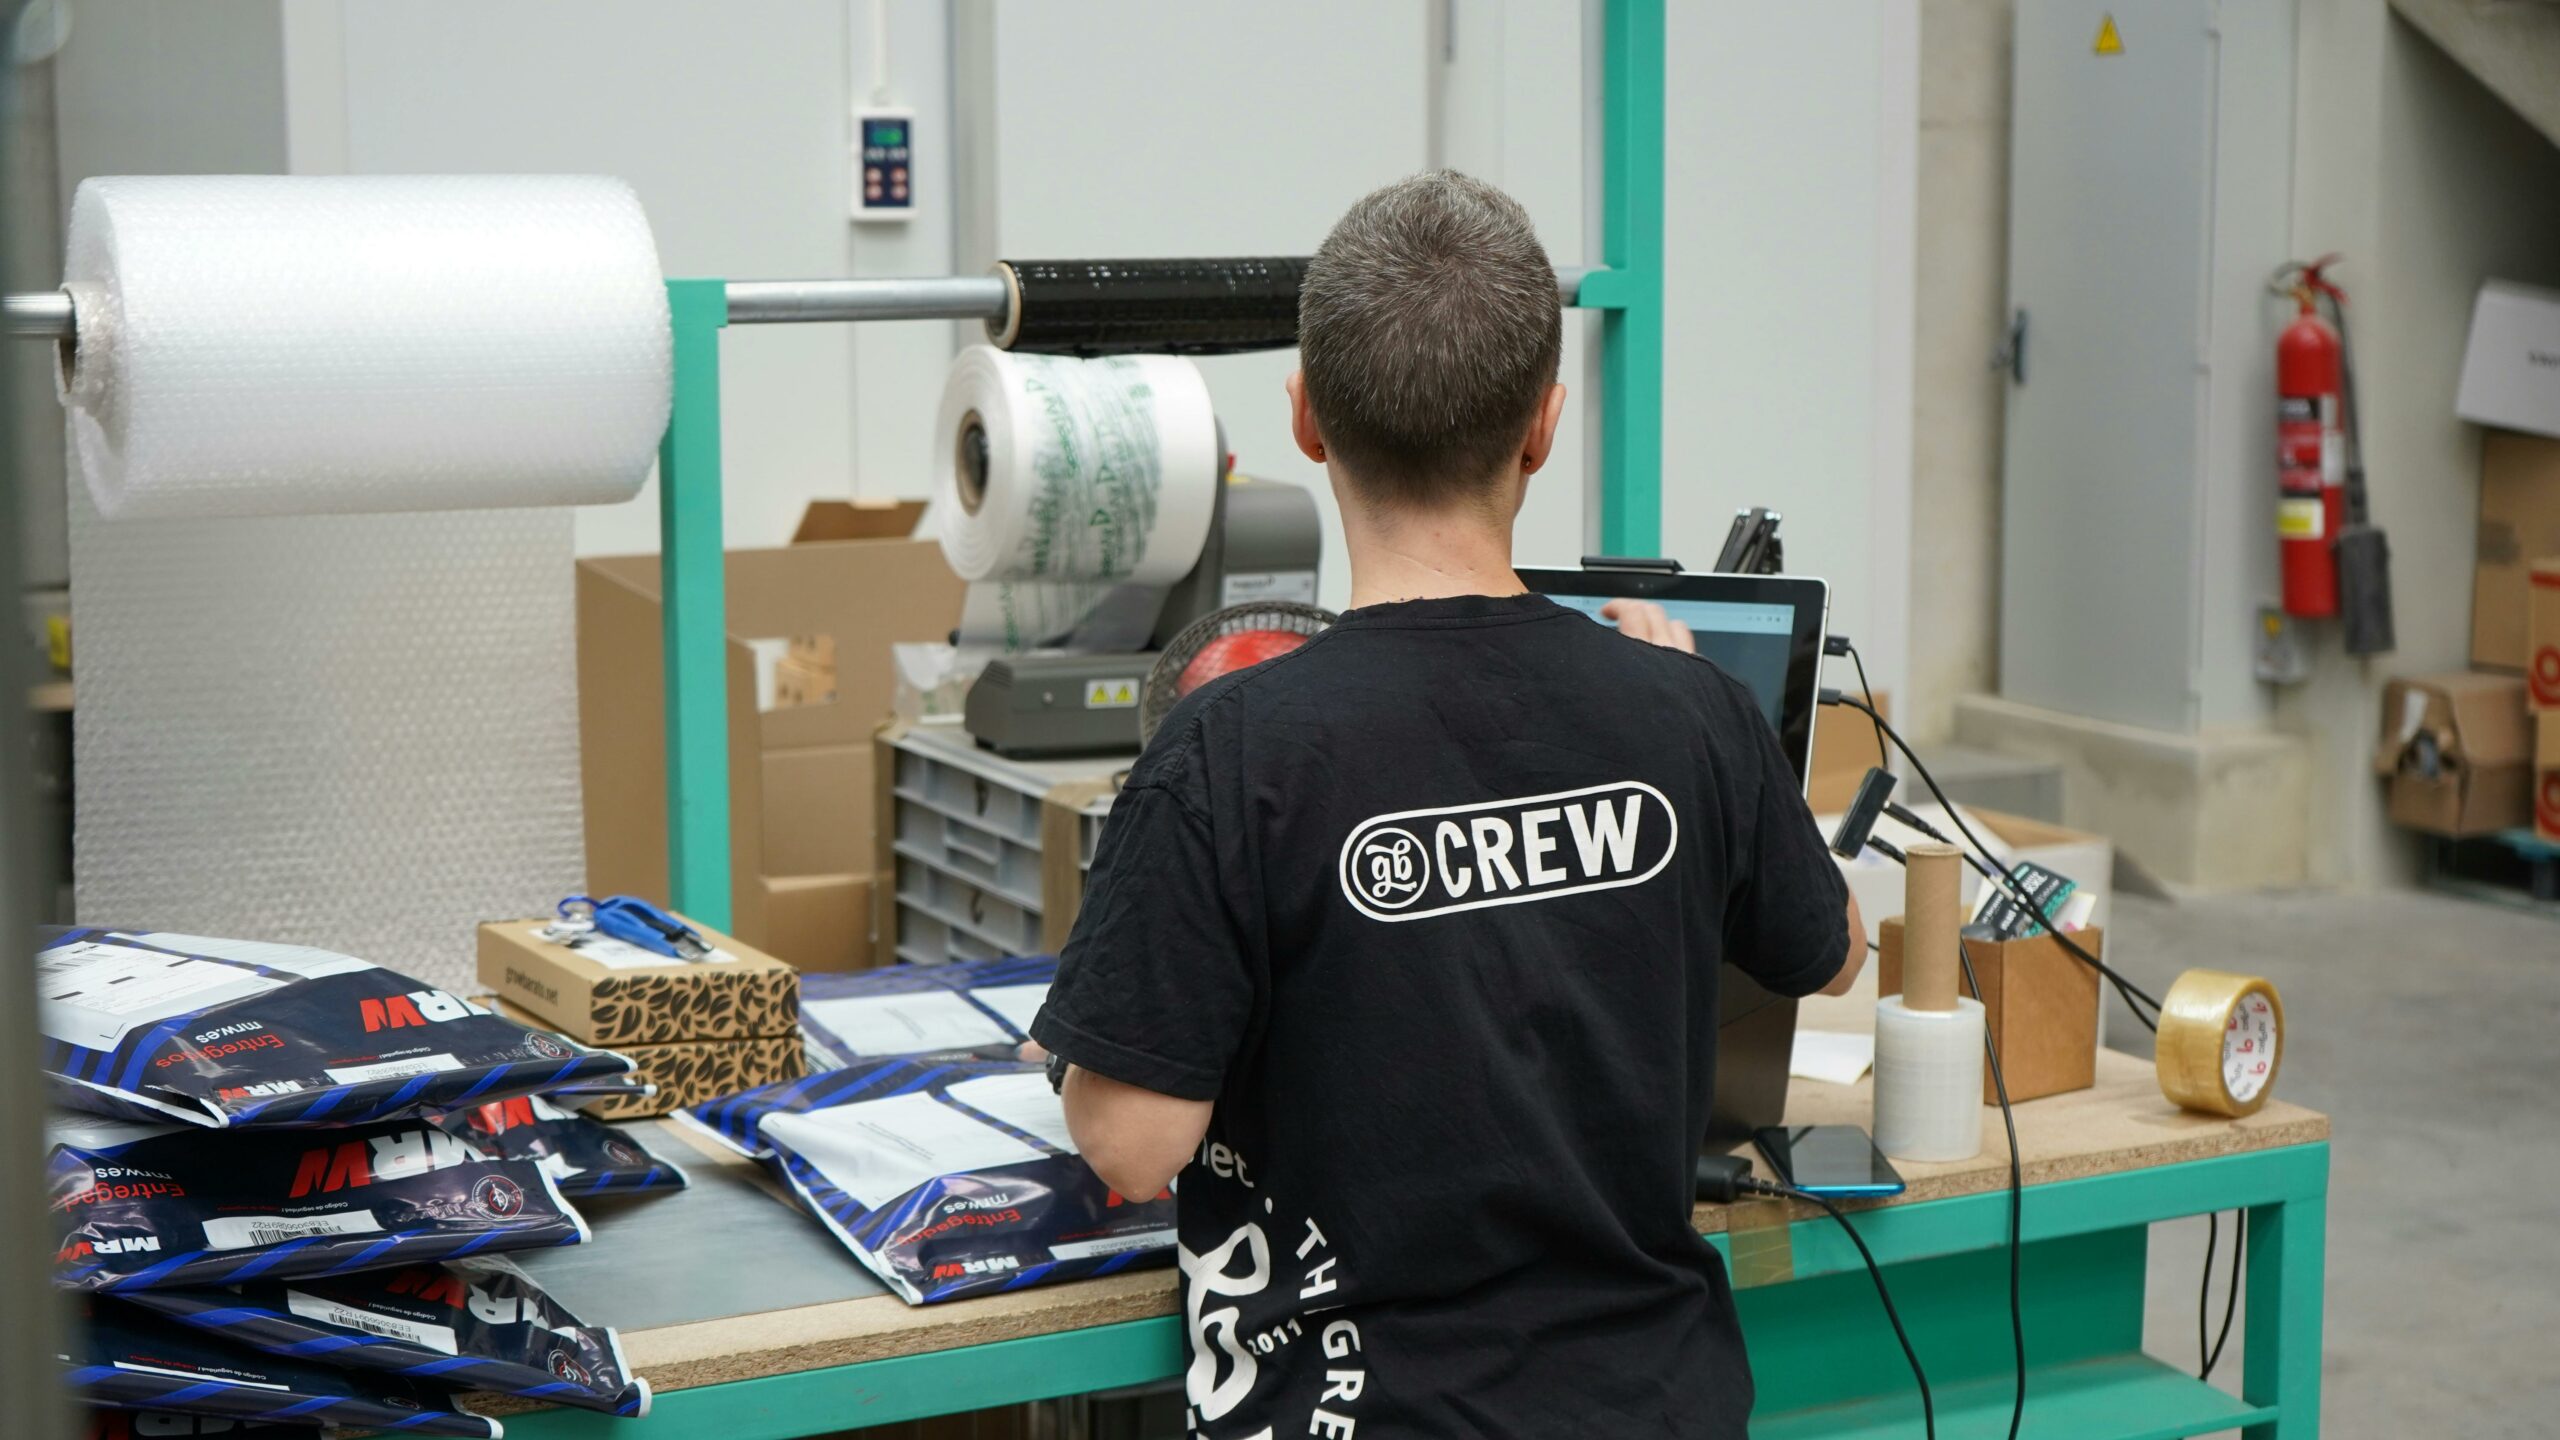
- Lock a spec sheet. Document SKUs, pack-out steps, and reorder points so the experience stays consistent during spikes.
Concrete takeaway: create a one-page “pack-out SOP” with photos. It reduces packing errors and makes it easier to onboard a 3PL or seasonal staff.
Cost modeling: how to budget packaging per order and per influencer post
Packaging feels expensive when you look at line items, but it is easier to justify when you model it against outcomes. Start with a per-unit cost model, then tie it to campaign metrics like post rate and CPM. This is especially important for seeding, where you might send 100 to 1,000 packages and only a fraction will post.
Step 1: Calculate packaging cost per shipment. Add container + protection + brand elements + labor increment (extra minutes) + incremental shipping cost from size or weight changes. Example:
- Box: $1.10
- Custom tape: $0.18
- Insert card: $0.22
- Paper void fill: $0.35
- Extra labor (45 seconds at $18/hour): about $0.23
- Total packaging and handling uplift: $2.08
Step 2: Convert to cost per posted creator. If you seed 200 creators and expect a 20 percent post rate, you will get about 40 posts. Packaging uplift per post is 200 x $2.08 / 40 = $10.40. That is often cheaper than paying an additional deliverable, and it can improve content quality.
Step 3: Convert to CPM impact. If those 40 posts generate 1,200,000 impressions, the packaging uplift CPM is ($416 / 1,200,000) x 1,000 = $0.35. In other words, a meaningful unboxing upgrade can be a rounding error in CPM terms.
| Packaging element | Typical cost range (per shipment) | Best for | Watch-outs |
|---|---|---|---|
| Plain corrugated box | $0.60 to $2.50 | DTC and scalable seeding | Size creep increases dimensional weight |
| Custom printed box | $1.50 to $6.00 | Hero drops, high AOV, PR moments | Long lead times, higher MOQs |
| Branded tape | $0.10 to $0.30 | Fast brand pop on camera | Can look messy if applied inconsistently |
| Custom insert card | $0.15 to $0.60 | Messaging, QR codes, tracking | Outdated offers if you do not version control |
| Die-cut insert | $0.80 to $3.50 | Fragile items, repeatable presentation | Must match product dimensions precisely |
| Paper void fill | $0.20 to $0.80 | Eco-forward positioning | Can shift in transit without inserts |
Designing for unboxing content: what creators actually film
Creators film what is fast, clear, and visually legible on a phone. That means your packaging should create a clean sequence: reveal, product, key message, and call to action. If the opening is frustrating, the content often stops before the product appears. Similarly, if the inside looks chaotic, creators may skip filming altogether.
Build the unboxing like a storyboard. First, the exterior should signal “this is safe to open on camera” – clean tape lines, no excessive labels, and a neat shipping label placement. Next, the first interior view should have one focal point: a lid print, a card, or a neatly placed product. Then, include a short creator-friendly note that explains what to do, what to say, and what not to claim. If you need disclosure reminders, keep them simple and consistent with FTC guidance, which you can review at the FTC endorsements and influencer guidance.
Concrete takeaway checklist for creator-ready packaging:
- One high-contrast brand moment within the first 2 seconds of opening.
- Minimal crinkle noise if you expect ASMR-style content.
- A QR code that resolves to a trackable landing page, not a generic homepage.
- A “what’s inside” card with shade, size, or variant details to prevent wrong callouts.
- Optional: a small prop that fits your niche (recipe card for food, routine card for skincare).
Operations and compliance: sizing, labeling, and sustainability without greenwashing
Operational details decide whether your packaging scales. Start with dimensional weight and carrier rules, because a half-inch increase can raise shipping costs across every zone. Standardize two to four box sizes that cover most SKUs, and resist the temptation to add a new size for every product. When you do need a special mailer for a hero item, isolate it to a limited run so your warehouse does not juggle too many SKUs.
Labeling matters, too. Place barcodes and shipping labels where they do not ruin the unboxing shot, but do not hide required markings. For hazardous materials, follow carrier and regulatory requirements; do not improvise. If you ship internationally, confirm HS codes and country-specific restrictions early, because repacking at the border destroys both cost and creator experience.
Sustainability claims need precision. If you use recycled content or recyclable materials, say exactly what is true and avoid broad claims that you cannot substantiate. As a reference point for environmental marketing claims, review the FTC Green Guides and align your copy with what you can document. Concrete takeaway: keep a simple “packaging materials fact sheet” internally so marketing and support teams use consistent language.
| Scenario | Recommended container | Protection approach | Brand moment | Decision rule |
|---|---|---|---|---|
| Seeding 200 creators for a new launch | Standard corrugated box | Paper void fill + simple insert | Branded tape + insert card | Keep uplift under $2.50 unless post rate is critical |
| High-fragility product (glass, electronics) | Double-wall box | Die-cut insert + corner protection | Inside lid print | Spend to reduce damage first, aesthetics second |
| Apparel drops with high volume | Poly mailer or paper mailer | Moisture barrier + fold board | Sticker seal | Optimize for speed and dimensional weight |
| Premium PR moment for top-tier creators | Custom printed box | Structured insert + tissue wrap | Personalized note | Upgrade when you need relationship depth or usage rights |
| Subscription shipments | Standardized box family | Repeatable compartments | Seasonal insert swap | Design for versioning without changing box SKU |
Common mistakes that waste money or reduce creator posts
Most packaging failures are predictable. Teams either overinvest in looks and underinvest in protection, or they build something beautiful that is too slow to pack. Another common issue is messaging overload: too many cards, too many claims, and no clear instruction for the creator. Finally, brands often forget that packaging is a variable in measurement, so they cannot tell what worked.
- Choosing a box that is too large. You pay more to ship air, and products shift and break.
- Using messy filler. Glitter, confetti, and hard-to-clean fill can annoy creators and hurt sentiment.
- Skipping version control. Old QR codes and expired offers make you look disorganized.
- No pack-out SOP. Inconsistent presentation leads to inconsistent content.
- Ignoring privacy and theft risk. Loud exterior branding can increase porch theft in some categories.
Concrete takeaway: run a “creator unboxing audit” once per quarter. Send your own package to three team members, record a 20-second unboxing on a phone, and fix what looks slow or confusing.
Best practices: a repeatable playbook you can implement this month
Once you have a baseline pack-out, the goal is repeatability. That means stable suppliers, predictable lead times, and a measurement loop that ties packaging to outcomes. You do not need perfection to start; you need a controlled system that you can iterate.
- Standardize sizes. Limit to a small set of box SKUs and design inserts around them.
- Make one element modular. Swap insert cards seasonally while keeping the rest constant.
- Track packaging version in your influencer CRM. Add a field like “Pack-out v2” so you can compare post rate and engagement rate.
- Negotiate with suppliers using volume tiers. Ask for pricing at 1,000, 5,000, and 10,000 units and lock reorder windows.
- Design for packing speed. If it adds more than 60 seconds per order, test a simpler assembly.
To connect packaging to influencer performance, treat it like any other creative variable. For example, split a seeding wave into two groups: standard packaging versus upgraded unboxing. Keep creator tiers similar, then compare post rate, average views, and comment sentiment. If you need a broader framework for testing and measurement in creator programs, build your plan alongside the campaign templates and analytics guides in the.
Quick negotiation notes: when packaging replaces paid add-ons
Packaging can be a lever in negotiation, especially with mid-tier creators who care about production value and audience experience. While you should not treat a nice box as payment, you can use it to justify a tighter scope or to increase the odds of organic posting in seeding programs. The key is to be explicit about expectations: seeding is a gift with no posting requirement unless you have a contract.
Decision rules you can use:
- If you need guaranteed deliverables, pay for them and treat packaging as a quality enhancer, not compensation.
- If you are running large-scale seeding, invest in protection and one strong brand moment, then put the rest of the budget into creator selection and follow-up.
- If you want usage rights or whitelisting, upgrade the experience and include a clear, simple ask in the insert card, then follow up with a contract.
Concrete takeaway: write a two-sentence creator note that includes (1) what the product is for and (2) how to disclose if they choose to post. Keep it short enough to read on camera.
Summary: the simplest way to get started
If you are starting from scratch, choose one box size that fits 70 percent of shipments, add reliable protection, and customize one visible element like tape or an insert. Then, run a small test: 50 packages, two pack-out versions, and a clear measurement plan for post rate and damage rate. As results come in, iterate on what creators actually show on camera, not what looks best in a mockup. With that approach, custom shipping supplies become a measurable growth lever instead of a recurring headache.