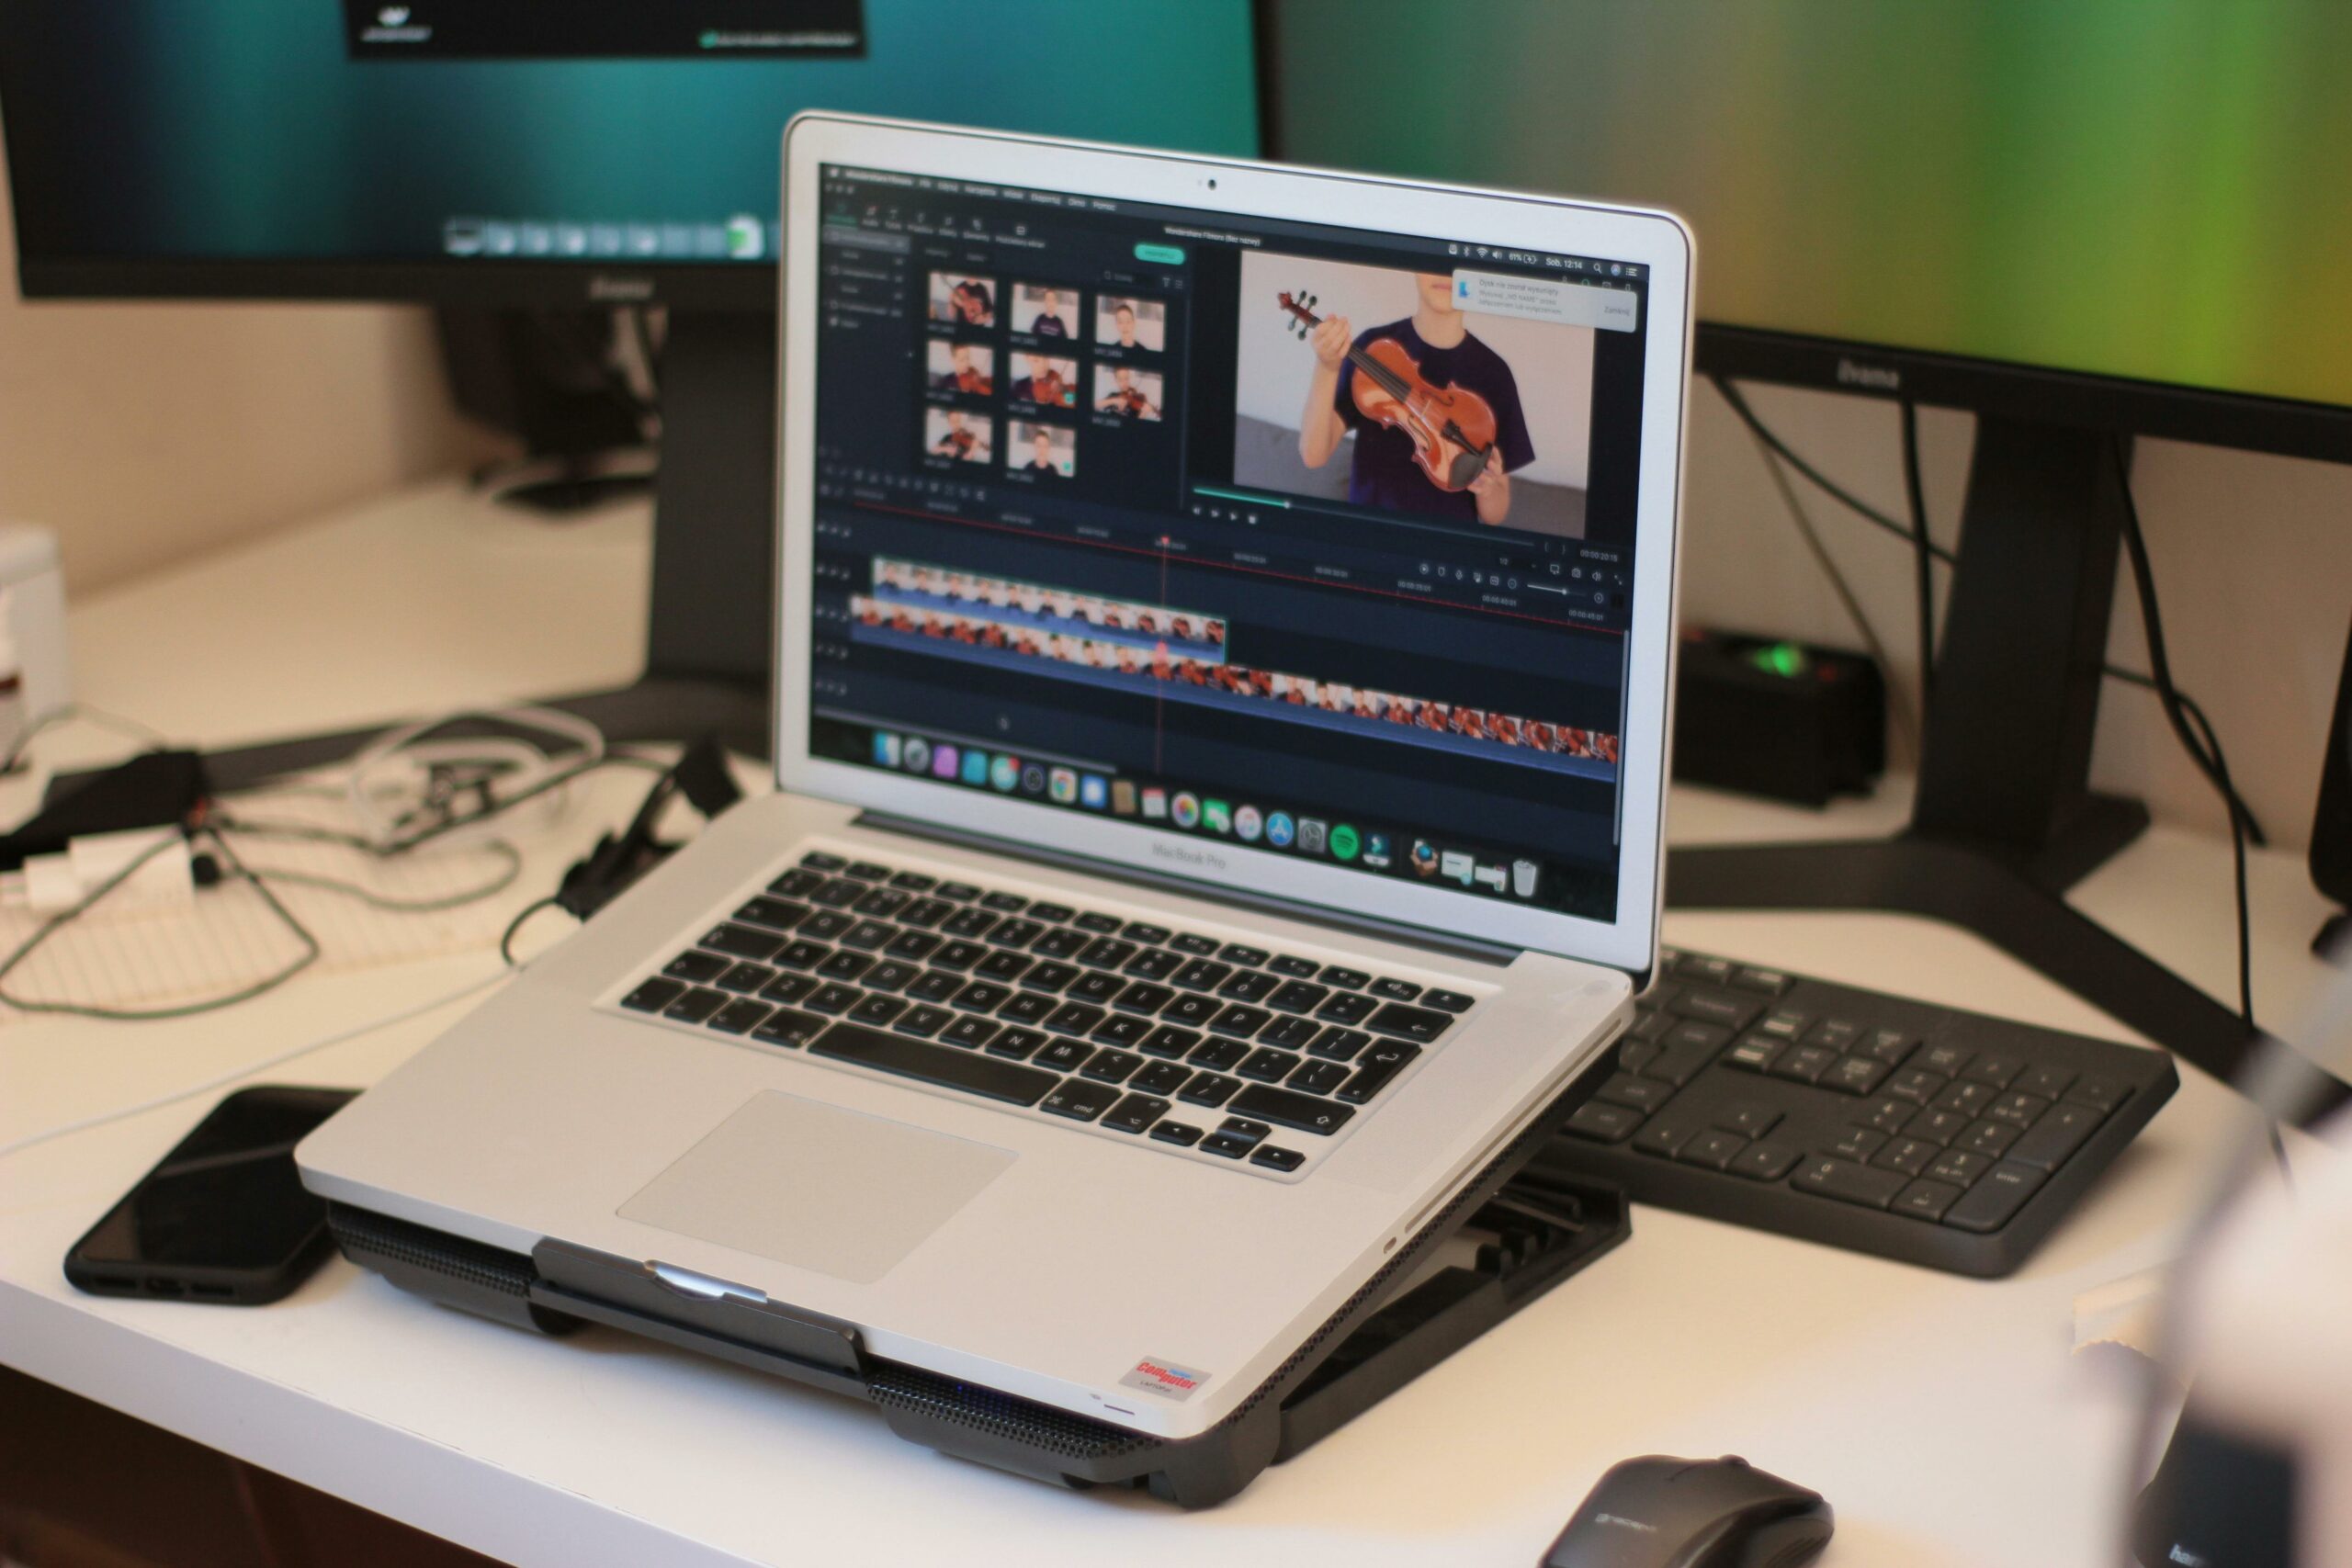
Social media video specs change fast, and a single wrong export setting can turn a high-performing concept into a blurry, cropped, or muted post. This guide breaks down the practical requirements you need to ship clean videos across TikTok, Instagram, YouTube, and more, plus the workflow brands and creators use to avoid re-edits. Along the way, you will also learn the performance terms that show up in briefs and reports so you can connect technical choices to results.
When people say “specs,” they usually mean more than just resolution. In practice, you are managing a bundle of constraints: aspect ratio, pixel dimensions, frame rate, bitrate, codec, audio settings, file size limits, and safe zones for text and UI overlays. On top of that, each platform has “soft” specs, meaning the upload may succeed but the platform will recompress aggressively if your file is inefficient. The takeaway: treat specs as both a technical checklist and a distribution strategy. If you standardize a few export presets, you can move faster without sacrificing quality.
- Aspect ratio – the shape of the video (for example 9:16 vertical).
- Resolution – pixel dimensions (for example 1080 x 1920).
- Codec – how the video is compressed (H.264 is the common default).
- Bitrate – how much data per second; too low looks blocky, too high can trigger heavier recompression.
- Safe zones – areas you should keep clear of captions, buttons, and UI.
Key performance terms to know before you export
Specs are not just “production.” They influence watch time, completion rate, and conversion, which is why brands care. Define these terms early in your workflow so your team can make the right tradeoffs between quality, speed, and cost.
- Reach – unique accounts that saw the content.
- Impressions – total views, including repeats by the same person.
- Engagement rate – engagements divided by reach or impressions (confirm which one your report uses).
- CPM (cost per mille) – cost per 1,000 impressions. Formula: CPM = (Spend / Impressions) x 1000.
- CPV (cost per view) – cost per video view. Formula: CPV = Spend / Views.
- CPA (cost per acquisition) – cost per conversion (purchase, signup, install). Formula: CPA = Spend / Conversions.
- Whitelisting – the brand runs ads through the creator’s handle (often called “creator licensing”).
- Usage rights – permission for the brand to reuse the content (duration, channels, paid vs organic).
- Exclusivity – the creator agrees not to work with competitors for a period.
Example calculation: A brand spends $2,400 boosting creator content and gets 800,000 impressions, 120,000 views, and 240 purchases. CPM = (2400/800000) x 1000 = $3.00. CPV = 2400/120000 = $0.02. CPA = 2400/240 = $10. These numbers help you decide whether to prioritize higher bitrate (quality) or faster iteration (more creative tests).
Platform-by-platform video requirements (quick reference)
Platforms publish official guidance, but creators often need a single table to work from. Use the table below as a practical baseline, then confirm edge cases (like long-form uploads or ad placements) in the platform docs. If you want a repeatable workflow for influencer campaigns, keep a living version of this table in your brief template.
| Platform placement | Recommended aspect ratio | Common export resolution | Frame rate | Notes you can act on |
|---|---|---|---|---|
| TikTok feed | 9:16 | 1080 x 1920 | 24 – 60 fps | Keep key text high and centered; avoid bottom 20 percent for UI. |
| Instagram Reels | 9:16 | 1080 x 1920 | 24 – 60 fps | Reels may preview in feed; protect edges to avoid awkward crops. |
| YouTube Shorts | 9:16 | 1080 x 1920 | 24 – 60 fps | Hook fast; titles matter less than first 2 seconds of motion and audio. |
| YouTube long-form | 16:9 | 1920 x 1080 (or higher) | 24 – 60 fps | Use higher bitrate; avoid crushed blacks that show banding after processing. |
| LinkedIn feed video | 1:1 or 16:9 | 1080 x 1080 or 1920 x 1080 | 24 – 30 fps | Subtitles help; many viewers watch without sound. |
For official, up-to-date upload guidance, check platform documentation such as YouTube’s recommended upload encoding settings. Use it as the tie-breaker when your editor and your media buyer disagree on bitrate or codec.
Most “cropping” complaints are not about aspect ratio. They come from ignoring safe zones where platform UI sits on top of your video. The fix is simple: design for the platform you are publishing to, not for your editing canvas. If you need one rule that prevents 80 percent of issues, it is this: keep faces, product, and key text in the center 60 percent of the frame, and leave extra breathing room at the bottom.
- Keep subtitles above the bottom UI – especially on TikTok and Reels where captions and buttons compete for space.
- Avoid edge-anchored text – it will get clipped in previews, embeds, and reposts.
- Plan for feed previews – some placements show a cropped version before the viewer taps in.
- Use high-contrast caption styling – thin white text disappears after compression.
Concrete takeaway: build a “safe zone overlay” in your editing software (a transparent PNG or adjustment layer) and keep it on for every export. That one habit saves hours of rework when you repurpose a Shorts cut for Reels.
Export settings that survive recompression
Even if you upload a perfect master file, platforms will transcode it. Your goal is to give the platform a clean, efficient file so the second compression pass does not destroy detail. Start with H.264 in an MP4 container unless you have a strong reason not to, then set a bitrate that matches your content. Fast motion, confetti, water, and hair all need more bitrate than a talking head shot.
| Content type | Suggested codec | Suggested bitrate range | Audio | Practical tip |
|---|---|---|---|---|
| Talking head, minimal movement | H.264 | 8 – 16 Mbps (1080p) | AAC, 48 kHz | Prioritize clean lighting; noise causes blocky compression artifacts. |
| Product demo, hands in frame | H.264 | 12 – 24 Mbps (1080p) | AAC, 48 kHz | Sharpen lightly; oversharpening creates halos after transcoding. |
| Sports, fast motion, outdoor | H.264 | 20 – 35 Mbps (1080p) | AAC, 48 kHz | Use a faster shutter carefully; too crisp can strobe on mobile screens. |
| Screen recording, UI text | H.264 | 16 – 30 Mbps (1080p) | AAC, 48 kHz | Increase font size; small UI labels blur after compression. |
Decision rule: if your upload looks worse than your local file, do not immediately increase bitrate. First, check if you exported variable frame rate, used an odd resolution, or pushed heavy noise reduction. Those issues often trigger harsher transcoding than a normal, clean 1080 x 1920 export.
A repeatable workflow for creators and brand teams
Specs problems usually happen because nobody owns the last mile. Creators assume the brand will handle resizing, while brands assume the creator will deliver platform-ready files. Instead, set a simple workflow that defines deliverables, naming, and approvals. For more templates and campaign operations guidance, keep an eye on the InfluencerDB Blog and build your own internal checklist from what works.
- Pick the primary placement first – for example TikTok 9:16 or YouTube 16:9. Everything else becomes a derivative cut.
- Lock your “master” timeline settings – resolution, frame rate, and color space. Avoid mixing 30 fps and 60 fps clips without a plan.
- Design with safe zones – add your overlay and keep key elements inside it.
- Export two files – a platform-ready upload and a higher-quality archive master for future edits.
- QC on a phone – watch with sound off, then on. Check captions, sharpness, and whether UI covers CTAs.
- Document the final settings – paste export settings into the project notes so the next editor can match them.
Concrete takeaway: add a “specs confirmation” line item to your creative brief. It should state aspect ratio, resolution, max file size, and whether the brand needs a clean version without music for paid usage.
How specs connect to influencer pricing and rights
Video specifications affect scope, and scope affects price. A single 9:16 cut is not the same as delivering a 9:16 version, a 1:1 version, and a 16:9 version with separate caption layouts. When you negotiate, separate the creative concept from the production outputs. That makes your agreement clearer and prevents last-minute “can you also” requests.
- Deliverables – number of videos, versions, cutdowns, thumbnails, and caption files.
- Usage rights – organic only vs paid, duration (30, 90, 180 days), and channels (social, email, website).
- Whitelisting – whether the brand can run ads from the creator handle and for how long.
- Exclusivity – category, competitors, and time window.
Simple pricing logic you can use in a call: start with your base rate for one platform-ready video, then add a production fee per additional format version. Separately, price usage rights and whitelisting as licensing, not “free add-ons.” For disclosure and ad transparency expectations, reference FTC Disclosures 101 when you are aligning on what must appear on screen and in captions.
Common mistakes that cause re-uploads and lost reach
Most mistakes are predictable, which is good news because you can prevent them with a short preflight check. Fixing these issues after posting often means re-uploading, and re-uploads rarely recover the same momentum.
- Exporting the wrong aspect ratio – vertical content exported as 16:9 with black bars will look low effort and may underperform.
- Text in the danger zone – CTAs covered by UI reduce clicks and comments.
- Overcompressed audio – harsh sibilance and pumping can make a video feel cheap even if the visuals are sharp.
- Using tiny on-screen UI text – screen recordings need larger fonts than you think.
- Not delivering a clean file – brands often need a version without platform watermarks for paid usage.
Concrete takeaway: before you send files, open them on a phone, pause at three random points, and check legibility of any text. If you cannot read it instantly, neither can your audience.
Best practices for consistent quality across platforms
Once your specs are correct, consistency becomes the advantage. Brands notice creators who deliver files that drop into a media plan without extra editing, and creators benefit because their content looks premium everywhere it appears.
- Create export presets – one for 9:16, one for 1:1, one for 16:9, each with known-good bitrate and audio settings.
- Keep a “versioning” naming convention – for example Brand_Creator_Platform_Aspect_V1.mp4.
- Deliver caption assets – provide an.srt file or burned-in captions depending on the brief.
- Plan for repurposing – shoot with extra headroom so you can crop without losing hands or product.
- Track results by placement – compare retention and CPV across formats to learn what your audience rewards.
Final decision rule: if the brand wants to run paid, ask for the exact placements before you edit. A Story placement and a feed placement can have different safe zones and text needs, and that difference should be priced and scheduled upfront.