

A link in bio Instagram tool is the fastest way to turn Instagram attention into measurable traffic and sales, because it gives you a structured landing page, tracking, and a clean path from post to purchase. Instead of swapping one URL every time you publish, you publish once and manage multiple destinations from a single hub. For creators, that means fewer missed commissions and clearer proof of performance. For brands, it means cleaner attribution and fewer “we think it worked” reports. In this guide, you will learn how these tools work, how to choose one, how to set it up for campaigns, and how to measure results with simple formulas.
What a link in bio Instagram tool does – and when you actually need one
At its core, a link in bio tool is a mobile-first landing page that sits behind your Instagram profile link. It typically lets you add multiple buttons, highlight a few priority links, and track clicks. Many tools also support product tiles, email capture, pixel integrations, and scheduled link changes. If your Instagram is purely personal and you only ever share one destination, you may not need it. However, the moment you promote more than one offer, run brand deals, or want to prove ROI, a dedicated hub becomes a practical necessity.
Use a tool if any of these are true: you promote affiliate links, you sell multiple products, you run time-limited launches, or you do sponsored posts that require reporting. It also helps when you want to separate “evergreen” links like your newsletter from “campaign” links like a new collab. As a rule of thumb, if you change your bio link more than once a month, you will save time and reduce errors with a hub. Finally, a tool makes it easier to standardize tracking across campaigns, which is crucial when multiple stakeholders need clean numbers.
- Creator takeaway: Build one hub, then rotate priority links without breaking old posts.
- Brand takeaway: Require tracked URLs and a consistent naming convention for every deliverable.
Key terms you should understand before you choose a tool
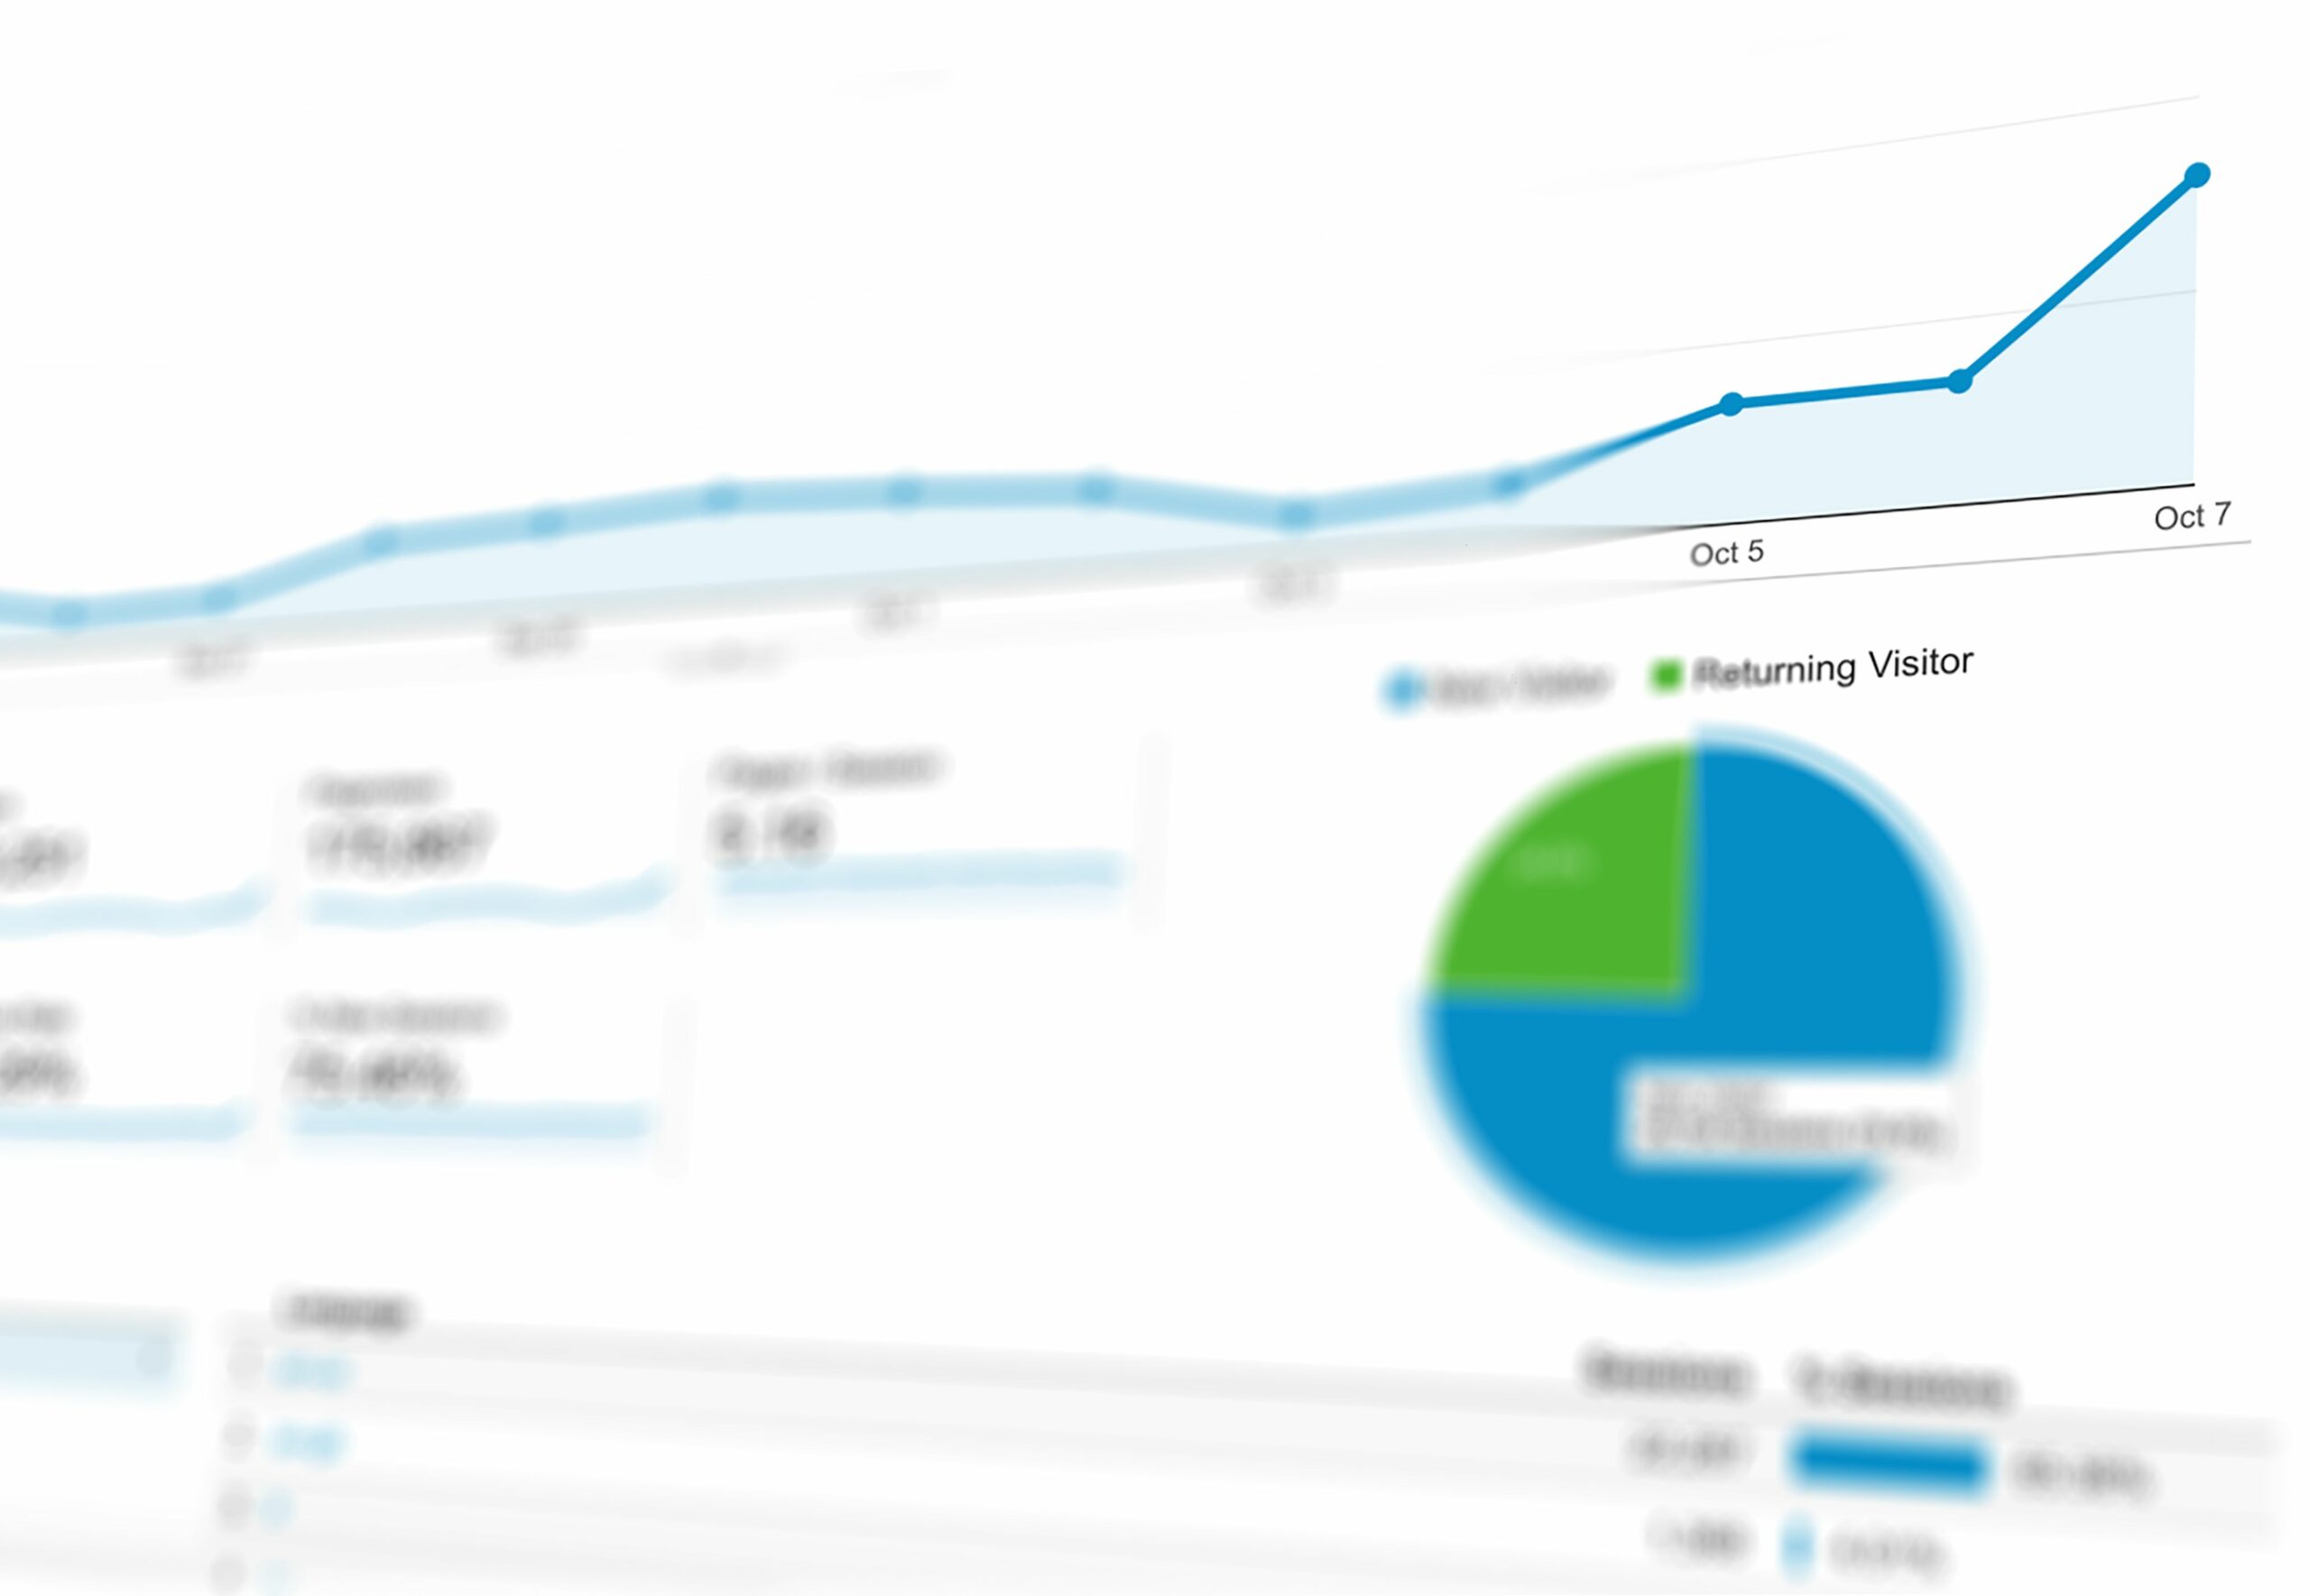
Before comparing features, align on the metrics and deal terms that will show up in your reporting. Reach is the number of unique accounts that saw content, while impressions count total views including repeats. Engagement rate is typically engagements divided by reach or followers, but you should specify which one you use. CPM means cost per thousand impressions, CPV is cost per view (often video views), and CPA is cost per acquisition, such as a purchase or lead. In link-in-bio reporting, you will also care about click-through rate and conversion rate.
On the deal side, usage rights define how a brand can reuse creator content, such as on their website or ads. Whitelisting (also called creator licensing) is when a brand runs ads through the creator’s handle, which can change performance and requires clear permissions. Exclusivity restricts a creator from working with competitors for a period of time, and it should be priced explicitly. These terms matter because your link hub can become the measurement layer that proves value, which then supports higher rates and clearer renegotiations.
- Practical tip: Put usage rights, whitelisting, and exclusivity in the same section of your contract as tracking and reporting requirements.
How to choose the right link in bio Instagram tool: a decision checklist
Most tools look similar on the surface, so you should decide based on your workflow and measurement needs. Start with tracking: do you need UTM support, pixel integrations, or conversion APIs? Next, consider design and speed, because a slow page can quietly kill conversions. After that, evaluate governance: can you duplicate pages for campaigns, lock layouts, or give a brand limited access for approvals? Finally, check whether the tool plays nicely with your existing stack, such as Shopify, email platforms, or affiliate networks.
If you are a creator, prioritize ease of updates, link scheduling, and clear click analytics by link. If you are a brand or agency, prioritize team access, exportable reporting, and consistent UTM enforcement. Also consider risk: some tools add extra redirects that can break tracking or trigger warnings in certain browsers. For a broader view of measurement and reporting habits across influencer programs, you can also browse the analysis and templates on the InfluencerDB Blog and adapt the same discipline to your link hub setup.
| Need | Feature to look for | Why it matters | Decision rule |
|---|---|---|---|
| Proving ROI for brand deals | UTM builder + analytics export | Lets you tie clicks to campaigns and report cleanly | If you do 2+ paid collabs per month, require export |
| Scaling launches | Link scheduling + pinning | Prevents last-minute edits and wrong links | If you run timed drops, scheduling is non-negotiable |
| Paid amplification | Pixel support + whitelisting-friendly pages | Improves retargeting and conversion measurement | If you whitelist creator content, require pixel options |
| Lead capture | Email form integration | Turns attention into owned audience | If you sell high-consideration offers, capture emails |
- Concrete takeaway: Write your “must-have” list first, then ignore tools that do not meet it, even if they look nicer.
Setup framework: build a bio hub that converts in 30 minutes
Good link hubs are boring in the best way: clear, fast, and focused. Start by choosing one primary goal for the top section, such as “Shop the drop” or “Book a consult.” Then add 3 to 6 secondary links that match what your audience asks for most often. Keep labels specific, because “My favorites” is vague while “Budget travel gear under $50” is a decision. After that, add social proof if your tool supports it, such as press logos or a short credibility line.
Next, structure the page like a mini funnel. Put the highest-intent link first, then supporting links, then low-intent links like “About me.” Use consistent naming so you can report without confusion, for example “BrandName – Product – MonthYear.” If you run multiple campaigns, create a dedicated section called “Current partners” and rotate it weekly. Finally, test the page on a slow connection and on both iOS and Android, because small layout issues can cause big drop-offs.
- Step-by-step checklist:
- Pick 1 primary CTA and place it first.
- Add 3 to 6 supporting links, grouped by intent.
- Use short, specific labels that match search intent.
- Apply a naming convention for reporting consistency.
- Test load speed and tap targets on mobile.
Tracking and measurement: UTMs, pixels, and simple ROI math
Tracking is where a link hub becomes more than a convenience. Start with UTMs, which are small tags added to a URL so analytics tools can attribute traffic. Google’s official overview explains the concept and parameters clearly, which is useful when you need to align a creator, brand, and agency on naming rules: Google Analytics UTM parameters. Use consistent values for source, medium, and campaign, and avoid spaces or inconsistent capitalization. If your link tool has a built-in UTM builder, lock in templates so every campaign uses the same structure.
Then decide what you will measure. For awareness campaigns, clicks and landing page views may be enough, but for performance campaigns you should track conversions, revenue, and CPA. If you are running paid amplification or retargeting, pixel support matters because it lets you build audiences based on visitors. Meta’s business help center is the best place to confirm current pixel and event guidance: Meta Business Help Center. Keep in mind that privacy settings and browser restrictions can reduce tracked conversions, so treat numbers as directional unless you have server-side tracking.
Use simple formulas to keep reporting honest and comparable across creators:
- Click-through rate (CTR): CTR = clicks / impressions
- Conversion rate (CVR): CVR = conversions / clicks
- CPA: CPA = spend / conversions
- ROI: ROI = (revenue – spend) / spend
Example: A creator drives 1,200 clicks from their hub to a product page. The brand sees 48 purchases attributed to those clicks and $3,840 in revenue. If the brand paid $1,200 for the post, then CVR = 48 / 1,200 = 4%. CPA = $1,200 / 48 = $25. ROI = ($3,840 – $1,200) / $1,200 = 2.2, meaning $2.20 returned for every $1 spent. This is the kind of clean math that makes renewals and rate increases much easier to justify.
| Goal | Primary metric | Secondary metric | What to include in the report |
|---|---|---|---|
| Awareness | Reach | Profile visits | Reach, impressions, saves, top link clicks |
| Traffic | Clicks | CTR | Clicks by link, CTR, top referring content |
| Sales | Purchases | CPA | Purchases, revenue, CPA, ROI, top products |
| Lead gen | Leads | Cost per lead | Leads, CPL, lead quality notes, follow-up rate |
- Concrete takeaway: Decide the campaign goal first, then pick one primary metric and report it the same way every time.
Campaign workflow: how brands and creators should collaborate on link hubs
Most tracking problems come from unclear ownership. Brands should provide a single source of truth for URLs, UTMs, and landing pages, ideally in a short campaign brief. Creators should confirm what link goes where and when it should be pinned or featured. If the campaign has multiple deliverables, map each deliverable to a unique tracked URL so you can compare performance. Also, set expectations for screenshots or exports, because some tools show link-level analytics that are not visible in Instagram Insights.
In addition, align on rights and amplification early. If whitelisting is part of the plan, confirm whether the link hub will be used as the ad destination or whether ads will drive to a product page. If usage rights include paid ads, the creator should price that separately and set a time limit. If exclusivity is requested, list the competitor set and the duration, then attach a fee. Clear terms prevent the link hub from becoming a battleground over attribution after the campaign ends.
| Phase | Task | Owner | Deliverable |
|---|---|---|---|
| Pre-launch | Define goal and primary KPI | Brand | 1-page brief with KPI and reporting window |
| Pre-launch | Create tracked URLs and UTMs | Brand | URL sheet with naming rules |
| Setup | Build hub section and pin priority link | Creator | Hub preview screenshot for approval |
| Live | Verify links on mobile and confirm timing | Creator | QA checklist completed |
| Post | Export clicks and share Insights | Creator | Metrics file + screenshots within 7 days |
- Concrete takeaway: Treat the link hub like a campaign asset with approvals, QA, and a reporting deadline.
Common mistakes that quietly kill performance
The most common mistake is sending everyone to the same generic homepage. Even if clicks look strong, conversion rate usually suffers because visitors have to search for the offer again. Another frequent issue is broken tracking caused by copying URLs incorrectly, stacking redirects, or changing UTM values mid-campaign. Some creators also overload the page with too many choices, which increases decision fatigue and reduces taps on the priority link. Finally, brands sometimes ask for too many links in one campaign, which makes attribution messy and weakens the story in the final report.
- Too many buttons – keep it to 3 to 6 core links.
- Vague labels – write what the user gets, not what you call it internally.
- No QA – always test on mobile before a post goes live.
- Inconsistent UTMs – lock a naming convention and stick to it.
Best practices: make your link hub a repeatable growth asset
Start by treating your hub as a living page, not a set-and-forget link list. Review performance monthly and prune links that get clicks but do not convert. Next, use a simple hierarchy: one primary CTA, a short “featured” section for current campaigns, and an evergreen section for your long-term assets. Add a short line that sets expectations, such as shipping regions or what your newsletter covers, because clarity reduces refunds and unsubscribes. If you work with brands, keep a “partner archive” off the main view so old links do not clutter the page.
For compliance, make disclosures obvious when a link is affiliated or sponsored. The FTC’s guidance is the safest reference point for how to disclose clearly and conspicuously: FTC Disclosures 101. Put “ad,” “paid,” or “affiliate” in the link label when appropriate, and mirror that disclosure in the post caption. This protects trust, and it also protects your business when campaigns scale.
- Concrete takeaway: Run a monthly “link audit” – remove clutter, update top CTA, and keep disclosures consistent.
Quick template: link naming and UTM structure you can copy
Consistency is what makes reporting painless. Use a naming convention that includes partner, offer, and date, then match it to your UTM campaign value. For example, a button label could be “Acme Skincare – Vitamin C – Aug 2026,” and the UTM campaign could be “acme_vitc_aug2026.” Keep UTM source stable, such as “instagram,” and use medium values like “bio” or “creator” depending on your reporting model. If multiple creators run the same campaign, add a content parameter like the creator handle so the brand can compare performance without guesswork.
- Example UTM:?utm_source=instagram&utm_medium=bio&utm_campaign=acme_vitc_aug2026&utm_content=creatorhandle
- Decision rule: If a link is paid or time-bound, it must have UTMs. If it is evergreen, UTMs are optional but still helpful.
When you set up your link in bio Instagram tool with clear goals, disciplined tracking, and a simple page structure, you get more than clicks. You get evidence. That evidence improves negotiations, helps brands allocate budget with confidence, and gives creators a cleaner path to repeatable income.