
Twitch sub badges are one of the simplest retention tools a streamer can control, because they turn time subscribed into visible status in chat. Done well, badges reward loyalty, nudge renewals, and give your community a shared visual language. Done poorly, they confuse viewers or look generic, which wastes an asset that sits next to every message. This guide breaks down what badges are, how tiers work, and how to plan a badge system that supports growth without overdesigning. You will also get practical checklists, example calculations, and two tables you can use to plan a rollout.
What Twitch sub badges are and how they work
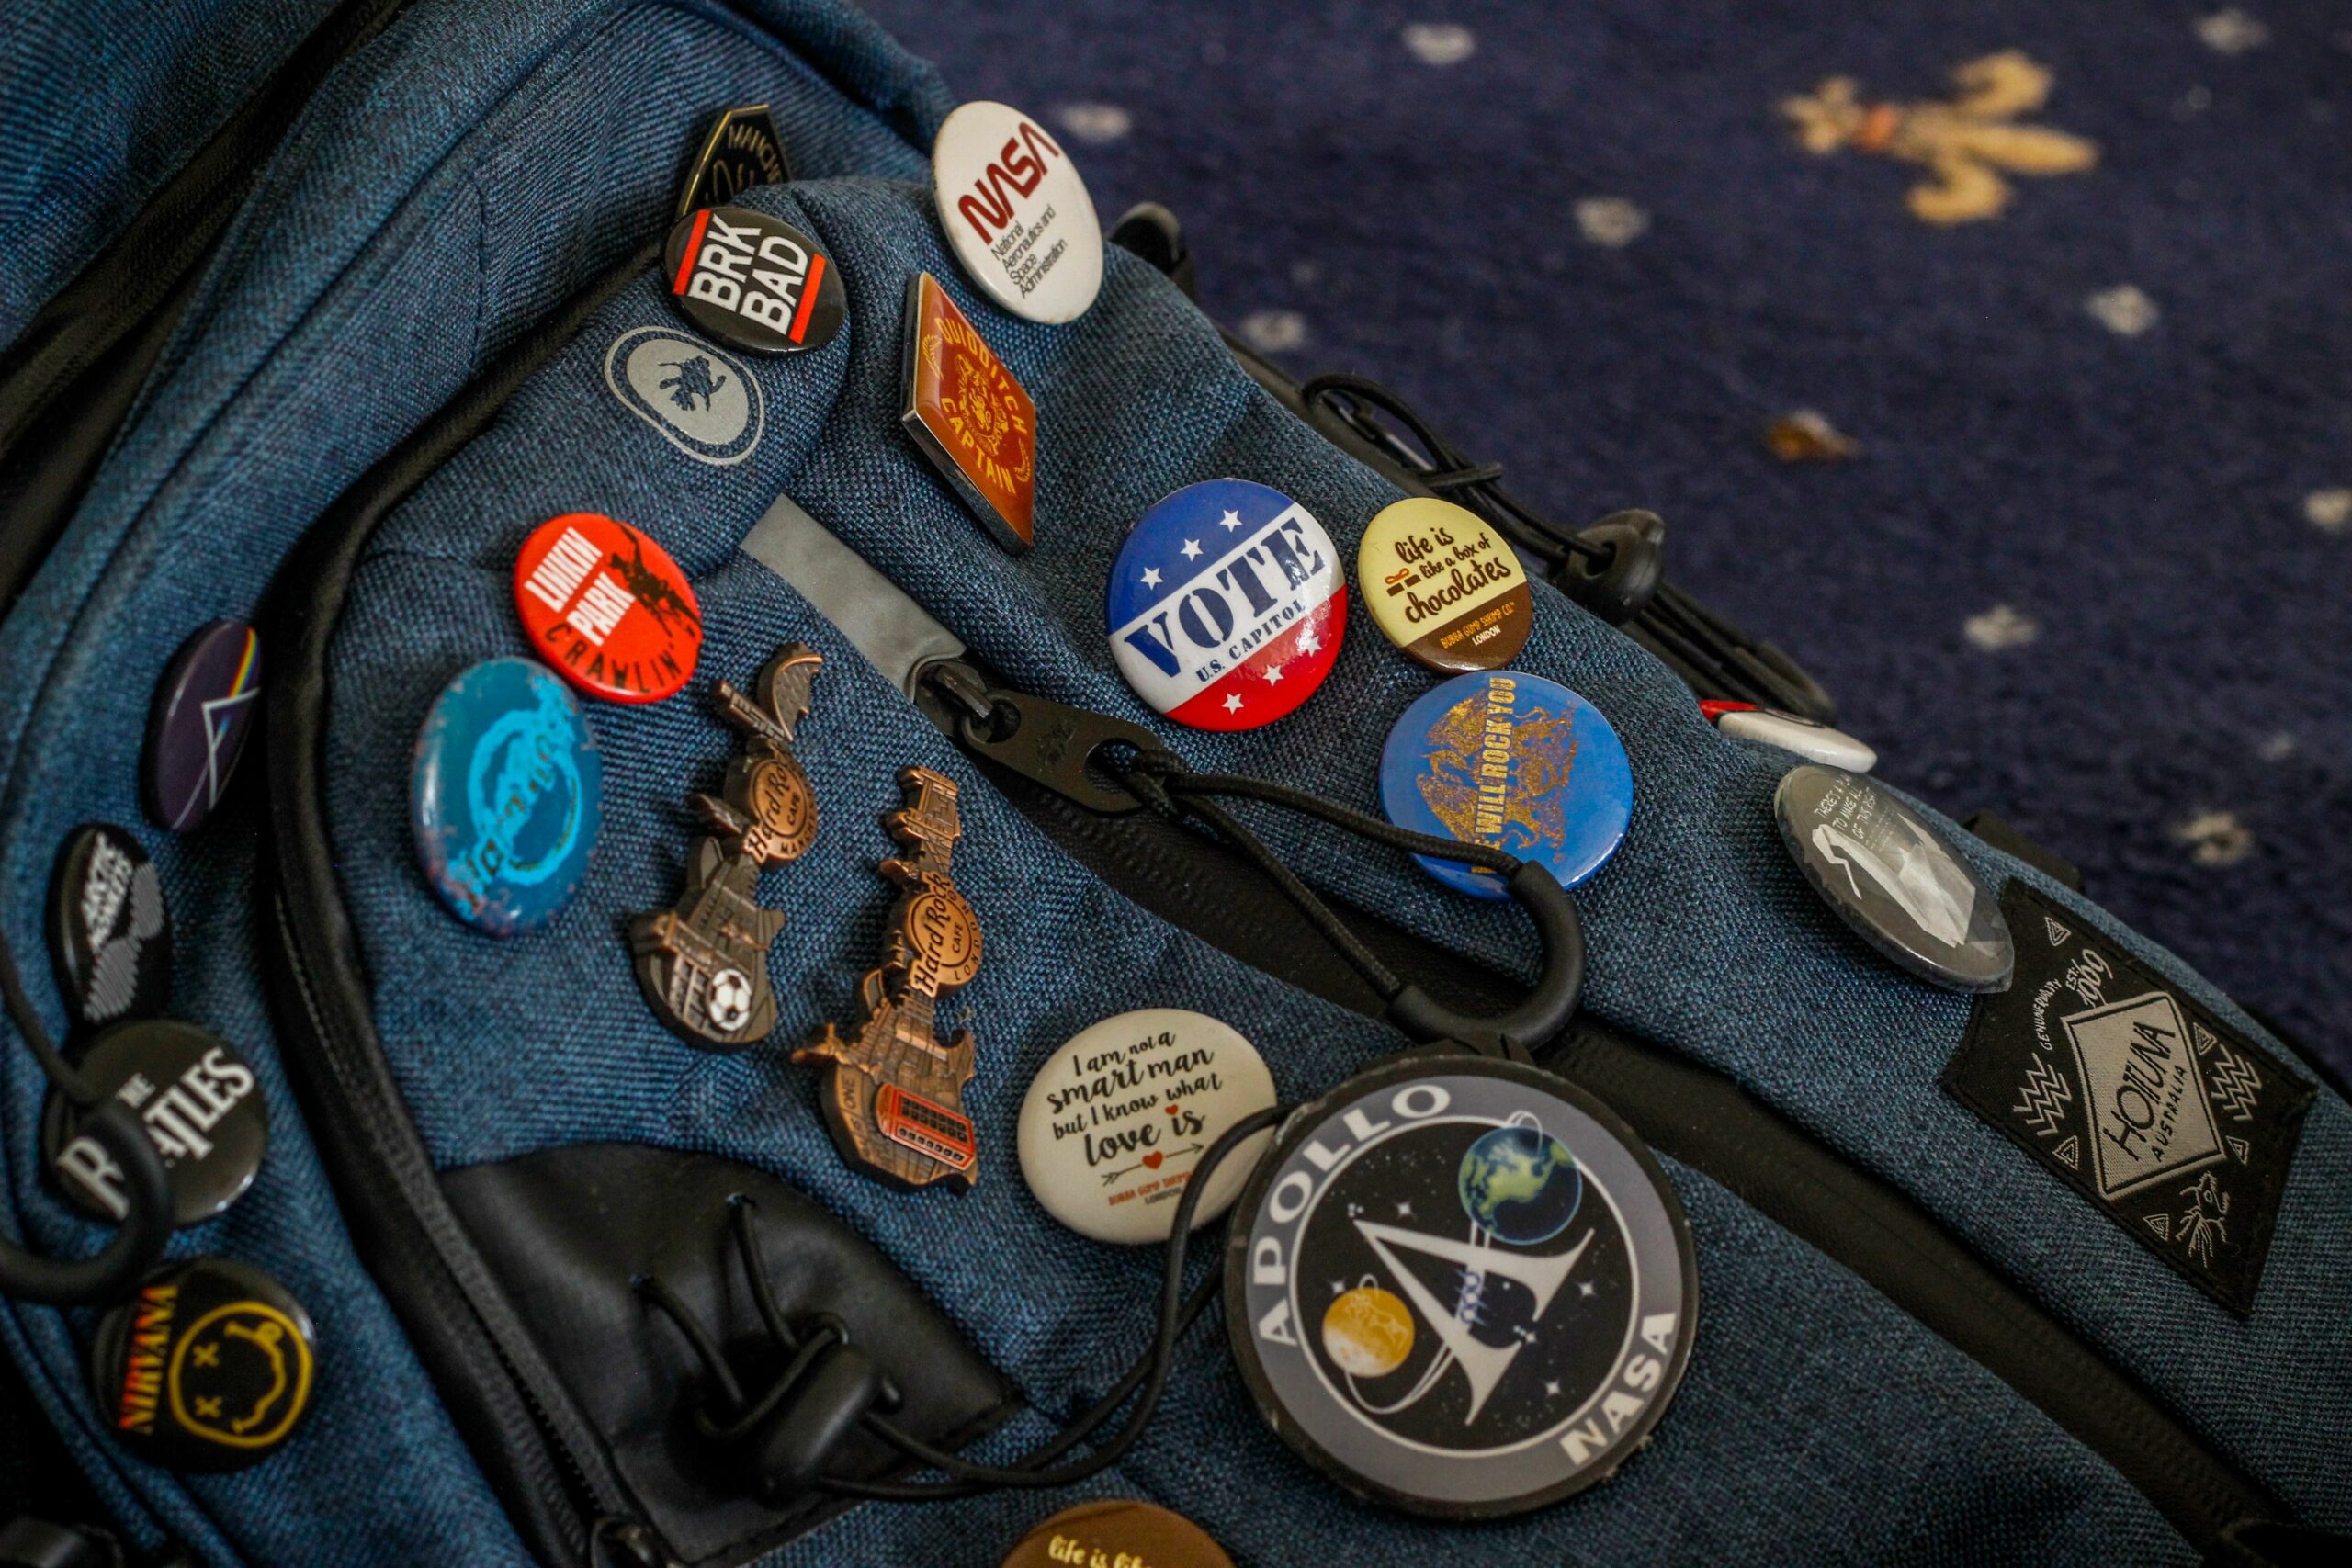
Sub badges are small icons that appear next to a subscriber’s name in your chat. They typically change as the subscriber’s tenure increases, so the badge becomes a time-based reward. In practice, that makes the badge both a perk and a signal: it tells other viewers who the long-timers are, and it gives new subs something to work toward. Before you design anything, decide what your badge system is trying to do – celebrate tenure, reinforce your brand, or highlight community roles.
Most channels think about badges as art first, but strategy comes first. For example, if your content is competitive gaming, your badge progression might mirror ranks or seasons. If your channel is cozy variety streaming, your badges might evolve through a narrative set, like a plant growing over months. The key takeaway is to pick one clear concept and keep it consistent across tiers, because consistency is what makes the progression feel rewarding.
While you are planning, it helps to define a few marketing terms that show up in sponsorship and creator monetization conversations, even if badges are not ads. CPM is cost per thousand impressions, CPV is cost per view, and CPA is cost per acquisition. Engagement rate is engagements divided by reach or impressions, depending on the platform definition. Reach is unique viewers, impressions are total views of a piece of content. Whitelisting is when a brand runs ads through a creator’s handle, usage rights define how a brand can reuse content, and exclusivity limits a creator from working with competitors for a period. These terms matter because badges often sit inside a broader monetization plan that includes brand deals and paid activations.
Twitch sub badges tier strategy: choose milestones that drive renewals
Your tier map should match how subscribers actually behave. If the first upgrade is too far away, new subs will not feel momentum. If upgrades are too frequent, the later badges feel less special. A practical approach is to use tighter spacing early and wider spacing later, because early months are where churn is highest. Even if you love the idea of a 24 month masterpiece badge, you still need a strong 1 to 6 month experience to keep people around long enough to see it.
Use this decision rule: set your first meaningful visual upgrade within 30 to 60 days of subscribing, then add milestones that align with community moments like seasons, annual events, or your channel anniversary. Also, keep the number of unique badge assets manageable so you can maintain quality. A smaller set of strong badges beats a long ladder of rushed icons.
| Goal | Recommended early milestones | Recommended long-term milestones | Why it works |
|---|---|---|---|
| Reduce month 1 churn | 1 month, 2 months, 3 months | 6, 9, 12 months | Fast early progress creates habit and anticipation |
| Build identity and lore | 1 month, 3 months | 6, 12, 18, 24 months | Story arcs feel meaningful at bigger intervals |
| Support seasonal content | 1 month, 2 months | 4, 8, 12 months | Milestones line up with quarterly beats and events |
| Keep production simple | 1 month, 3 months | 6, 12 months | Fewer assets, easier to commission and update |
Concrete takeaway: write your milestone list on one line, then ask, “Would a new subscriber see a new badge within two billing cycles?” If not, adjust the early spacing.
Design specs and readability: make badges work at tiny sizes
Badges live at very small sizes, so readability beats detail. Start with a bold silhouette, strong contrast, and a limited color palette. Thin lines and subtle gradients often disappear in chat, especially on mobile. If you are commissioning an artist, ask for a vector-first approach or at least clean shapes that scale down without turning into noise.
Also, design for accessibility. High contrast helps viewers with low vision, and distinct shapes help color-blind viewers. Avoid relying on color alone to communicate progression. Instead, change the outline, add a simple symbol, or shift the silhouette as tiers increase. As a quick test, shrink your badge mockups to favicon size and view them at arm’s length. If you cannot tell them apart, simplify.
For official technical requirements and upload guidance, reference Twitch’s help documentation at Twitch Help Center. Do not treat specs as a formality, because incorrect sizing or transparency issues can make even great art look unprofessional.
Concrete takeaway: build a three-step design checklist before you finalize any badge: (1) silhouette is recognizable at tiny size, (2) each tier is distinguishable from the previous one, (3) the set looks cohesive next to your emotes and panels.
A step-by-step framework to plan, commission, and launch badges
Badge projects fail when they start with “we need new art” instead of “we need a retention lever.” Use this framework to keep the work tied to outcomes. First, define the objective in one sentence, such as “Increase 3 month retention by making early tenure feel rewarding.” Second, map your tiers and write one line of meaning for each tier. Third, create a simple creative brief for the artist: theme, palette, do and do not list, and where badges will appear.
Next, plan your rollout. If you change badges overnight with no context, some long-time subs will feel like their status was reset, even if it was not. Announce the new badge system on stream, show the progression chart, and explain what each tier represents. Then, schedule a launch moment like a community night or a mini event so people see the badges in action.
Finally, measure impact. Badges are not a magic switch, but you can track whether they correlate with better subscriber behavior. Keep a simple baseline from the previous 30 to 60 days, then compare after launch. If you want more measurement ideas for creator perks and community signals, browse the practical guides in the InfluencerDB Blog and adapt the same discipline you would use for campaign assets.
| Phase | Tasks | Owner | Deliverable |
|---|---|---|---|
| Strategy | Define objective, pick tier milestones, choose theme | Streamer | One-page badge plan |
| Creative brief | Palette, references, do not list, usage rights, timeline | Streamer | Artist brief PDF |
| Production | Sketch review, revisions, final exports, transparency check | Artist | Final badge files |
| Launch | Announcement, on-stream reveal, social post, FAQ command | Streamer + mods | Launch checklist completed |
| Measurement | Track renewals, churn, gifted subs, chat sentiment | Streamer | 30-day review notes |
Concrete takeaway: treat badges like a mini product launch. A brief, a schedule, and a measurement window will save you from endless redesign cycles.
How to measure ROI: simple formulas and example calculations
You cannot assign perfect causality to badges, but you can estimate whether the change is worth the time and cost. Start with two metrics: subscriber retention and subscriber lifetime value. Retention is the percentage of subs who renew from one month to the next. Subscriber LTV can be approximated as average monthly net revenue per sub times average months retained.
Use these simple formulas: Retention rate = Renewed subs this month divided by subs eligible to renew. Incremental retained subs = (New retention rate minus baseline retention rate) times eligible subs. Incremental revenue = incremental retained subs times your net revenue per sub for that month. Net revenue per sub varies by region, pricing, and platform fees, so use your own dashboard numbers rather than generic estimates.
Example: you have 400 subs eligible to renew. Baseline retention is 70%, so you expect 280 renewals. After a badge refresh and a clear on-stream explanation, retention rises to 74%, which is 296 renewals. Incremental retained subs = (0.74 – 0.70) x 400 = 16 subs. If your net revenue per sub averages $2.50 after fees and splits, incremental revenue for that month is 16 x $2.50 = $40. Over several months, that can cover a badge commission, especially if the lift persists.
Concrete takeaway: do a 30-day and 90-day check. If retention does not move, do not assume the art failed. Often the missing piece is communication, like showing the progression chart and reminding viewers what they unlock next month.
Common mistakes that make badges underperform
The most common mistake is overcomplicating the concept. If viewers cannot instantly understand progression, the badge loses its motivational pull. Another frequent issue is poor contrast, which makes badges look muddy on dark mode. Some channels also create tiers that are too far apart early on, so new subs never feel a quick win. Finally, creators sometimes change badge themes too often, which breaks the sense of continuity that long-time subscribers value.
There is also a business-side mistake: unclear ownership and usage rights with artists. Even small commissions should specify whether you can edit, recolor, or reuse the art in other channel assets. If you plan to use the badge art on merch later, say so upfront. For general guidance on creator monetization and platform policies, you can cross-check how Twitch frames channel customization and subscriptions in official materials like Twitch Legal.
Concrete takeaway: before you pay for final files, confirm you have the right formats, the right transparency, and written permission for the uses you care about.
Best practices: make badges part of a bigger subscriber experience
Badges work best when they connect to habits. Pair each milestone with a small ritual, such as a monthly shoutout for new tier upgrades or a Discord role that matches the badge theme. Also, teach your mods to reinforce the system in chat by congratulating upgrades and answering questions. If your community understands the ladder, it becomes self-sustaining.
Next, align badges with your other perks. For example, if you offer sub-only streams, schedule them near common renewal dates so the value feels immediate. If you run community challenges, tie them to badge milestones and celebrate progress publicly. Keep a simple FAQ command that explains how badges upgrade, because reducing confusion reduces churn.
Finally, review your badge system once or twice a year, not every month. Small tweaks are fine, but constant change trains viewers to ignore the system. If you do a refresh, preserve the core silhouette or theme so long-time subs still feel recognized. Concrete takeaway: write a one-sentence promise for subscribers, then make sure your badges visually reinforce that promise every time someone chats.
Quick launch checklist you can copy
Use this checklist to move from idea to launch without missing the basics. First, lock your tier milestones and confirm they match your retention goal. Second, pick one theme and one palette that match your channel branding. Third, commission art with clear usage rights and a revision limit. Fourth, test readability at tiny sizes on desktop and mobile. Fifth, announce the system with a progression graphic and a simple explanation on stream. Sixth, track retention and sentiment for 30 to 90 days, then decide whether to iterate or leave it alone.
If you want to go deeper on measuring creator assets and building repeatable growth systems, keep a running reading list from the and apply the same test-and-learn mindset to your channel perks. Concrete takeaway: treat badges as a retention experiment with a clear hypothesis, not just a design project.
For supporting research, see HubSpot Marketing Statistics.