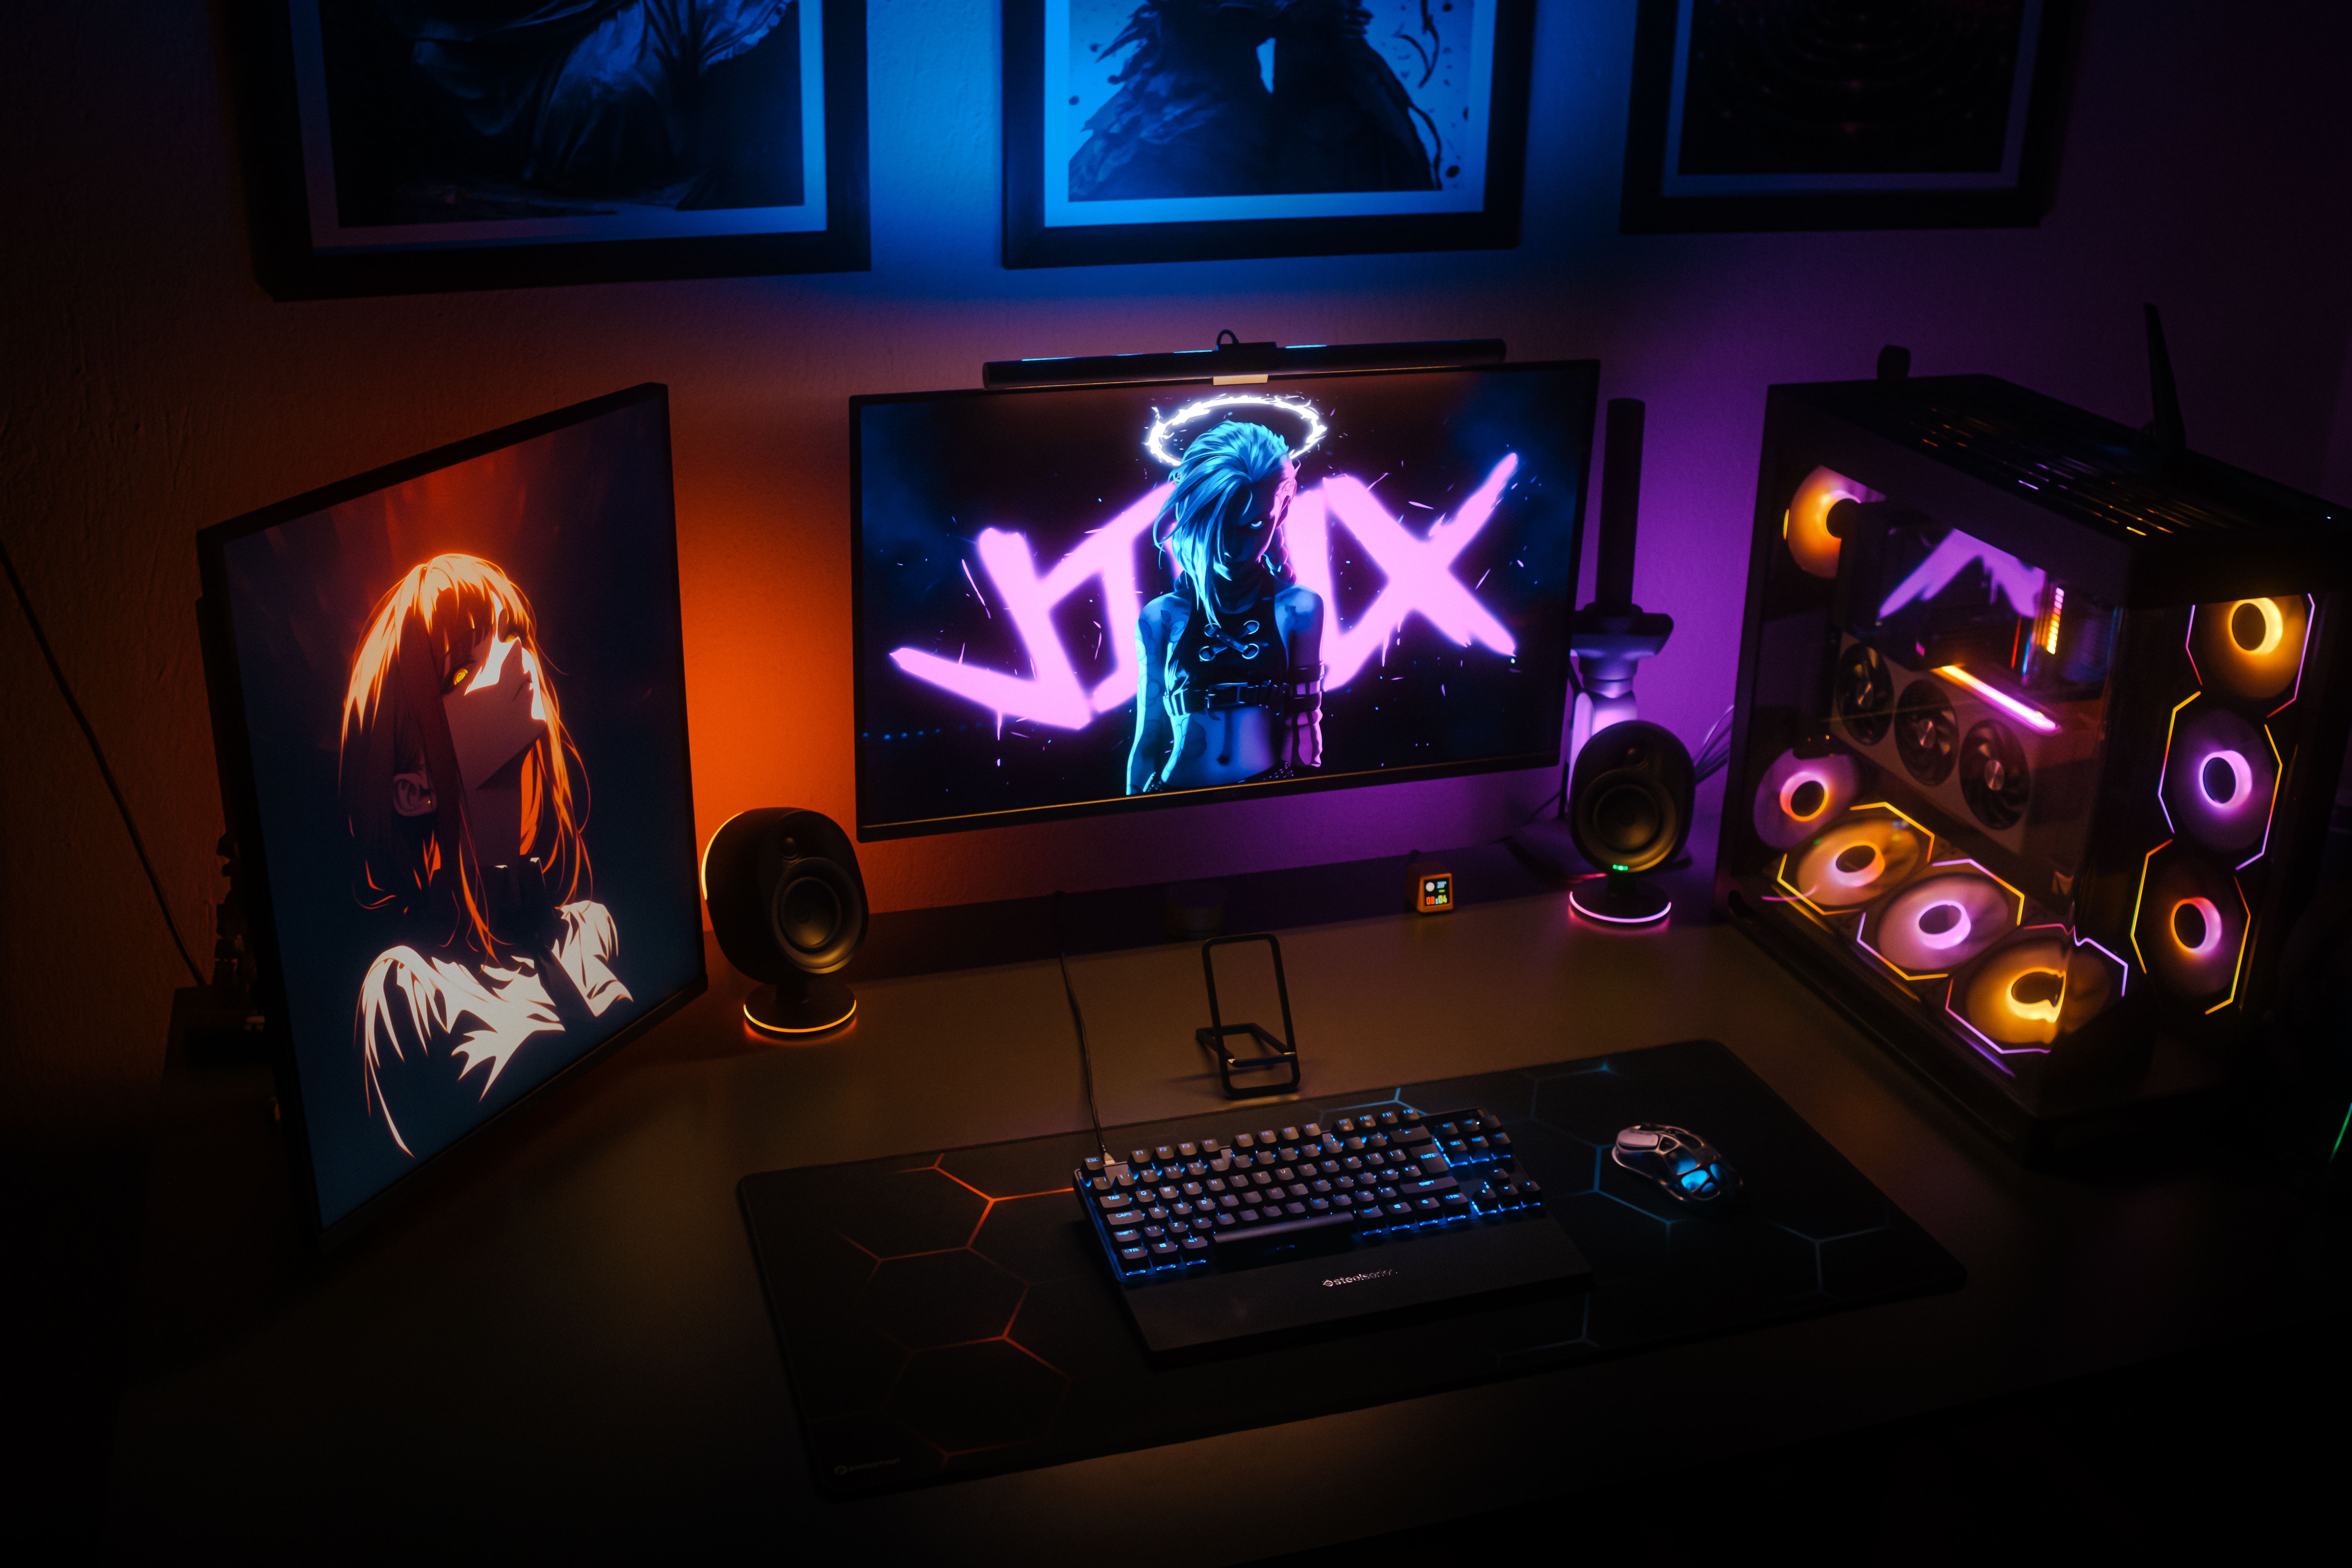

OBS templates are the fastest way to go from a blank canvas to a stream layout that looks intentional, sounds clean, and is easy to run under pressure. Instead of rebuilding scenes, sources, and audio routing every time you start a new show, a good template gives you a repeatable system you can copy, tweak, and ship. That matters for creators, but it also matters for brand teams because production quality affects watch time, retention, and ultimately campaign performance. In this guide, you will learn how to choose or build templates that are stable, brand-safe, and measurable, plus how to price and scope template work if you are hiring help.
What OBS templates are – and what they are not
An OBS template is a pre-built set of scenes, sources, audio settings, and sometimes plugins that you can import into OBS Studio to jump-start a production. Most templates include a scene collection (your scene list and source layout) and a profile (your streaming and recording settings). However, a template is not a magic performance fix. If your PC is underpowered, your bitrate is wrong for your upload speed, or your audio is clipping, the template will not save the stream. The takeaway: treat templates as a workflow accelerator, then validate performance with a quick technical checklist before going live.
Before you download anything, know what you are importing. Scene collections can include references to local files (images, stingers, fonts) that may not exist on your machine. Profiles can change encoder settings and output resolution, which can break a previously stable setup. Therefore, always back up your current scene collection and profile first, then test the template in a private recording session.
Key terms you should understand before you pick a template
Even though OBS is a production tool, the decisions you make in a template affect marketing outcomes and reporting. Here are the terms you will see in creator briefs and brand contracts, defined in plain language with practical use cases.
- Reach – the number of unique people who saw your content. Use it when a brand cares about unique exposure.
- Impressions – total views, including repeats. Use it when frequency matters, like a product launch week.
- Engagement rate – engagements divided by views or followers (definition varies by platform). Use it to compare creators in the same format.
- CPM – cost per thousand impressions. Formula: CPM = (Cost / Impressions) x 1000. Useful for sponsorship pricing and benchmarking.
- CPV – cost per view. Formula: CPV = Cost / Views. Often used for video-first deliverables.
- CPA – cost per acquisition (purchase, signup). Formula: CPA = Cost / Conversions. Best when you can track conversions reliably.
- Whitelisting – a brand runs ads through a creator account (or uses creator content in ads). Your template may need “ad-safe” layouts with clear logo placement and less clutter.
- Usage rights – what a brand can do with your content (repost, edit, run as ads) and for how long. Templates can standardize where disclosures and logos appear.
- Exclusivity – you agree not to work with competing brands for a period. Templates can help you swap sponsor panels quickly to stay compliant.
Concrete takeaway: if you are building a template for sponsored streams, reserve consistent space for disclosure text and sponsor assets so you do not improvise it live.
OBS templates that actually work: a decision checklist
Most template packs look great in screenshots, yet fail in real use because they ignore how creators switch scenes under time pressure. Use this checklist to evaluate a template before you commit.
- Scene logic: Does it include the scenes you truly use (Starting, BRB, Live, Ending, Fullscreen Gameplay, Just Chatting, Intermission)? If not, you will rebuild anyway.
- Source organization: Are sources grouped and named clearly (Camera – Main, Mic – USB, Game Capture – PC)? Good naming prevents mistakes mid-stream.
- Audio routing: Does it separate mic, desktop, music, and alerts? If everything is on one track, editing and troubleshooting become painful.
- Resolution strategy: Is it designed for 1080p, 1440p, or vertical? A 1080p overlay scaled to 1440p often looks soft.
- Brand safety: Is there a clean zone for sponsor logos and disclosures, and does it avoid copyrighted imagery?
- Performance: Does it rely on heavy browser sources, animated backgrounds, or multiple filters that can spike CPU/GPU?
Decision rule: if a template requires you to rename everything, rewire audio, and replace half the assets, it is not a template – it is inspiration.
How to build your own OBS templates (step by step)
If you stream regularly, building your own template is usually better than hunting for the perfect pack. You will end up with a layout that matches your content, your hardware, and your sponsor obligations. The process below is designed to produce a stable scene collection you can duplicate for new series or clients.
- Start with a clean scene map. Write down your core scenes and the purpose of each. Keep it tight: 6 to 10 scenes is enough for most creators.
- Set base and output resolution. Choose a base canvas (commonly 1920×1080) and an output resolution that matches your platform and bandwidth. Then lock it in so overlays do not drift.
- Create global sources. Add camera, mic, and alert sources once, then reuse them across scenes. This reduces duplication and keeps settings consistent.
- Build a sponsor-safe frame. Reserve a consistent area for a logo, offer code, and disclosure text. Keep it readable on mobile and avoid tiny fonts.
- Design for failure. Add a “Tech Issues” scene and a BRB scene with clear audio. When something breaks, you can switch instantly without panic.
- Standardize audio. Separate mic, desktop, and music. Set a limiter on the mic, then test with loud moments so you do not clip.
- Export and document. Export your scene collection and profile, and keep a short README with required fonts, plugins, and asset folders.
Practical tip: keep all template assets in a single folder (for example, “OBS Template Assets”) so file paths stay consistent when you move machines.
Template components that improve campaign performance
For influencer marketing, production choices are not just aesthetic. They affect how long viewers stay, whether they notice a CTA, and how cleanly a brand can repurpose clips. If you want your template to support measurable outcomes, build these components in from the start.
- CTA-ready lower third: A space for “Use code NAME” or “Link in chat” that does not cover gameplay UI.
- Timed sponsor reminders: A simple on-screen cue for you, not the audience, so you hit deliverables without sounding scripted.
- Clip-safe framing: Keep critical elements within safe margins so vertical crops still work for Shorts and Reels.
- Disclosure placement: A consistent disclosure line in the same location across scenes reduces compliance risk.
To connect production to reporting, align your template with your measurement plan. If you are tracking conversions, keep the offer code visible during the segments where you actually talk about the product. For broader planning and measurement ideas, browse the InfluencerDB.net blog on influencer strategy and analytics and adapt the same discipline to your live format.
Useful benchmarks and formulas (with examples)
Templates do not set your rates, but they can justify them. A creator with a consistent, professional production can often command higher CPMs because brands see lower risk and better reuse potential. Use the formulas below to translate performance into pricing language.
| Metric | Formula | Example | What it tells you |
|---|---|---|---|
| CPM | (Cost / Impressions) x 1000 | ($1,200 / 80,000) x 1000 = $15 | Cost efficiency for exposure |
| CPV | Cost / Views | $1,200 / 50,000 = $0.024 | Cost efficiency for video consumption |
| CPA | Cost / Conversions | $1,200 / 60 = $20 | Cost efficiency for outcomes |
| Engagement rate | Engagements / Views | 2,000 / 50,000 = 4% | Audience response quality |
Example scenario: you run a sponsored stream segment and later deliver three edited clips. If the brand cares about sales, negotiate around CPA with a minimum guarantee. If they care about awareness, negotiate around CPM and include usage rights for repurposing. Either way, a template that keeps sponsor elements consistent makes it easier to prove delivery.
Tooling and template options: what to choose for your workflow
There is no single best stack, but you should pick tools that reduce points of failure. In practice, simpler templates win because they survive OS updates, plugin changes, and last-minute sponsor swaps. Use this comparison to choose the right approach.
| Option | Best for | Pros | Cons | Checklist before using |
|---|---|---|---|---|
| DIY template (your own scene collection) | Creators who stream weekly | Stable, tailored, easy to maintain | Takes time to set up well | Export backup, document assets, test audio |
| Purchased overlay pack | New streamers who want polish fast | Fast visual upgrade, consistent branding | May be heavy on resources, generic layouts | Check file paths, verify resolution, stress test |
| Agency-built template | Teams running sponsored series | Brand-safe, documented, scalable | Higher cost, requires clear brief | Confirm usage rights, deliverable list, handoff docs |
If you need official references for settings and troubleshooting, use the OBS Studio Wiki as your baseline. It is especially helpful when a template includes plugins or advanced audio routing.
Common mistakes (and how to avoid them)
Most stream issues are predictable. They happen because creators build templates for screenshots instead of live operations. Fix these now and you will save hours later.
- Overbuilding scenes: Too many scenes increases misclicks. Keep a small set and use nested scenes or source toggles when needed.
- Unreadable text: Thin fonts and tiny sizes look fine on a monitor but fail on mobile. Test by watching your own VOD on a phone.
- One-track audio: If everything is mixed together, you cannot fix music levels in post. Separate tracks for mic and desktop at minimum.
- Unclear file management: Templates break when assets move. Use a single asset folder and avoid cloud-only paths.
- No compliance plan: Sponsored streams need disclosure. Build a disclosure layer into your core scenes so you do not forget it.
Compliance note: if you do brand deals, read the FTC disclosures guidance for influencers and then make disclosure placement a template default, not an afterthought.
Best practices for creators and brand teams
Once your template is stable, the next step is making it repeatable across campaigns. That is where creators and marketers can align: fewer surprises, cleaner deliverables, and better reporting. Use these best practices as your operating standard.
- Version your templates: Name exports like “CreatorName Template v3” so you can roll back quickly.
- Run a five-minute preflight: Record locally, check mic levels, confirm game capture, and verify sponsor assets are correct.
- Keep sponsor swaps modular: Put sponsor logos and CTAs in a single group so you can replace them without touching the whole scene.
- Document deliverables inside the template: Add a hidden “Notes” text source with required talking points and timestamps.
- Plan for repurposing: Capture clean feed where possible and avoid overlaying critical information on top of gameplay UI.
Takeaway for brand teams: ask creators for a quick screen recording of their template scenes during onboarding. It is a low-friction way to verify logo placement, disclosure visibility, and overall production readiness before spend goes live.
A simple brief you can use when hiring someone to build OBS templates
If you outsource template work to a designer or technical producer, you will get better results with a tight brief. Include these details so the deliverable is usable, not just pretty.
- Platform: Twitch, YouTube Live, TikTok Live, or multistream.
- Resolution and orientation: 1080p horizontal, 1440p, or vertical.
- Scene list: Starting, BRB, Live, Ending, plus any special scenes.
- Brand kit: Fonts, colors, logo rules, sponsor logo lockups.
- Audio requirements: Separate tracks, noise suppression preferences, alert routing.
- Deliverables: Exported scene collection, profile, asset folder, and a one-page setup guide.
- Rights: Who owns the overlay assets, and whether you can reuse them across channels.
Pricing tip: if the template includes custom animation, multiple aspect ratios, or a full documentation handoff, scope it as a production system, not a single overlay. That framing helps both sides agree on time and value.
Quick launch checklist (copy and paste)
Use this checklist the day you install or update a template. It is short by design, because you will actually follow it.
- Back up your current scene collection and profile.
- Confirm base canvas and output resolution match your plan.
- Check mic gain, limiter, and noise suppression with a loud test.
- Verify alerts and browser sources load correctly.
- Confirm sponsor logo, CTA text, and disclosure layer are visible.
- Record 60 seconds, then watch it back on desktop and mobile.
If you do those six steps, you will catch most template problems before your audience does.